

Word 2013
Tables
Modifying tables
It's easy to modify the look and feel of any table after adding it to a document. Word includes many different options for customizing a table, including adding rows or columns, changing the table style, and more.
To add a row or column:
- Hover the mouse near the location where you wish to add a row or column and click the plus sign that appears.
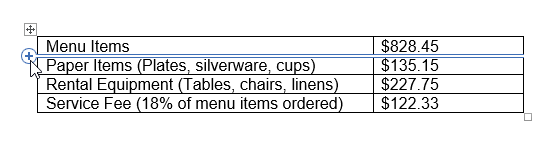 Clicking the plus sign
 - A new row or column will appear in the table.
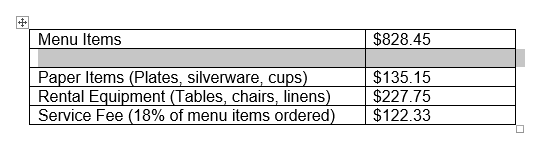 The new row
Alternatively, you can right-click the table, then hover the mouse over Insert to see various row and column options.
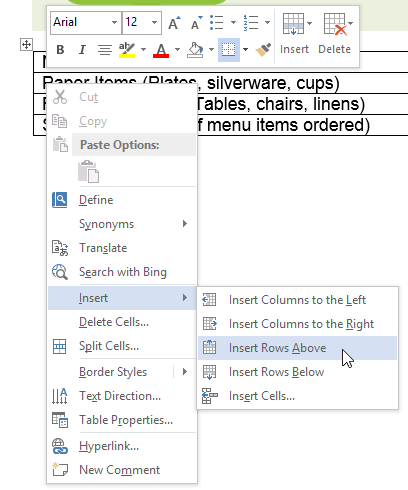 Adding a row
To delete a row or column:
- Place the insertion point in the row or column you want to delete.
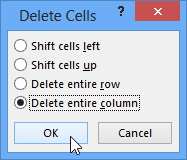
- Right-click the mouse, then select Delete Cells... from the menu that appears.
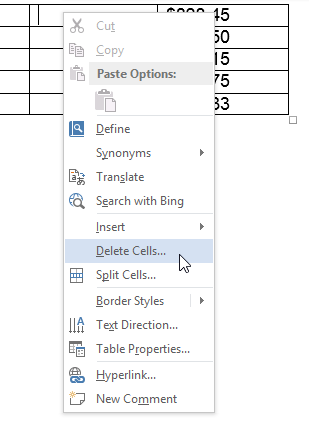 Selecting Delete Cells
 - A dialog box will appear. Select Delete entire row or Delete entire column, then click OK.
 Deleting a column
 - The column or row will be deleted.


