

Word 2013
Pictures and Text Wrapping
Changing text wrapping settings
When you insert an image, you may notice that it's difficult to move it exactly where you want. That's because by default the image is in line with the text. If you want to move the image freely, you'll usually need to choose a different text wrapping setting. The text wrapping for that image is set to In Line with Text. You'll need to change the text wrapping setting if you want to move the image freely or if you'd like the text to wrap around the image in a more natural way.
To wrap text around an image:
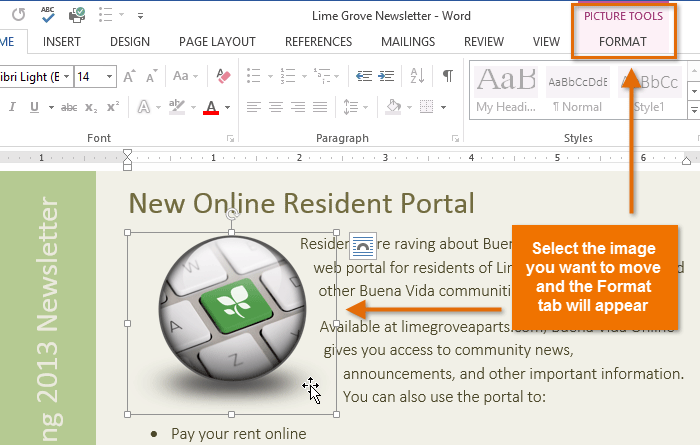
- Select the image you want to wrap text around. The Format tab will appear on the right side of the Ribbon.
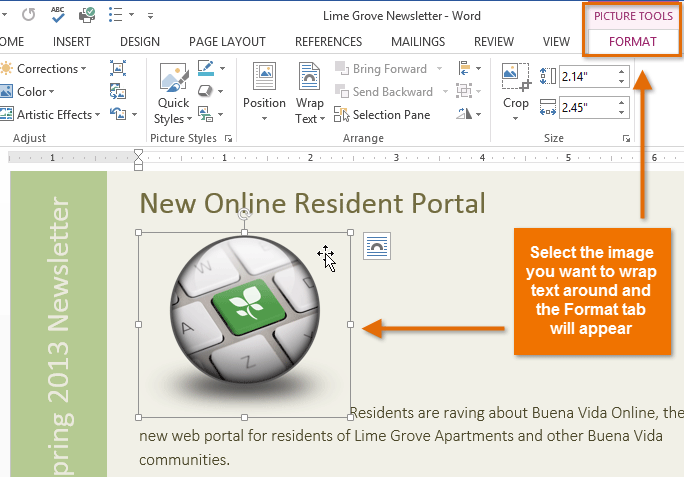 Selecting an image
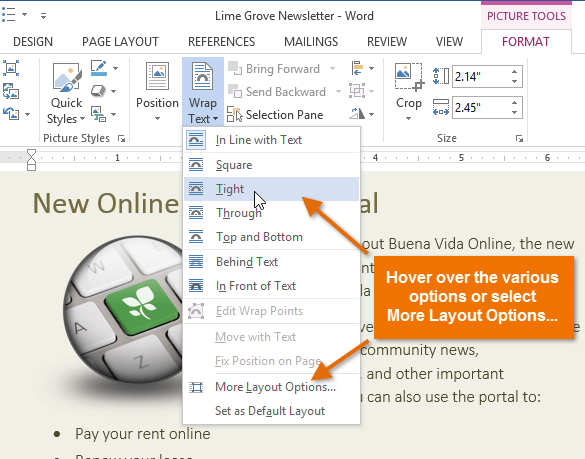
 - On the Format tab, click the Wrap Text command in the Arrange group. A drop-down menu will appear.
- Hover the mouse over the various text wrapping options. A live preview of the text wrapping will appear in the document. When you've found the text wrapping option you want to use, click on it. Alternatively, you can select More Layout Options... to fine tune the layout.
 Selecting a text wrapping setting
 - The text will wrap around the image. You can now move the image if desired. Just click, hold, and drag it to the desired location. As you move it, alignment guides will appear to help you align the image on the page.
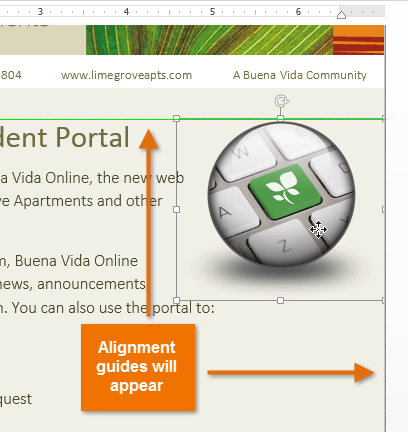 Alignment guides
Alternatively, you can access text wrapping options by selecting the image and clicking the Layout Options button that appears.
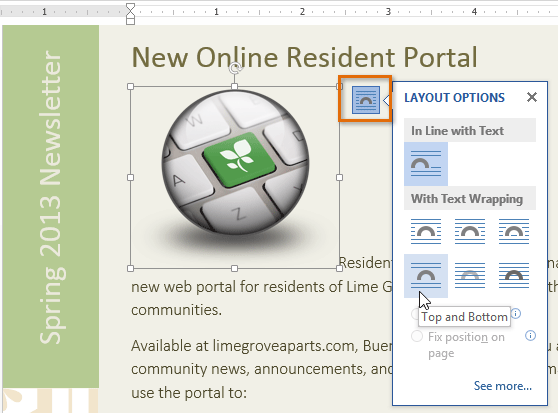 The Layout Options menu
If the alignment guides do not appear, select the Page Layout tab, then click the Align command. Select Use Alignment Guides from the drop-down menu that appears.
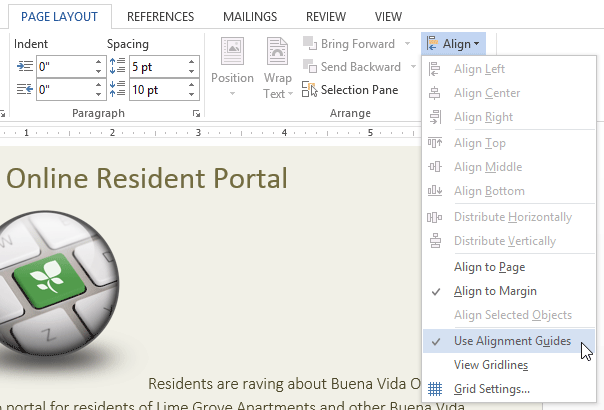 Turning on the alignment guides
To use a predefined text wrapping setting:
Predefined text wrapping allows you to move the image to a specific location on the page.
- Select the image you want to move. The Format tab will appear on the right side of the Ribbon.
 Selecting an image
 - On the Format tab, click the Position command in the Arrange group.
- A drop-down menu of predefined image positions will appear. Select the desired image position. The image will adjust in the document, and the text will wrap around it.
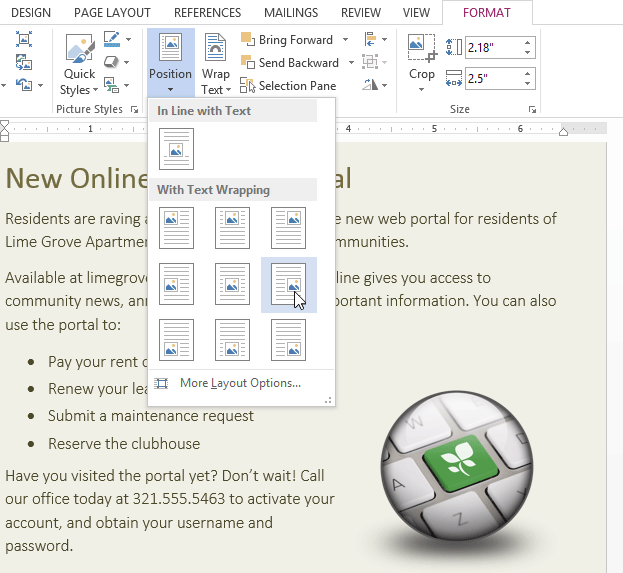 Selecting a text wrapping setting


