

Word 2013
Shapes
Introduction
Video: Shapes
 Watch the video (5:18).
You can add a variety of shapes to your document, including arrows, callouts, squares, stars, and flowchart shapes. Want to set your name and address apart from the rest of your resume? Use a line. Need to create a diagram showing a timeline or process? Use flowchart shapes. While you may not need shapes in every document you create, they can add visual appeal and clarity.
Optional: Download our Lesson 20 Practice Document.
To insert a shape:
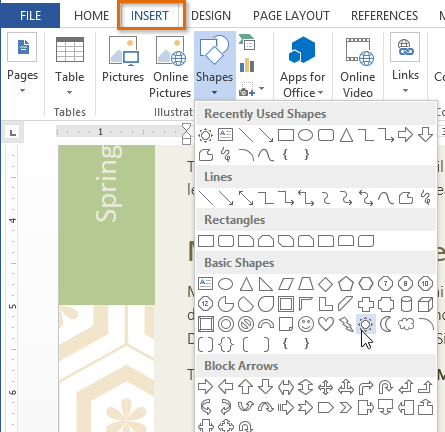
- Select the Insert tab, then click the Shapes command. A drop-down menu of shapes will appear.
- Select the desired shape.
 Selecting a shape
 - Click, hold, and drag in the desired location to add the shape to your document.
 Inserting a new shape
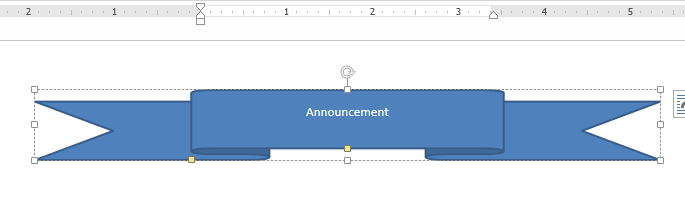
If desired, you can enter text in a shape. When the shape appears in your document, you can simply begin typing. You can then use the formatting options on the Home tab to change the font, font size, or color of the text.
 Entering text in a shape
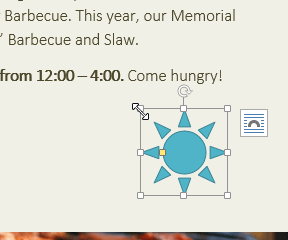
To resize a shape:
- Select the shape you want to resize. Sizing handles will appear.
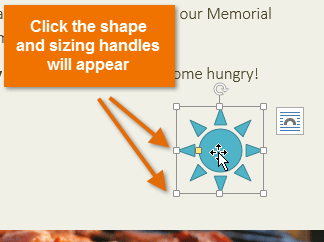 Clicking the shape
 - Click, hold, and drag the sizing handles until the shape is the desired size. You can use the corner sizing handles to change the shape's height and width at the same time.
 Resizing the shape
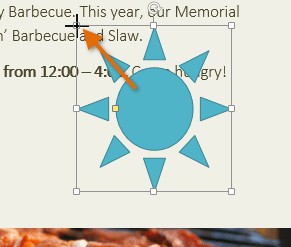
Some shapes also have one or more yellow handles that can be used to modify the shape. For example, with star shapes you can adjust the length of the points.
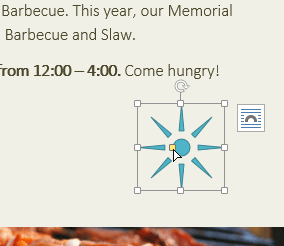 Modifying the shape
To rotate the shape, click, hold, and drag the rotation handle.
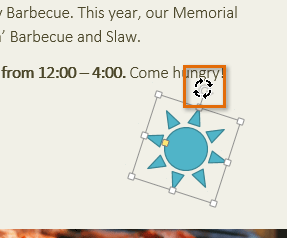 Rotating the shape
To change the order of shapes:
If one shape overlaps another, you may need to change the ordering so the correct shape appears in front. You can bring a shape to the front or send it to the back. If you have multiple images, you can use Bring Forward or Send Backward to fine tune the ordering. You can also move a shape in front of or behind text.
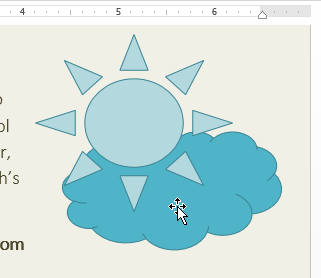
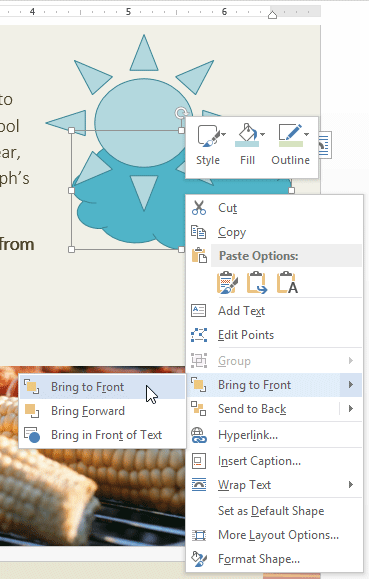
- Right-click the shape you want to move. In our example, we want the cloud to appear in front of the sun, so we'll right-click the cloud.
 Right-clicking the shape
 - In the menu that appears, hover over Bring to Front or Send to Back. Several ordering options will appear. Select the desired ordering option. In this example, we'll choose Bring to Front.
 Selecting an ordering option
 - The order of the shapes will change.
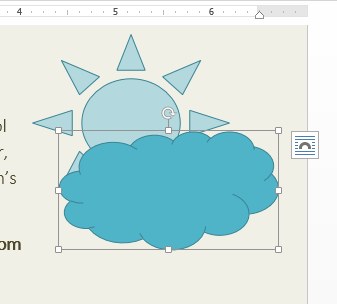 The reordered shapes
In some cases, the ordering option you select will not affect the ordering of the shapes. If that happens, try selecting the same option again or try a different option.
If you have many shapes placed on top of each other, it may be difficult to select an individual shape. The Selection Pane allows you to select a shape and drag it to a new location. To access the Selection Pane, click Selection Pane on the Format tab.
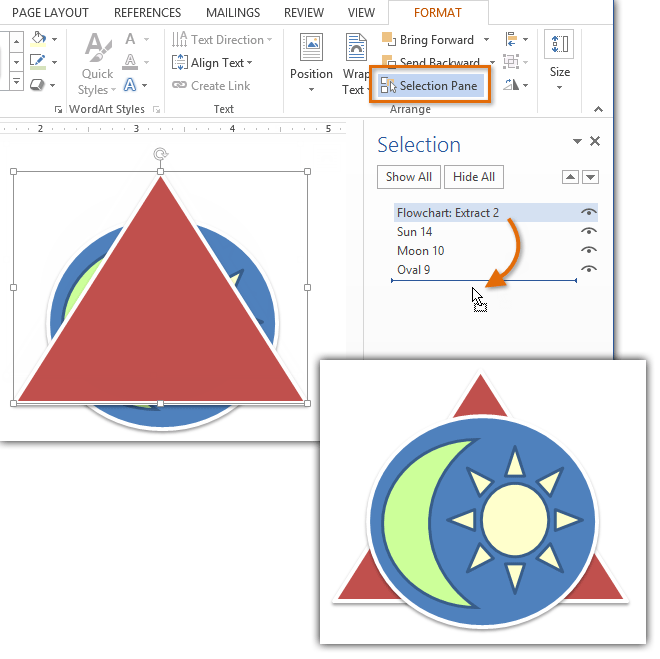 Changing the order of a shape in the Selection Pane


