

Word 2013
Lists
Customizing bullets
Customizing the look of the bullets in your list can help you emphasize certain list items or personalize the design of your list. Word allows you to format bullets in a variety of ways. You can use symbols and different colors, or even upload a picture as a bullet.
To use a symbol as a bullet:
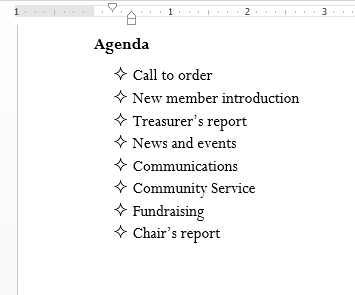
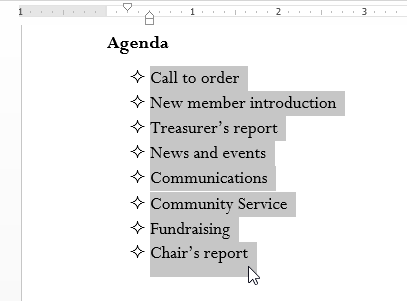
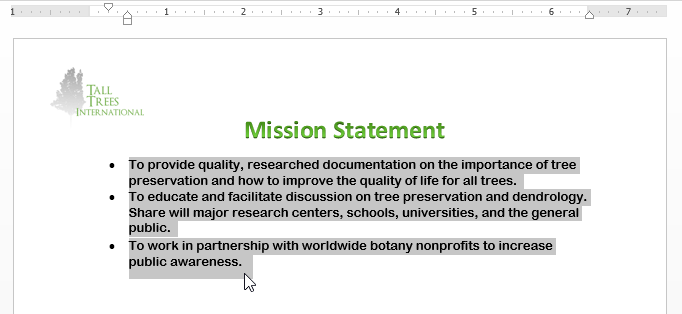
- Select an existing list you wish to format.
 Selecting an existing list
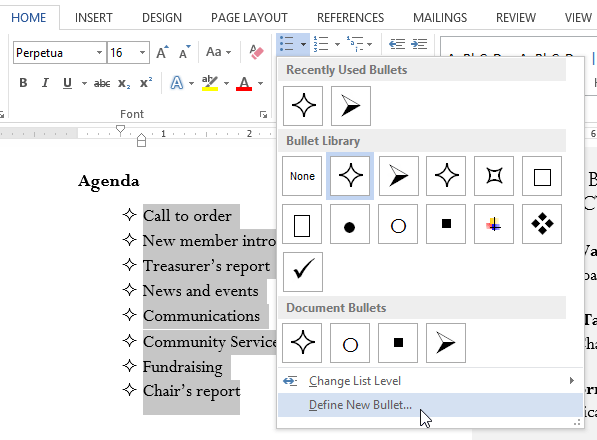
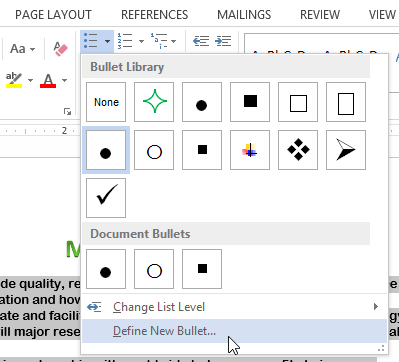
 - On the Home tab, click the drop-down arrow next to the Bullets command. Select Define New Bullet... from the drop-down menu.
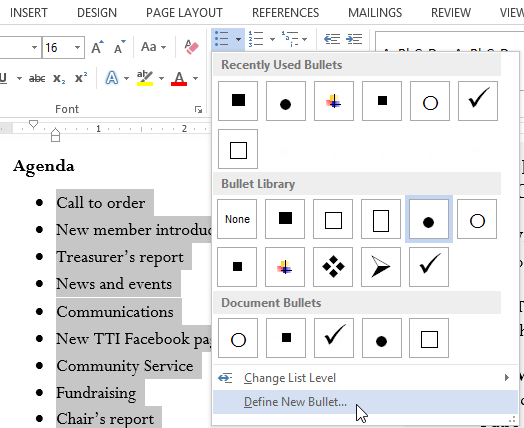 Defining a new bullet
 - The Define New Bullet dialog box will appear. Click the Symbol... button.
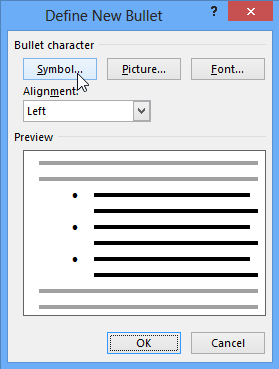 Clicking the Symbol button
 - The Symbol dialog box will appear.
- Click the Font drop-down box and select a font. The Wingdings and Symbol fonts are good choices because they have many useful symbols.
- Select the desired symbol, then click OK.
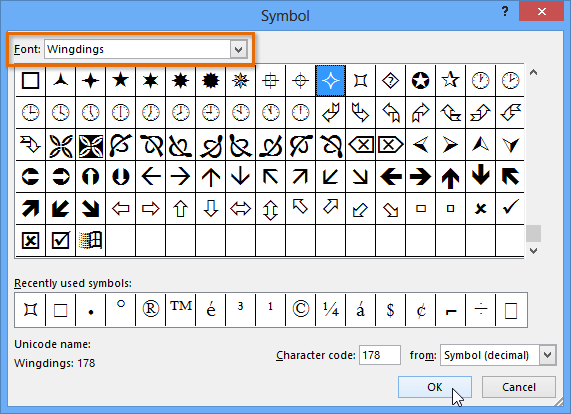 Selecting a symbol
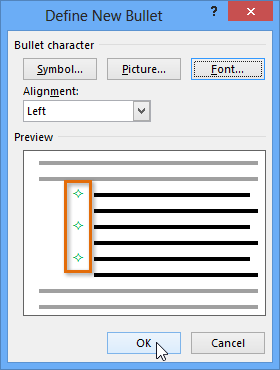
 - The symbol will appear in the Preview section of the Define New Bullet dialog box. Click OK.
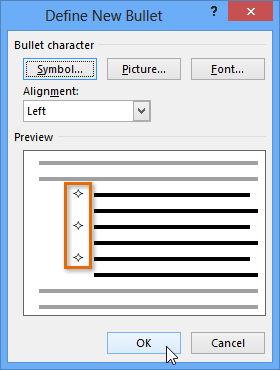 Preview of the new symbol
 - The symbol will appear in the list.
 The formatted list
To change the bullet color:
- Select an existing list you wish to format.
 Selecting a list to format
 - On the Home tab, click the drop-down arrow next to the Bullets command. Select Define New Bullet... from the drop-down menu.
 Selecting Define New Bullet...
 - The Define New Bullet dialog box will appear. Click the Font button.
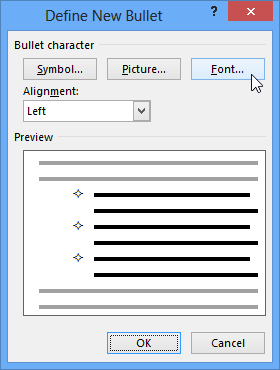 Clicking the Font button
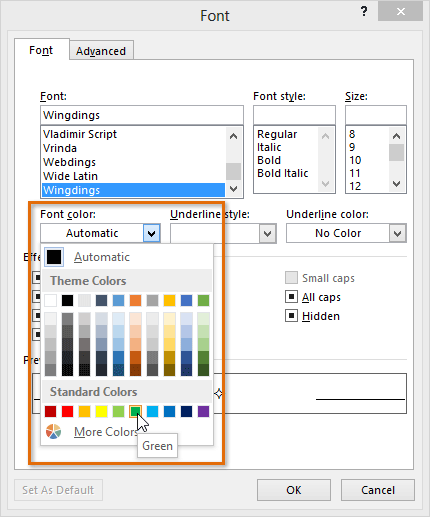
 - The Font dialog box will appear. Click the Font Color drop-down box. A menu of font colors will appear.
- Select the desired color, then click OK.
 Changing the bullet color
 - The bullet color will appear in the Preview section of the Define New Bullet dialog box. Click OK.
 Clicking OK
 - The bullet color will change in the list.
 The new bullet color
To use a picture as a bullet:
- Select an existing list you wish to format.
 Selecting a list to format
 - On the Home tab, click the drop-down arrow next to the Bullets command. Select Define New Bullet... from the drop-down menu.
 Defining a new bullet
 - The Define New Bullet dialog box will appear. Click the Picture button.
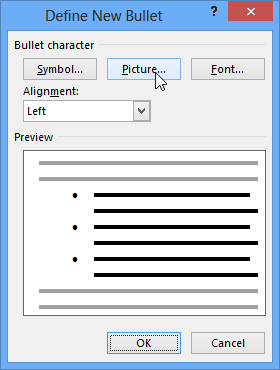 Clicking the Picture button
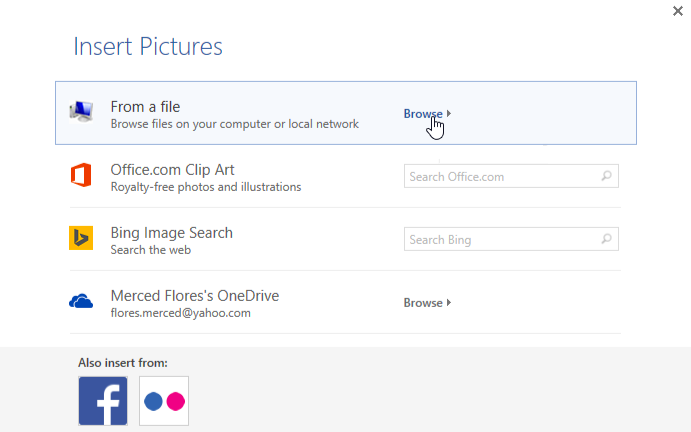
 - The Insert Pictures dialog box will appear. From here, you can locate an image file stored on your computer or in your OneDrive (previously called SkyDrive), or you can use the search fields to search for an image online.
- In our example, we'll click Browse to locate a picture stored on our computer.
 Clicking Browse From a file
 - The Insert Picture dialog box will appear. Locate and select the desired image file, then click Insert.
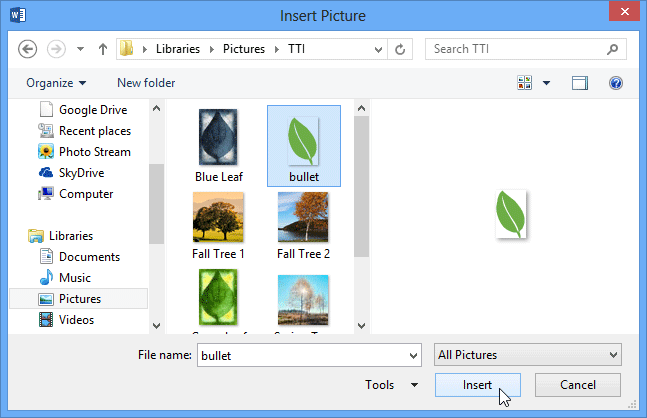 Inserting a picture
 - The image will appear in the Preview section of the Define New Bullet dialog box. Click OK.
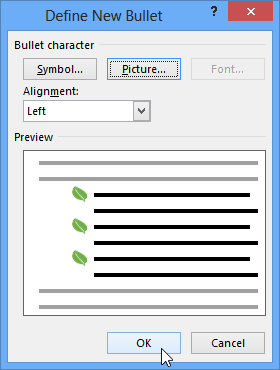 Preview of the picture
 - The image will appear in the list.
 The formatted list
Not all pictures work well as bullets. Generally, it's best to use a simple graphic that has a white (or transparent) background. This ensures the bullet will have a recognizable shape.


