

Word 2010
Inserting Clip Art and Pictures
Changing the text wrapping settings
When you insert Clip Art or a picture from a file, you may notice that it's difficult to move it exactly where you want. That's because the text wrapping for that image is set to In Line with Text. You'll need to change the text wrapping setting if you want to move the image freely, or if you just want the text to wrap around the image in a more natural way.
To wrap text around an image:
- Select the image. The Format tab will appear.
- Click the Format tab.
- Click the Wrap Text command in the Arrange group.
- Select the desired menu option. The text will adjust based on the option you have selected.
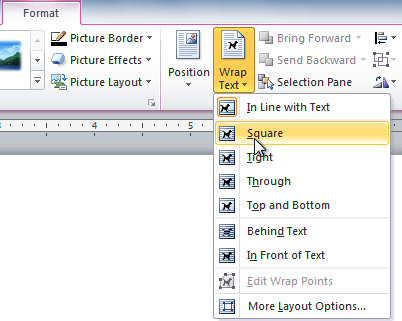 Choosing a text wrapping setting
 - Move the image around to see how the text wraps for each setting.
If you can’t get your text to wrap the way you wish, click the Wrap Text command, then select More Layout Options from the menu. You can make more precise changes in the Advanced Layout dialog box that appears.
To use a pre-defined text wrapping setting:
- Click the Position command to the left of the Wrap Text command. A drop-down menu will appear.
- From the drop-down menu, select the desired image position.
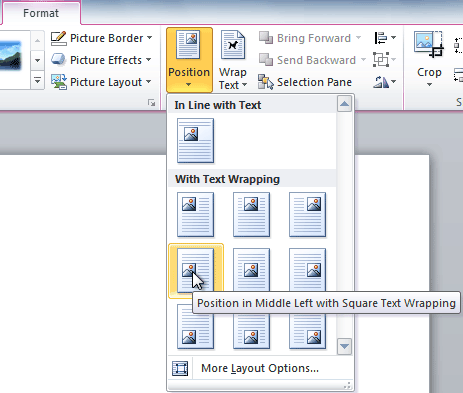 Choosing an image position
 - The image will move to the position you have selected, and it will automatically have text wrapping applied to it.


