

PowerPoint 2013
Tables
Customizing tables
To apply a table style:
- Select any cell in your table, then click the Design tab on the right side of the Ribbon.
- Locate the Table Styles group, then click the More drop-down arrow to see available table styles.
 Clicking the More drop-down arrow
 - Select the desired style.
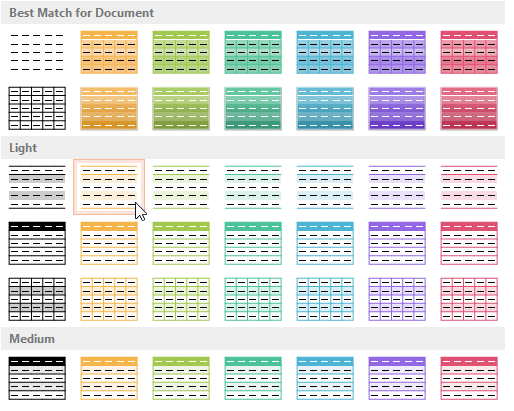 Selecting a table style
 - The selected table style will be applied.
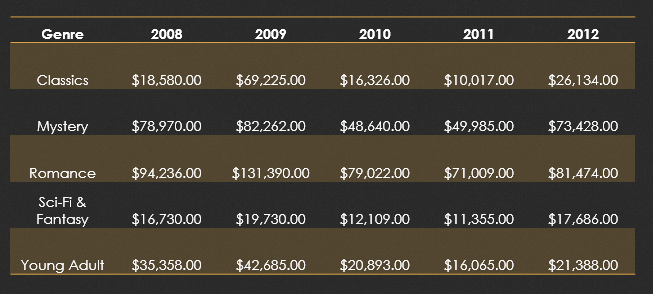 The applied table style
To change the table styles options:
You can turn various options on or off to change the appearance of the table. There are six options: Header Row, Total Row, Banded Rows, First Column, Last Column, and Banded Columns.
- Select any cell in your table.
- From the Design tab, check or uncheck the desired options in the Table Style Options group.
 The Table Style Options group
These options can affect your table style in various ways, depending on the type of content in your table. You may need to experiment with a few different options to find the exact style you want.
To add borders to a table:
You can add borders to help define different sections of a table. Certain table styles may include borders automatically, but it's easy to add them manually or customize them. You can control the border weight, color, and line style for some or all of a table.
- Select the cells where you wish to add borders. In our example, we'll select every cell in our table.
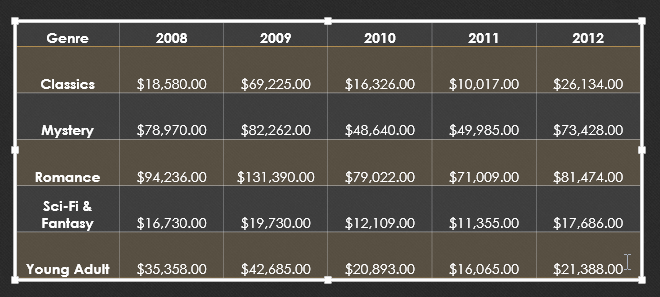 Selecting the desired cells
 - From the Design tab, select the desired Line Style, Line Weight, and Pen Color.
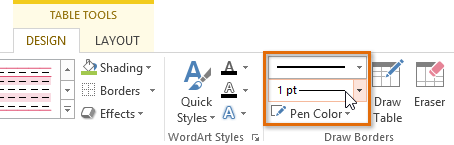 Choosing the border style
 - Click the Borders drop-down arrow, then select the desired border type.
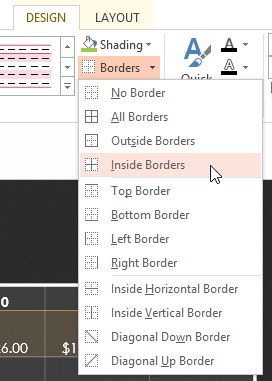 Selecting a border type
 - The border will be added to the selected cells.
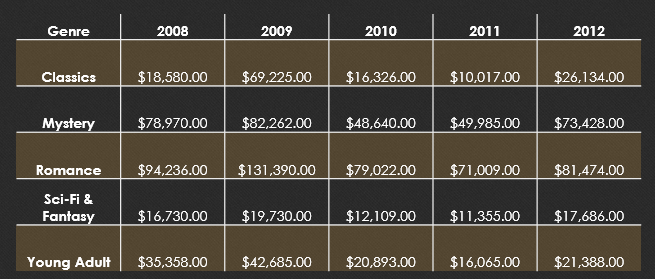 The added borders
 - To remove borders, select the desired cells, click the Borders command, then select No Border.
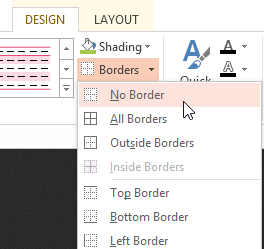 Removing borders


