

OS X Mavericks
Working with Finder
Creating a shortcut to a folder
If you have a folder you use frequently, you can save time by creating a shortcut (also called an alias) on the desktop. Instead of navigating to the folder every time you want to use it, you can simply double-click the shortcut and the folder will open. A shortcut will have a small arrow in the lower-left corner of the icon.
To create a shortcut:
- Navigate to where your folder is located.
- Hold down the Option and Command keys, then click and drag the folder to the desktop. While you are dragging it, you should see a small arrow on the icon.
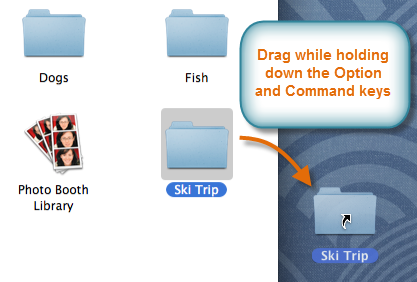 Creating a shortcut on the desktop
 - When you release the mouse, the shortcut will be created. The icon should still have an arrow indicating that it is a shortcut.
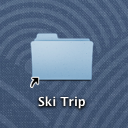 The finished shortcut
Deleting files and folders
If you want to remove some of the clutter from your computer, you can delete files and folders you don't need. This will move them to the Trash (which is just like the Recycle Bin in Windows). Then, if you're sure you want to permanently delete them, you can empty the Trash.
To delete a file or folder:
- Click and drag the file or folder onto the Trash icon on the Dock. Alternatively, you can select the file, then press Command-Delete.
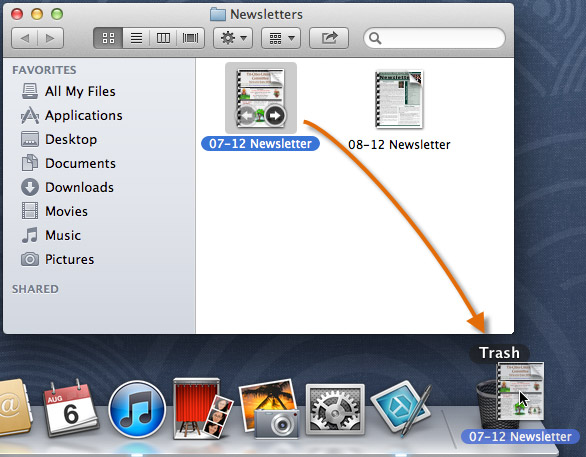 Dragging a file to the Trash
 - To empty the trash, right-click the Trash icon, then select Empty Trash. All files in the Trash will be permanently deleted.
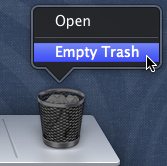 Emptying the Trash
On some Macs, right-clicking may be disabled by default. If you're unable to right-click, you can just click and hold the Trash icon until you see the Empty Trash option.
Ejecting drives
When you connect a flash drive or external hard drive to your Mac, it is known as mounting the drive. Before you disconnect the drive, it's important to eject it (or unmount it) properly to avoid damaging the data.
To eject a drive:
- Click the Finder icon on the Dock.
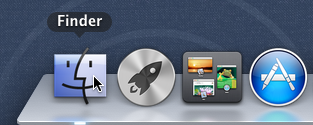 Opening Finder
 - Locate your drive in the sidebar, then click its eject button.
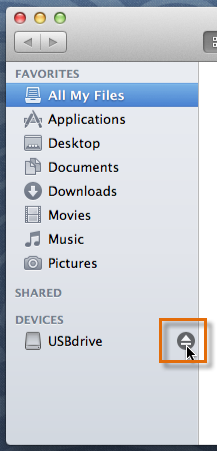 Clicking the eject button
 - The drive will disappear from the sidebar, and you can safely disconnect it from the computer.
If your flash drive appears as an icon on the desktop, right-click the drive icon and select Eject. The drive icon will disappear from the desktop. Alternatively, you can click and drag it to the Trash. It can then be safely disconnected from your computer.
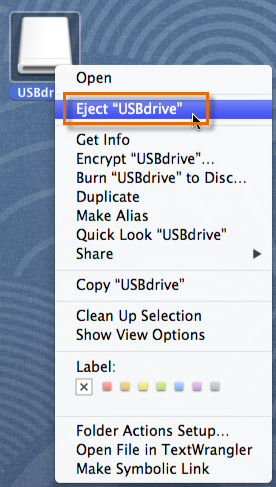 Ejecting a USB flash drive


