Google Docs
Inserting Images
Introduction
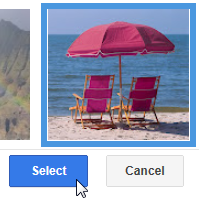
Adding images to your document can make it more visually appealing. Google Documents uses Google Search to find and provide images for you to choose from, so it's likely you'll find one that matches your needs. If you have a picture of your own that you would like to use, you can upload an image.
In this lesson, you will learn how to upload, search for, and insert images. You will also learn how to edit the size and position of an image.
Inserting images
Watch the video to learn how to find and insert images in Google Documents.
To upload an image:
- Place the insertion point in the document where you want to insert the image.
- Click the Insert image button.
 Clicking the Insert image button
 - The Insert image dialog box will appear. Click Choose an image to upload.
 Clicking Choose an image to upload
 - The Choose File to Upload dialog box will appear. Select the desired image file, then click Open. The image will appear in your document.
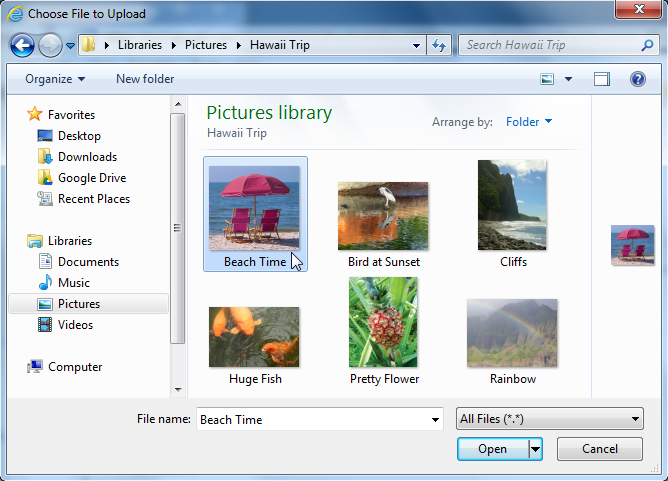 Inserting an image
Searching for images
When you search for an image in Google Documents, it's important to know that almost all of the images Google finds will belong to someone else. Google tries to filter the results to images that have creative commons and are free to use, but it is important to go to the source of an image to check the copyright license. For more information on how to use images found on the Internet, please visit our blog basics lesson on Copyright and Fair Use.
Options for searching
Google Documents offers three search options. The Google Search and Life Photo Archives options display search results with a source web address for each image. The third option displays stock images.
- Google Search: Using the Google Search option, you can apply a filter and a color selection to narrow search results. Click to select an image, and beneath the search results the URL for the source of the image will appear. Click the URL to open the source and view the license information.
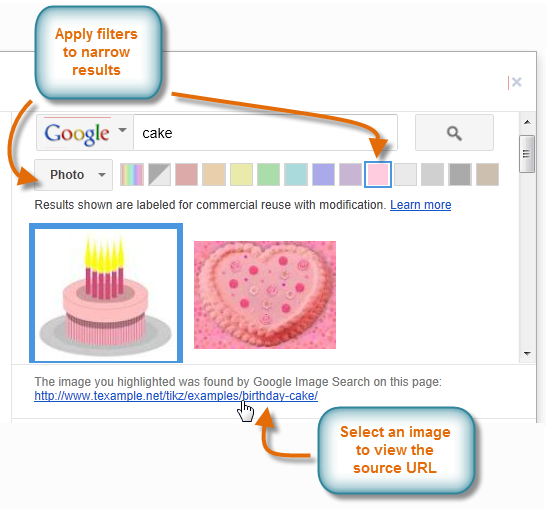 Google image search results
 - Life photo archive: Life magazine has provided archived images dating from the 1790s to today. Click an image to select it, and the source URL is provided.
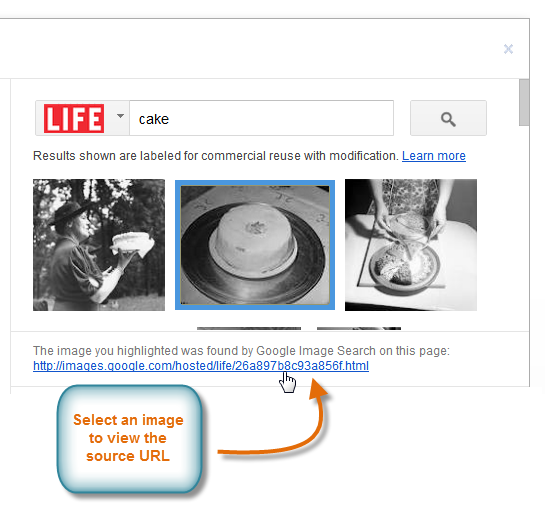 Life photograph archive search results
 - Stock photography archive: Results from searching stock images show free high-quality photographs. No source URL is provided for stock images.
 Viewing results from a stock images search
To search for an image:
- Place the insertion point in the document where you want to insert the image.
- Click the Insert image button.
 Clicking the Insert image button
 - The Insert image dialog box will appear. Click Search.
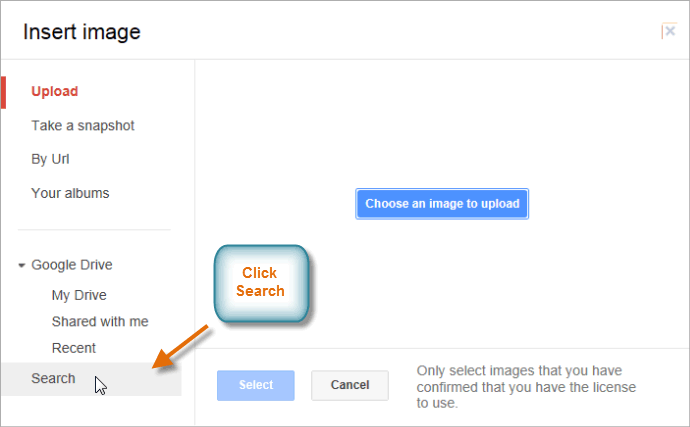 Clicking Search
 - A search pane will appear inside the dialog box. Select one of the three search options.
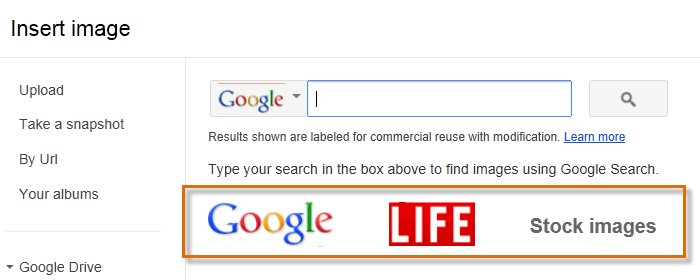 The three search options
 - Type the desired search term, then click the search button.
 Searching for an image
 - Review the search results. Select the desired image, then click Select.
 Inserting an image into the document
 - The image will appear in the document.
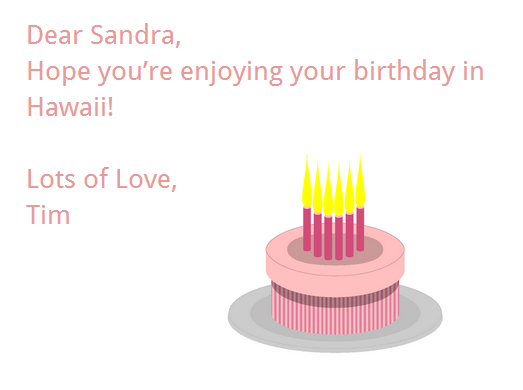 The inserted image
To delete an image, select it and press the Backspace or Delete key on your keyboard.
After completing a search, you can switch among the three search options to see additional images. Click the search option drop-down arrow to select a different search option.
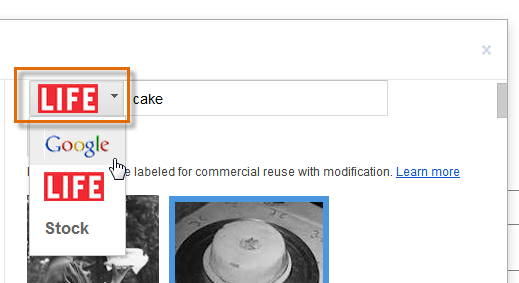 Selecting a search option
Other options for inserting images
Google Documents offers several additional options for inserting images. If you have the URL (web address) of an image or a collection of images stored in online albums or in your Google Drive, you can easily access and insert these pictures as well. Always remember to check the copyright license of an image before placing it in your document.
- By URL: This option is useful if you have the URL of a particular image. When the URL is entered correctly in the Paste an image URL here: field, a preview of the image will appear. Click Select to insert the image in your document.
 A correctly entered image URL
 - Your albums: Selecting Your albums gives you access to your Google account profile images. If you use Picasa to organize your photos, any albums you have created there will also be visible in the dialog box. Click on an album to open it and select an image.
 Viewing available albums
 - Google Drive: If you have images stored in your Google Drive account, clicking Google Drive will give you access to those images. You have the option of sorting pictures to show all of the images in your Google Drive, only those shared with you, or only your most recently uploaded images.
 Accessing images in My Drive
Editing images
Sometimes when you insert an image or a picture from a file, you may find that you will need to change the position of the image or resize it to make it look well-placed in your document.
To edit the position of an image:
You may notice that it is difficult to change the position of the image to another location in the document. This is because text wrapping is set to In line with text. You'll need to change the text wrapping setting if you want to move the image freely, or if you just want the text to wrap around the image in a more natural way.
- Select the image that you want to change the position of.
- Two positioning options appear below the image:
- In line with text: This option aligns the image with the text. The image will move with the text if additional text is added or deleted. However, you will be unable to select the image with the mouse to move it to another location.
- Fixed position: This option causes the text to wrap around the image. Use this option if you want to move the image to another location in the document.
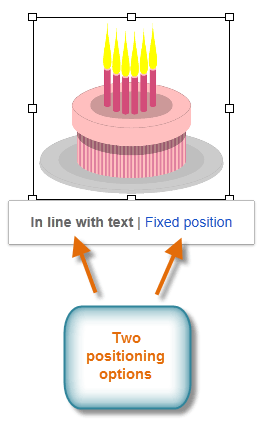 Options for changing an image's position
 - Select Fixed position. Hover the mouse over the image, and the cursor will change into directional arrows
 . Click, hold, and drag the image to the desired location.
 Editing the position of an image
 - Release the mouse, and the image will move to the selected position. The text wraps around the image.
 Viewing the repositioned image
To edit the size of an image:
- Select the image you want to resize. Resizing handles appear around the image.
 An image's resizing handles
 - Click, hold, and drag one of the side resizing handles to stretch the image horizontally or vertically.
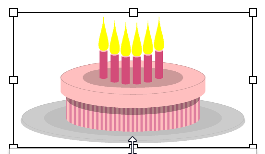 Resizing the image vertically
To scale the image and keep the same proportions, click, hold, and drag one of the corner resizing handles.
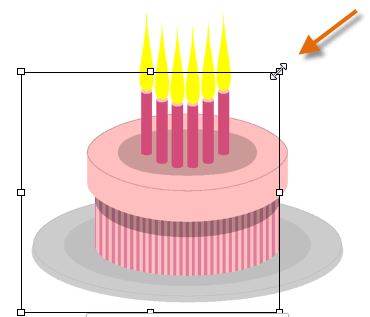 Scaling down an image
We have occasionally found that images may not move to a desired location or will seem to disappear when attempting to move them in Google Documents. If this happens, we recommend reloading the webpage or reopening the Google Document and trying again.
Challenge!
To work through the challenge, open GCFLearnFree L13: Birthday Card and copy the file to your Google Drive. View the instructions below the challenge if you're not sure how to make a copy of the file.
- Try uploading an image to place on the left side of the text.
- Use one of the search options to find a birthday image to insert into the document.
- Change the position of one of the images.
- Resize one of the images.
To copy the example file to your Google Drive:
In these tutorials, we will provide example files you can use to practice what you've learned in each lesson. Because these files are Google Docs we have chosen to share, you will need to copy the file to your Google Drive before you can edit the file.
- Click the link at the top of this page to open the example file.
- The example file will appear in a new browser tab or window. If you are not currently signed in to your Google account, locate and click Sign in on the top-right corner of the page.
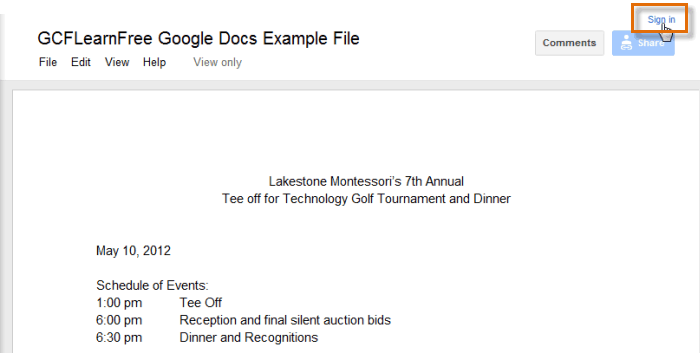 Signing in to your Google Account
 - After you have signed in to your Google account, locate and select File in the toolbar menu, then select Make a copy... from the drop-down menu.
 Making a copy of the example file
 - The Copy Document dialog box will appear. Click OK.
 Clicking OK
 - The copy of the file will appear in a new browser tab. Now you're ready to start using the example file.
 Viewing the copied example file in a new tab


