

Google Docs
Headers, Footers, and Page Breaks
Introduction
You can modify the layout of your document by utilizing the header and footer sections and inserting page breaks. Headers and footers usually contain additional information such as page number, date, document name, and footnotes. Page breaks and horizontal lines create separation in the text and can increase readability.
In this lesson, you will learn how to insert and edit headers, footers, and footnotes, and you'll also learn how to insert page breaks and horizontal lines.
Headers, footers, and more
 Watch the video (4:22).
Watch the video for a detailed look at headers, footers, page numbers, and more.
Headers and footers
The header is a section of the document that appears in the top margin, while the footer is a section of the document that appears in the bottom margin. Text entered in the header or footer will appear on each page of the document.
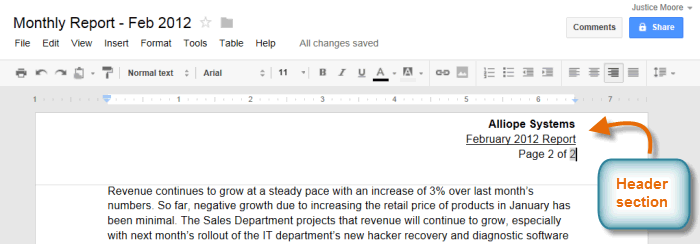 The header section of a document
To insert a header or footer:
- Click Insert, then select either Header or Footer from the drop-down menu.
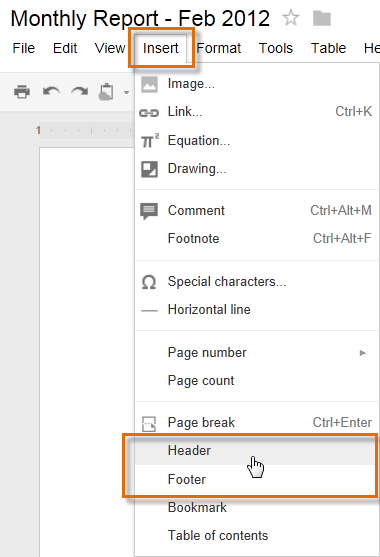 Choosing Header from the Insert menu
 - Depending on your selection, the insertion point will relocate to either the top or bottom margin of the page.
 Viewing the relocated insertion point
 - Type the desired text. When you're finished, press the Esc key on your keyboard to close the header or footer.
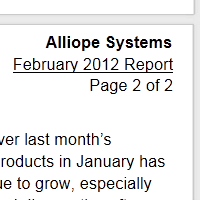
 The document's header
After you close the header or footer, it will still be visible, but it will be locked. To edit it again, just click anywhere on the header or footer, and it will become unlocked.
Formatting text in a header or footer
To format text in headers and footers, you can use many of the same formatting options that are available to format text in the body of your document. You can align the text, modify the font style and size, and add bolding, italics, and underlining. Visit our lesson on Formatting Text and Adding Hyperlinks to learn more about the formatting options available in Google Documents.
 A formatted header
To add page numbers to a header or footer:
Google Documents can automatically label each page with a page number and place it in a header or footer. If you wish to display the word "Page" as part of the page number, you will need to type "Page" at the desired location in the header.
- Select the document's header or footer.
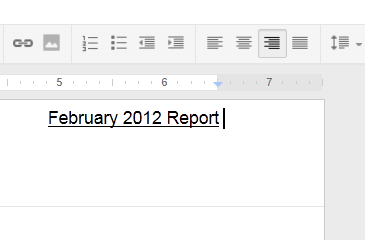
- Place the insertion point where you wish the page number to appear. Type the word "Page" if you want.
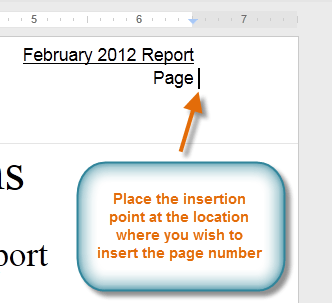 Placing the insertion point next to Page
 - Click Insert and hover the mouse over Page number. Then select Top of page or Bottom of page.
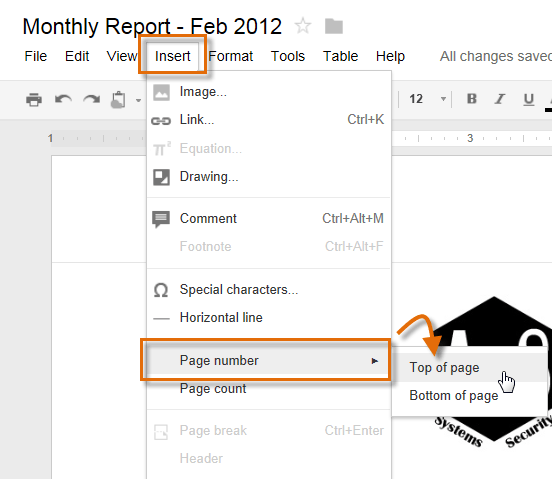 Inserting the page number in the header
 - The page number will appear.
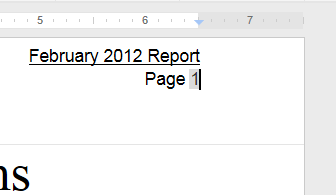 The page number
To display the page count:
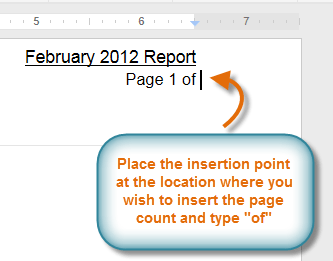
Google Documents can also automatically display the page count, or how many pages your document has, in the header or footer. If you wish to add the page count next to the page number, you will need to type the word "of" after the page number.
- Place the insertion point after the page number and type "of".
 Placing the insertion point
 - Click Insert, then select Page count from the drop-down menu.
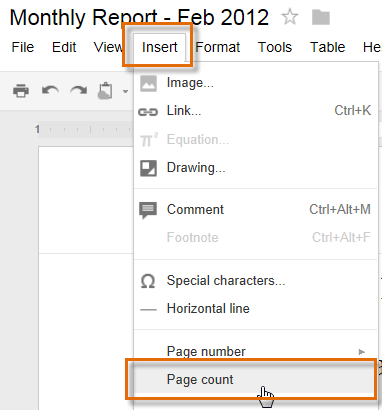 Adding Page count to the header
 - The page count will appear in the document after the page number.
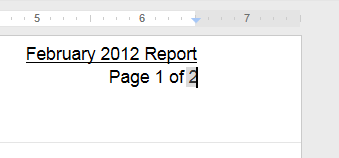 Viewing the inserted page count
Working with footnotes
A footnote provides additional information about the text it refers to. It could include information for how to learn more about the topic, or it could include a citation (a reference to published work) for a quote used in the text. Footnotes are commonly used in research reports and academic writing.
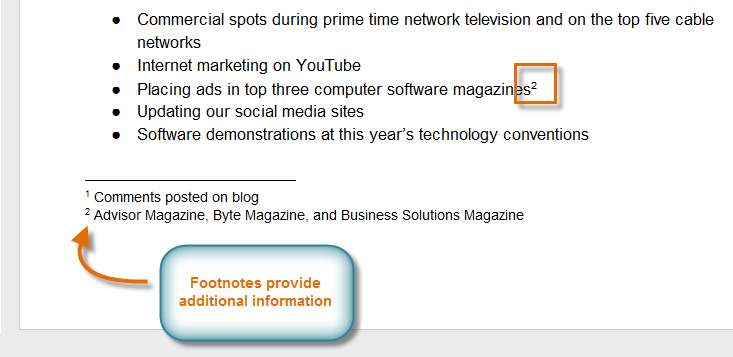 Viewing footnotes
To add footnotes:
- Place the insertion point after the text the footnote will refer to.
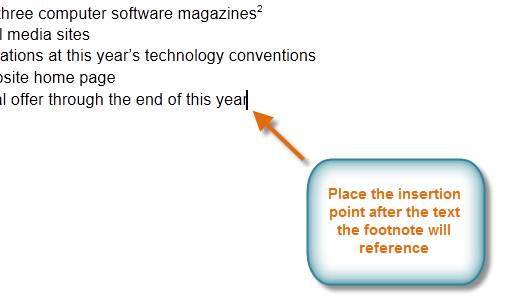 Placing the insertion point after the text
 - Click Insert, then select Footnote from the drop-down menu.
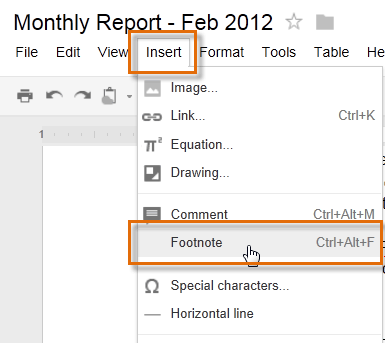 Adding a footnote to the document
 - Google Documents will place a superscript number in the body of the document, as well as at the bottom of the page. The insertion point will now be at the bottom of the page.
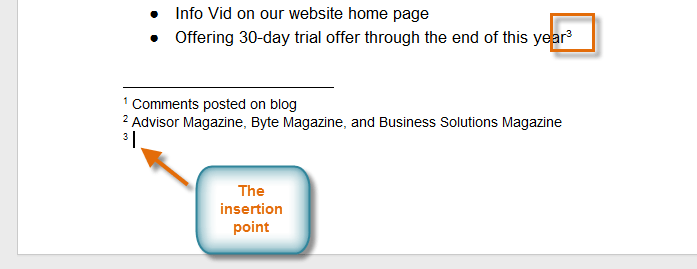 Preparing to add additional information in the footnote
 - Type the text you wish to display as additional information.
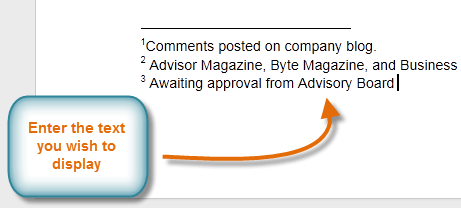 Typing the footnote
 - When you're done, press the Esc key on your keyboard to return to the body of the document.
Page breaks
Page breaks allow you to have more control over the layout of your document. You might use a page break if you're writing a paper that has a title page or a bibliography to ensure it starts on a new page.
To insert a page break:
- Place the insertion point at the location where you want the page break to appear.
- Click Insert, then select Page break from the drop-down menu.
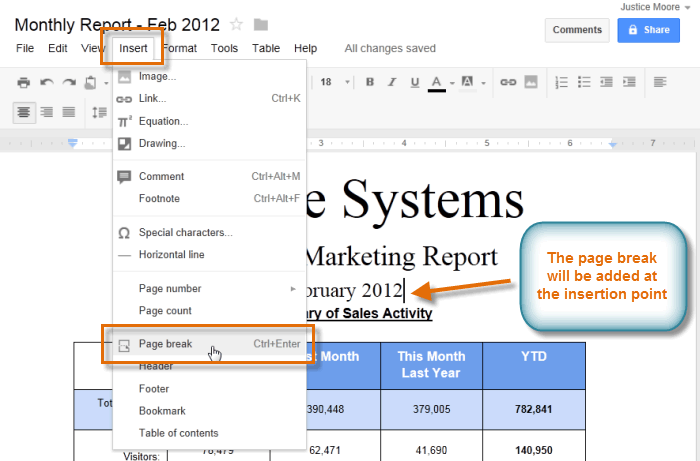 Inserting a page break in the document
 - The page break will appear in the document.
 Viewing the page break
To remove a page break, place the insertion point below the break and press the Backspace key on your keyboard. You may need to press the key several times to delete the break.
Horizontal lines
Horizontal lines separate text into sections. The addition of a few thoughtfully placed horizontal lines can make your document more visually appealing and easier to read.
To add a horizontal line:
- Place the insertion point at the location where you want the horizontal line to appear.
- Click Insert, then select Horizontal line from the drop-down menu.
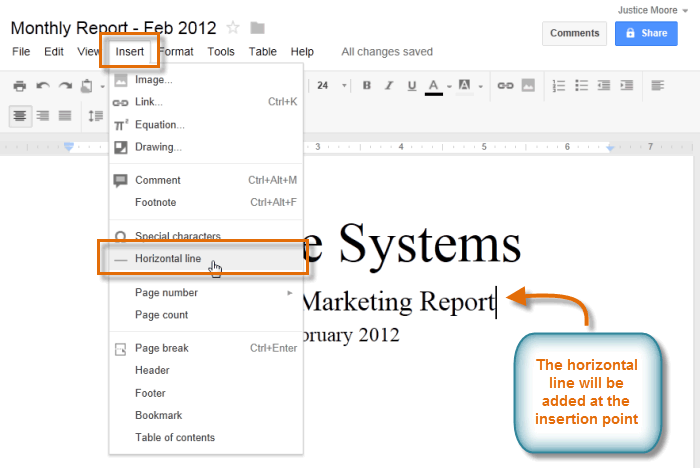 Inserting a Horizontal line
 - The horizontal line will appear in the document.
 Viewing the inserted horizontal line
To remove a horizontal line, double-click the line to select it, then press the Backspace or Delete key on your keyboard.
Challenge!
To work through the challenge, open GCFLearnFree L11: Monthly Report - Feb 2012 and copy the file to your Google Drive. View the instructions below the challenge if you're not sure how to make a copy of the file.
- Create a header for the report that says Alliope Systems Monthly Report. Format the text so it is bold and right-aligned.
- Create a footer and insert the page number so it is centered in the footer.
- Try adding a fourth footnote to the document.
- Add a page break after the Alliope Systems logo.
- Insert a horizontal line after February 2012 to separate information in the document.
To copy the example file to your Google Drive:
In these tutorials, we will provide example files you can use to practice what you've learned in each lesson. Because these files are Google Docs we have chosen to share, you will need to copy the file to your Google Drive before you can edit the file.
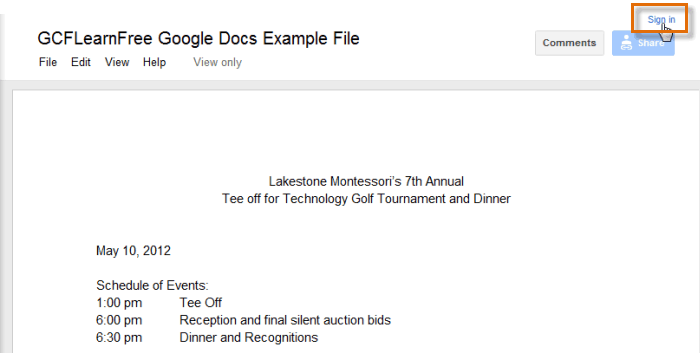
- Click the link at the top of this page to open the example file.
- The example file will appear in a new browser tab or window. If you are not currently signed in to your Google account, locate and click Sign in on the top-right corner of the page.
 Signing in to your Google Account
 - After you have signed in to your Google account, locate and select File in the toolbar menu, then select Make a copy... from the drop-down menu.
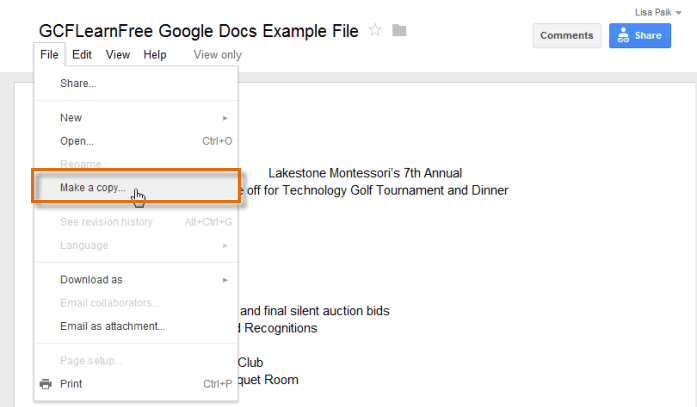 Making a copy of the example file
 - The Copy Document dialog box will appear. Click OK.
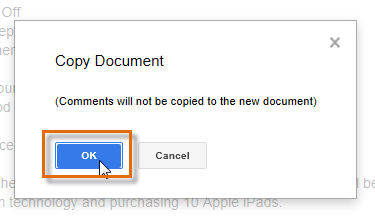 Clicking OK
 - The copy of the file will appear in a new browser tab. Now you're ready to start using the example file.
 Viewing the copied example file in a new tab