

Google Docs
Formatting Text and Adding Hyperlinks
Introduction
To create and design quality documents, you need to know how to format text. In addition to making your document more appealing, formatted text can draw a reader's attention to specific parts of the document and help communicate your message.
In this lesson, you'll learn how to format font style, size, and color, as well as how to highlight text. In addition, you'll learn how to use the bold, italic, and underline shortcut buttons, as well as how to set a a hyperlink.
Formatting text, hyperlinks, and more
 Watch the video (3:47).
Watch the video to learn how to format text in Google Documents, including line spacing, paragraph spacing, and hyperlinks.
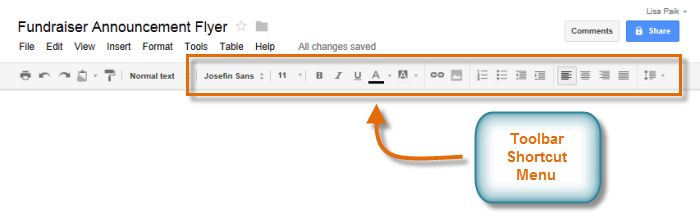
Toolbar Shortcut Menu
Google Documents offers a variety of text formatting options you can use to modify the look and feel of your document. These options are located in the Toolbar Shortcut Menu. In the next few pages, you'll learn how these options can help you to enhance your document's appearance.
 The Google Documents Toolbar Shortcut Button
To change the font style:
- Select the text you wish to modify.
 Selecting text to modify
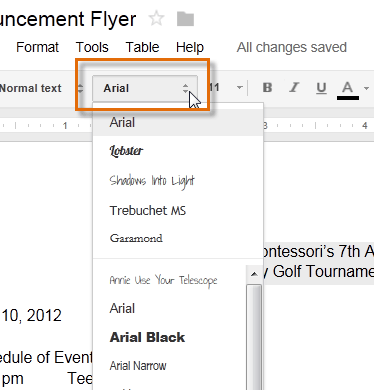
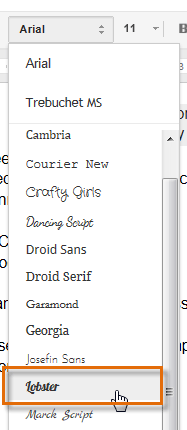
 - Click the Font Style box from the toolbar. A drop-down menu of font styles appears. The name of each font style has been formatted to look like the style it describes.
 Clicking the Font drop-down arrow
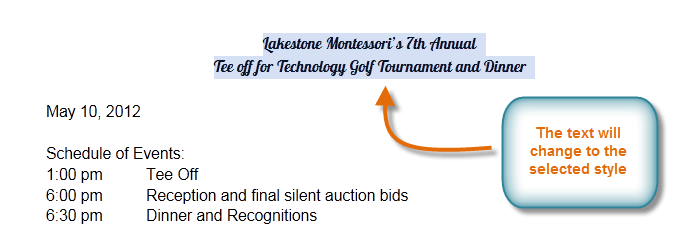
 - Select the font style you wish to use. In our example, we will select the Lobster font style.
 Selecting a font style
 - The selected text will change to the new font style.
 Viewing the changed font style
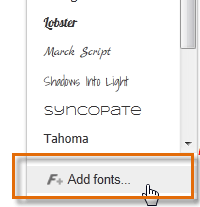
If you don't see the font style you're looking for, or if you would like more styles to choose from, Google Documents allows you to add additional fonts to the Font style drop-down menu. Locate and click Add fonts... from the bottom of the Font style drop-down menu to open the Add fonts dialog box.
 Clicking Add fonts...
 To change the font size:
- Select the text you wish to modify.
 Selecting text to modify
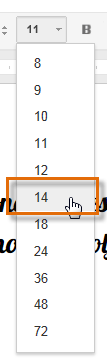
 - Click the Font size box from the toolbar. A drop-down menu of font sizes appears.
 Clicking the Font size drop-down arrow
 - Select the font size you wish to use. In our example, we'll change the font size to 14 to make it larger.
 Selecting a font size
 - The text will change to the new font size.
 Viewing the results
To change the text color:
- Select the text you wish to modify.
 Selecting text to modify
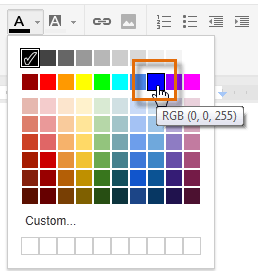
 - Click the Text color box from the toolbar. A drop-down menu of text colors appears. The box of the current text color is checked.
 Clicking the Text color drop-down arrow
 - Select the box of the text color you wish to use. In our example, we'll choose blue.
 Selecting a font color
 - The text will change to the new color.
 Viewing the changed font color
To highlight text:
Google Documents refers to highlighting as changing the text background color.
- Select the text you wish to modify, then click the Text background color box from the toolbar.
- A drop-down menu of text background colors appears. Select the text background color you wish to use.
 Choosing a text background color
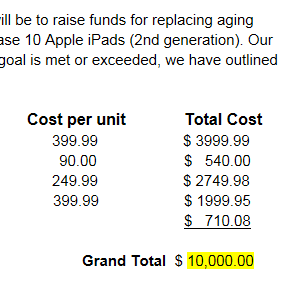
 - The text will be highlighted.
 Highlighted text
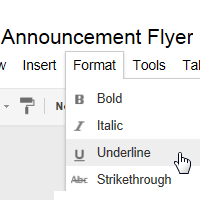
To use the bold, italic, and underline buttons:
- Select the text you wish to modify.
- Click the bold (B), italic (I), or underline (U) button in the shortcut toolbar.
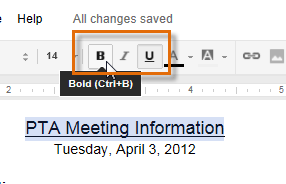 Making the text bold
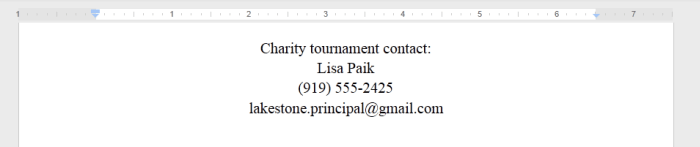
To change text alignment:
There are four alignment buttons in Google Documents:
- Left align
 : Aligns all selected text to the left margin
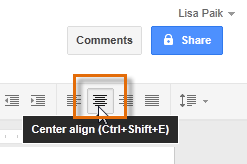
 - Center align
 : Aligns text an equal distance from the left and right margins
 - Right align
 : Aligns all selected text to the right margin
 - Justify
 : Text is equal on both sides and lines up equally to the right and left margins; many newspapers and magazines use full justification
- Select the text you wish to align.
 Selecting text to align
 - Click the desired alignment button.
 Clicking an alignment button
 - The text will realign.
 Viewing the aligned text
Line and paragraph spacing
In Google Documents, line spacing is measured in lines. For example, when text is double-spaced, the line spacing is two lines high. You can reduce the line spacing to fit more lines on the page, or you can increase it to improve readability.
To format line spacing:
- Select the text you wish to format.
 Selecting text to format
 - Click the Line spacing button, then select the desired line spacing option from the drop-down menu.
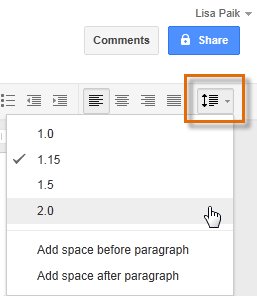 Changing the line spacing
 - The line spacing will adjust in the document.
 The modified line spacing
Paragraph spacing
Just as you can format spacing between lines in your document, you can choose spacing options between each paragraph. Typically, extra spaces are added between paragraphs, headings, or subheadings. Extra spacing between paragraphs is another way to help to make a document easier to read.
To format paragraph spacing:
- Select the text you wish to format.
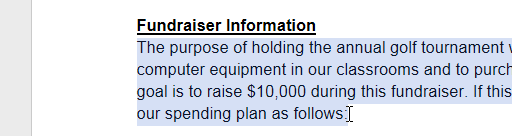 Selecting text to format
 - Click the Line spacing button.
- Select Add space before paragraph or Add space after paragraph from the drop-down menu.
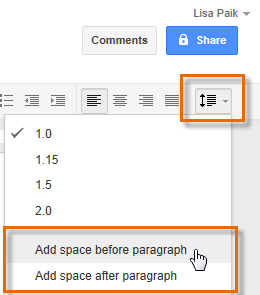 Adding space before a paragraph
 - The paragraph spacing will adjust in the document.
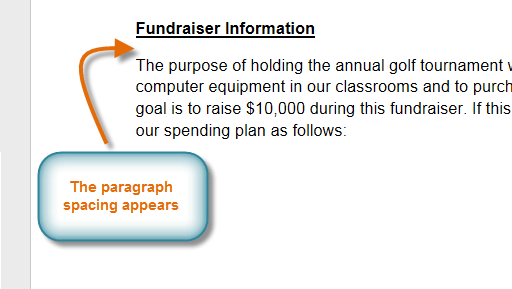 Viewing the added paragraph spacing
To remove paragraph spacing, click the Line spacing button, then select Remove space before paragraph or Remove space after paragraph.
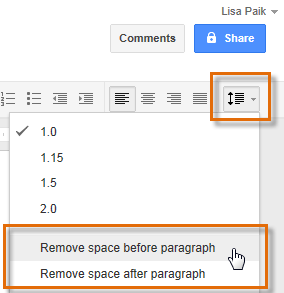 Removing space before a paragraph
Hyperlinks
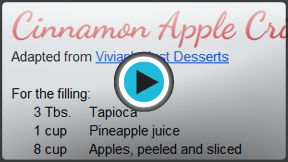
A hyperlink is a link to a web address (or URL). If you want to include a web address in your Google document, you can format it as a hyperlink for a person to click on. The hyperlink will then open the webpage in a new browser window.
To insert a hyperlink:
Hyperlinks have two basic parts: the address (URL) of the webpage and the display text. For example, the address could be http://www.apple.com/ipad, and the display text could be "Apple iPad". When you're creating a hyperlink in Google Documents, you'll be able to choose both the address and the display text.
- Select the text you would like to make a hyperlink.
 Selecting text to hyperlink
 - Click the Insert link button, or right-click the selected text and click Link...
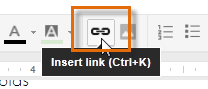 Clicking the Insert link button
 - The Edit Link dialog box will appear. In the Text to display field, the selected text will appear. You can modify this text if you wish.
- Type the address you would like to link to in the URL for the link field.
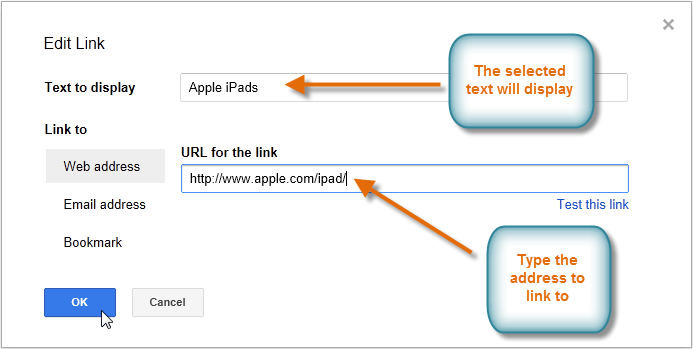 Creating a hyperlink
 - Click OK. The text you selected will now be a hyperlink.
 The finished hyperlink
 - Click the link to view the URL.
 Viewing the link
If you wish to change or remove the hyperlink, click the link and select Change or Remove from the options that appear below the hyperlink.
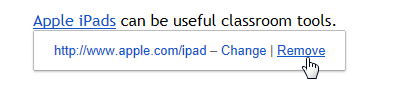 Removing the hyperlink
Challenge!
To work through the challenge, open GCFLearnFree L9: Silent Auction Announcement and copy the file to your Google Drive. View the instructions below the challenge if you're not sure how to make a copy of the file.
- Select the first two lines at the top of the page.
- Change the font style to Arial Black.
- Increase the font size to 14.
- Select the schedule of events, and change the text color.
- Look for a word or phrase you want to highlight. Highlight the text by changing the text background color.
- Try changing the alignment of the date, schedule of events, and location of the event so they are centered.
- At the bottom of the flyer, create a hyperlink to explain what a silent auction is using the URL: http://www.wisegeek.com/what-is-a-silent-auction.htm.
To copy the example file to your Google Drive:
In these tutorials, we will provide example files you can use to practice what you've learned in each lesson. Because these files are Google Docs we have chosen to share, you will need to copy the file to your Google Drive before you can edit the file.
- Click the link at the top of this page to open the example file.
- The example file will appear in a new browser tab or window. If you are not currently signed in to your Google account, locate and click Sign in on the top-right corner of the page.
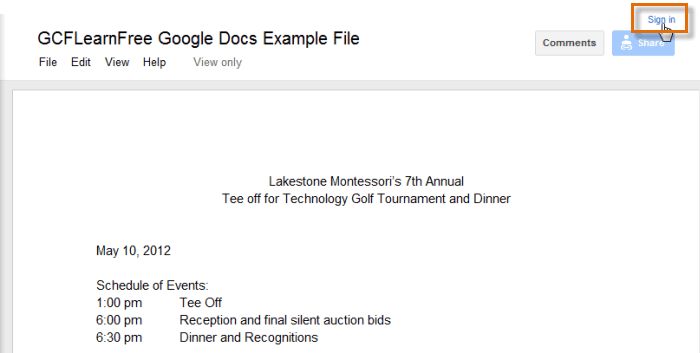 Signing in to your Google Account
 - After you have signed in to your Google account, locate and select File in the toolbar menu, then select Make a copy... from the drop-down menu.
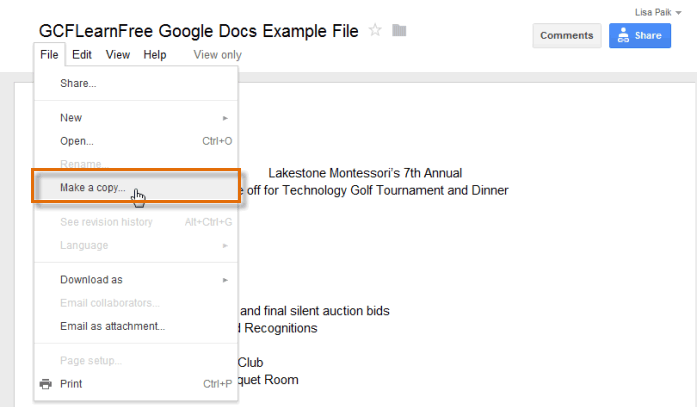 Making a copy of the example file
 - The Copy Document dialog box will appear. Click OK.
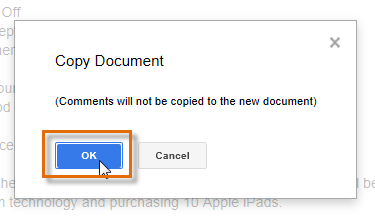 Clicking OK
 - The copy of the file will appear in a new browser tab. Now you're ready to start using the example file.
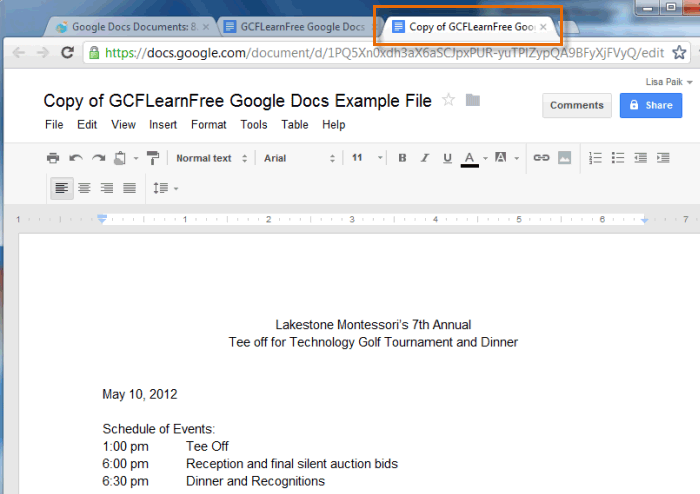 Viewing the copied example file in a new tab