

Excel 2013
Worksheet Basics
Introduction
Video: Worksheet Basics
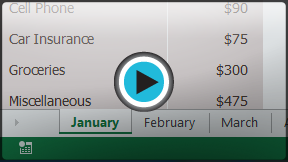 Watch the video (3:53).
Every workbook contains at least one worksheet by default. When working with a large amount of data, you can create multiple worksheets to help organize your workbook and make it easier to find content. You can also group worksheets to quickly add information to multiple worksheets at the same time.
Optional: Download our Lesson 10 Practice Workbook.
To rename a worksheet:
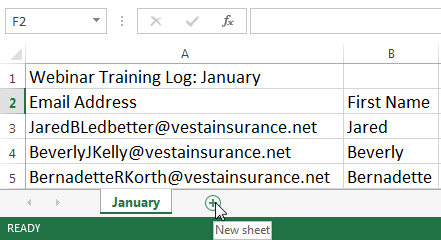
Whenever you create a new Excel workbook, it will contain one worksheet named Sheet1. You can rename a worksheet to better reflect its content. In our example, we will create a training log organized by month.
- Right-click the worksheet you wish to rename, then select Rename from the worksheet menu.
 Clicking Rename
 - Type the desired name for the worksheet.
 Entering a new worksheet name
 - Click anywhere outside of the worksheet, or press Enter on your keyboard. The worksheet will be renamed.
 The renamed worksheet
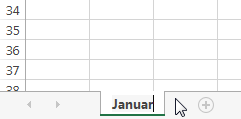
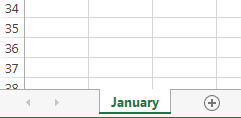
To insert a new worksheet:
- Locate and select the New sheet button.
 Clicking the New sheet button
 - A new, blank worksheet will appear.
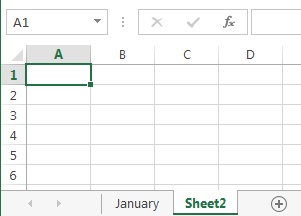 The new, blank worksheet
To change the default number of worksheets, navigate to Backstage view, click Options, then choose the desired number of worksheets to include in each new workbook.
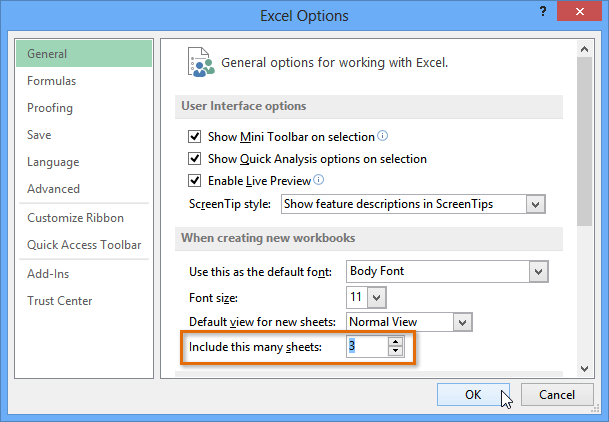 Modifying the number of default worksheets
To delete a worksheet:
- Right-click the worksheet you wish to delete, then select Delete from the worksheet menu.
 Deleting a worksheet
 - The worksheet will be deleted from your workbook.
 The deleted worksheet
If you wish to prevent specific worksheets from being edited or deleted, you can protect them by right-clicking the desired worksheet and then selecting Protect sheet from the worksheet menu.
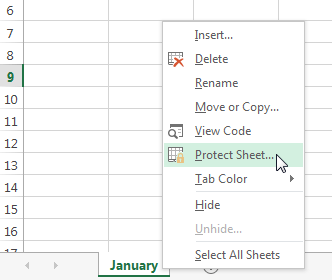 Protecting a worksheet


