

Excel 2013
Modifying Columns, Rows, and Cells
To modify row height:
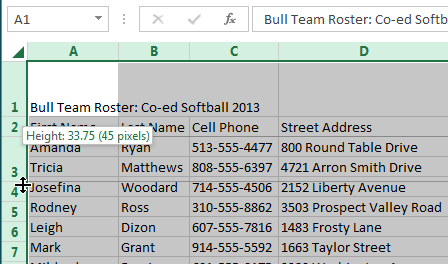
- Position the cursor over the row line so the white cross
 becomes a double arrow
  .
.
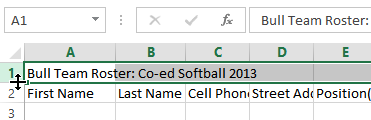 Hovering the mouse over the row line
 - Click, hold, and drag the mouse to increase or decrease the row height.
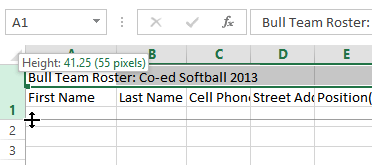 Increasing the row height
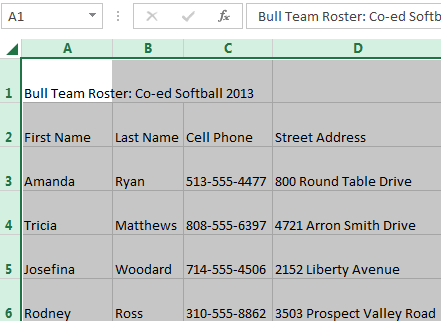
 - Release the mouse. The height of the selected row will be changed.
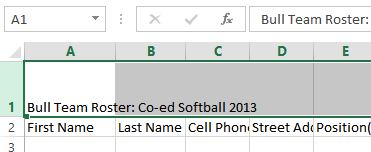 The new row height
To modify all rows or columns:
Rather than resizing rows and columns individually, you can modify the height and width of every row and column at the same time. This method allows you to set a uniform size for every row and column in your worksheet. In our example, we will set a uniform row height.
- Locate and click the Select All button
 just below the formula bar to select every cell in the worksheet.
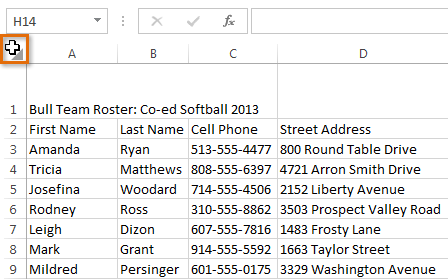 Selecting every cell in a worksheet
 - Position the mouse over a row line so the white cross becomes a double arrow .
- Click, hold, and drag the mouse to increase or decrease the row height.
 Modifying the height of all rows
 - Release the mouse when you are satisfied with the new row height for the worksheet.
 The uniform row height


