Access 2013
Working with Forms
Using form features
The exact procedure you use for filling out a form will vary depending on the content and design of the form you are using. The forms in your database might be similar to the examples in the two interactives below. Between them, they include most of the features you'll commonly encounter in forms.
Click the buttons in the interactive below to learn about a simple form.
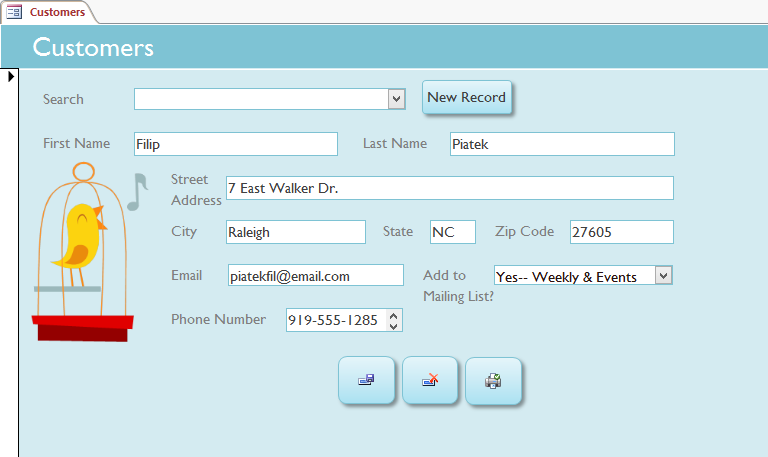
New Record Button
Clicking the New Record button will create a new record with all fields cleared except for fields with a default value.
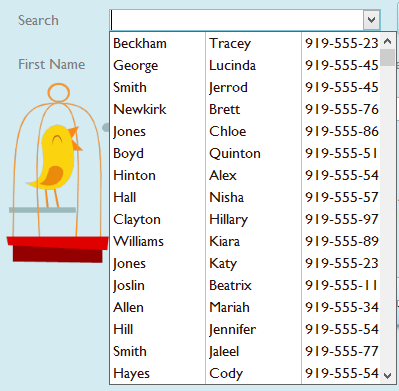
Drop-Down Search Box
This drop-down search box allows you to search for existing records. Simply begin typing, and records that match your search will appear in the drop-down list. You can also browse existing records. Just click the drop-down arrow and scroll through the list of records.
More Form Buttons
Form buttons can provide quick and easy ways to carry out common tasks instead of using the commands on the Ribbon.
From left to right, the buttons here allow a user to save, delete, or print the current record.
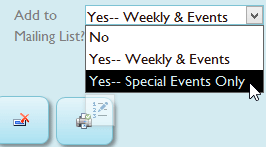
Combo Box
In order to guarantee that users only enter valid responses, the database designer may use a combo box. A combo box allows you to enter data by choosing from a drop-down list of choices.
Text Box
Most data entry using forms is done with labeled text boxes. A text box is the Access equivalent of the blank space where you would write your information on a paper form.
To enter data into a text box, simply click the text box and begin typing.
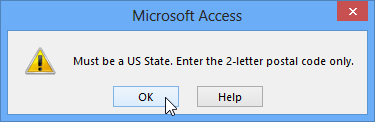
Text Box with Validation Rule
If the database designer has created any rules specifying what type of data can be entered in each field, these rules will be reflected in the related forms.
If you encounter a message like this one, simply click OK and re-enter the data following the instructions in the dialog box.
Some forms may include more options, like calendar buttons, drop-down lists, Yes/No check boxes, subforms, and embedded tables.
Click the buttons in the interactive below to learn about a more complex form.
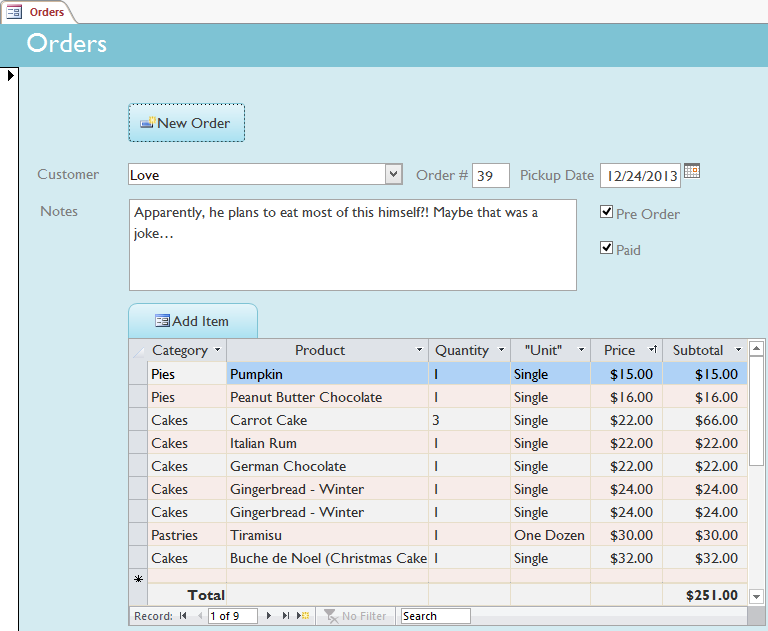
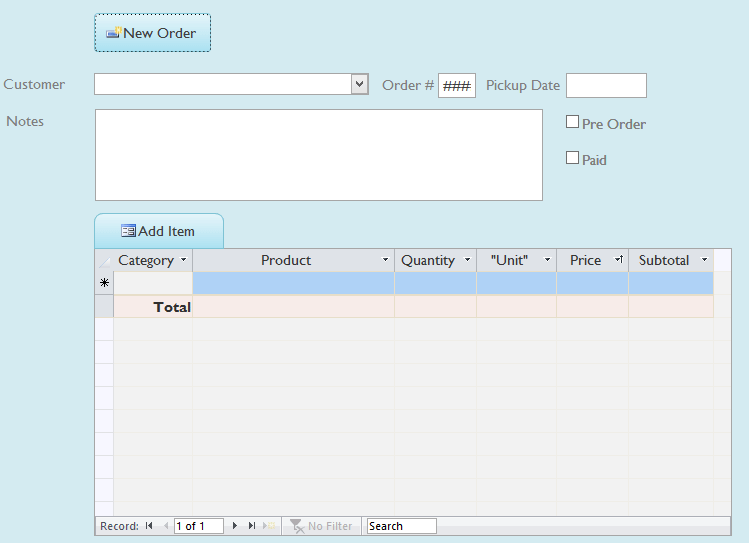
New Order Button
This customized button will create a new record with all fields cleared. Note that the subform, too, is totally cleared.
Drop-Down List
This drop-down list allows you to select an existing record. Simply begin typing, or select a name from the drop-down list. This means that we can only take orders from customers that have already been added to the Customers table.
If we wanted to add a new customer to our database, we'd need to use the Customers form first. Requiring each order to be linked to an actual customer record helps to preserve the integrity of our database.

Calendar Button
Since the Pickup Date field on the related form only accepts information formatted as a date, the Pickup Date text box includes a calendar button to ensure that users can only enter a date in the desired format.
Requiring dates to be entered in a consistent format ensures that the database will recognize each entry in this field as a date.

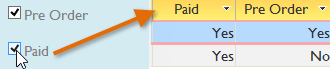
Yes/No Checkboxes
There are only two valid responses for the Pre Order and Paid fields in our related table: yes and no. Checkboxes give users an easy way to input this data. Simply click the checkbox for yes or leave it unchecked for no.
Sub-Form and Embedded Table
In our database, order items are stored in a separate table from the orders themselves. In order to enter and display order data, this form includes an embedded sub-form and table.
This orders table can be viewed and searched like a normal table, but it only includes data linked to this particular order.
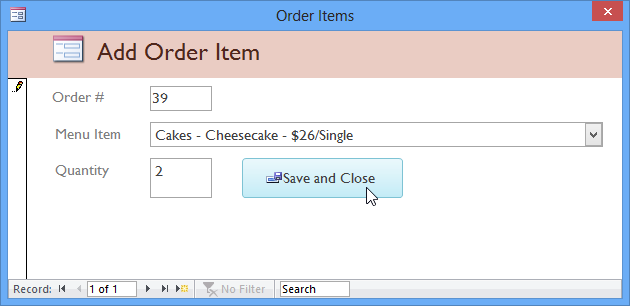
Add Item to Sub-Form
This button launches the sub-form that allows you to add a new record to the embedded table. When using a sub-form like this, enter the data as you would in a normal form, then click Save and Close. The new record will be displayed in the embedded table.