

Access 2010
Modifying Tables
Modifying tables
Video: Modifying Tables in Access 2010
 Watch the video (4:29).
In addition to making basic modifications to your tables, like adding and moving fields, you can make more advanced modifications that let you set rules for your data. All of these changes can help make your tables even more useful.
Adding and rearranging fields
Access makes it easy to rearrange existing fields and add new ones. When you add a new field, you can even set the data type, which dictates which type of data can be entered into that field.
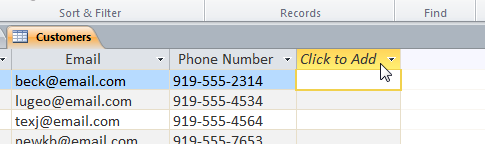
To add a new field to an existing table:
- Open the table, then click the header with the text Click to Add. If you already have many fields, you may have to scroll all the way to the right to see this.
 Preparing to add a new field
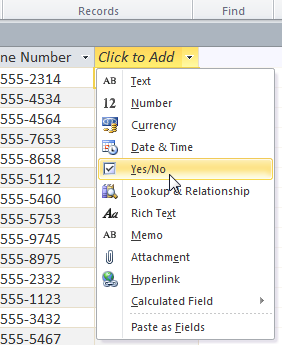
 - A drop-down menu will appear. Select the data type you'd like for the new field.
- Text: This is the default option, and best for text. You should also choose it for numbers you don't plan to do math with, like postal codes and phone numbers.
- Number: This is best for numbers you might want to do calculations with, like quantities of an item ordered or sold.
- Currency: This automatically formats numbers in the currency used in your region.
- Date & Time: This allows you to choose a date from a pop-out calendar.
- Yes/No: This inserts a check box into your field.
- Memo: This is ideal for large amounts of text, like product descriptions. You can format text entered in Memo fields.
- Attachment: This allows you to attach files, like images.
- Hyperlink: This creates a link out of web or email addresses.
 Selecting a data type
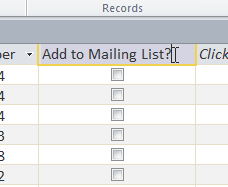
 - Type a name for your field, then press Enter.
 Naming the new field
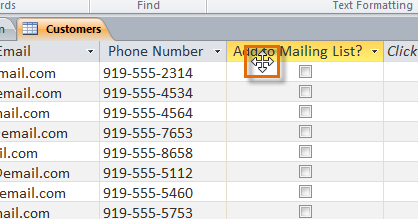
To move a field:
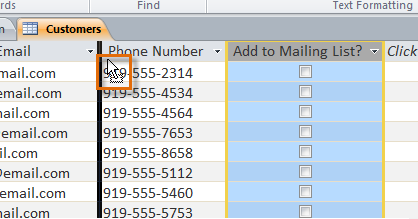
- Locate the field you wish to move, then hover your mouse over the bottom border of the field header. Your cursor will become a four-sided arrow
 .
.
 Hovering the mouse over the field to be moved
 - Click and drag the field to its new location.
 Dragging the field to its new location
 - Release your cursor. The field will appear in the new location.
 The moved field


