This article was co-authored by wikiHow staff writer, Maddie Holleman. Maddie Holleman is a Technology Writing Intern for wikiHow. Alongside writing many articles on technology and social media, Maddie has previously worked as a social media strategist and publicist for two organizations and has been using social media for years. She is currently pursuing a degree in Anthropology and Digital Studies at Davidson College.
This article has been viewed 1,180 times.
One of the best parts of Procreate, the popular digital illustration app, is the layers feature. You can use layers to stack or reorganize elements on your canvas. You can also apply different blend modes, or ways that layers interact with each other, to create new visual effects. Layers let you work on your art in pieces and make it easy to experiment! This wikiHow article will teach you how to effectively use layers in Procreate to create your own masterpiece.
Steps
Setting Up Procreate
-
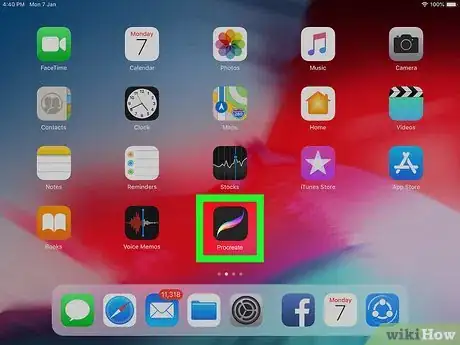
1Open the Procreate app. If you already have Procreate installed, enter the app. If you don't have the Procreate app on your iPad, search for it on the Apple App Store and download it to your device.
- Procreate costs $9.99 to download from the App Store.
- Procreate is only offered on Apple iPad.
-
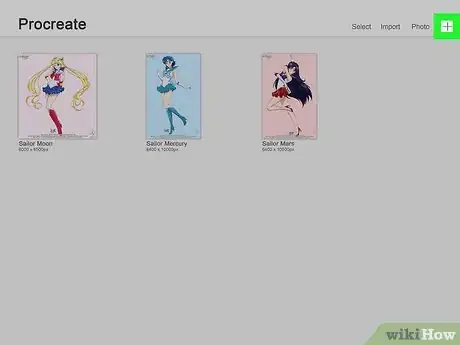
2Open a new canvas in the Procreate gallery. Once you have opened or installed Procreate, begin working on a canvas. Press the white plus icon in the top right corner of the app's homepage to start a new canvas, or open one you have already started working on in your Procreate gallery.
- If you want to switch canvases, just press "Gallery" in the top left corner of the canvas screen to be returned to the Procreate home screen.
- Procreate offers a selection of canvas sizes to fit your artistic needs. The "Screen Size" option fits the canvas to your device's screen is great for Procreate beginners.
Using Basic Layer Controls
-
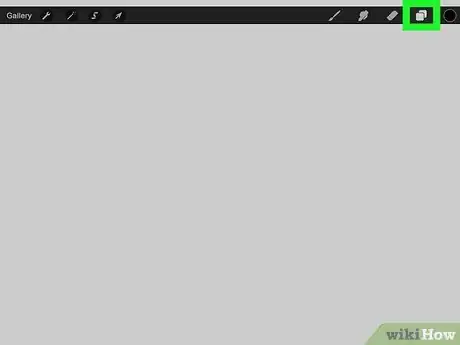
1Open "Layers" by clicking the icon of the stacked two squares. You will find this option in the menu at the top of your screen. In the layers menu, you will be able to see all of the layers on this canvas. These layers will include "Background color", "Layer 1", and any other layers that you have added.
- The background color layer is the default white backdrop which Procreate adds to your canvases. You cannot delete the background color layer, but you can change the color by clicking on the layer. A color wheel will pop up and you will be able to customize the background color to your liking.
-
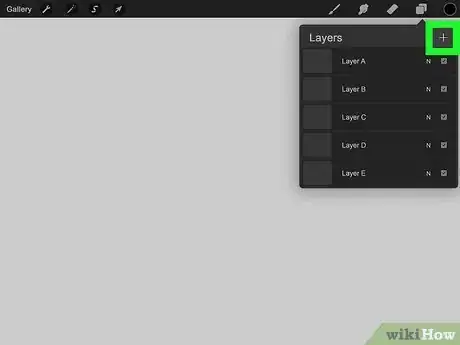
2Add a new layer by clicking the white plus button at the top of the layers menu. After clicking on the icon of two stacked squares, a window will pop up below the icon. By pressing the white plus logo at the top right corner of this window, you will create a new layer for this canvas which will immediately appear in the list.
-
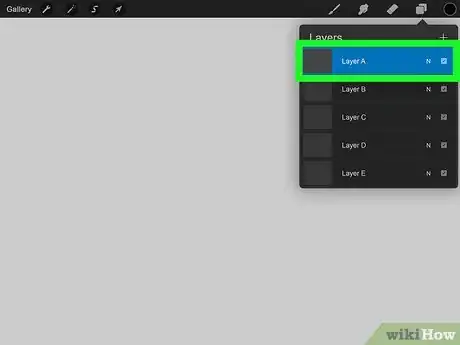
3Navigate between layers by selecting the layer you wish to edit in the layers menu. The layer that is highlighted in the menu is the layer that is currently selected. Whichever layer is selected will be the layer that your drawings and designs will be attached to.
- All of the designs done on the same layer will be grouped together. Be sure to make a new layer or switch to another layer if you want to edit components of your piece separately.
-
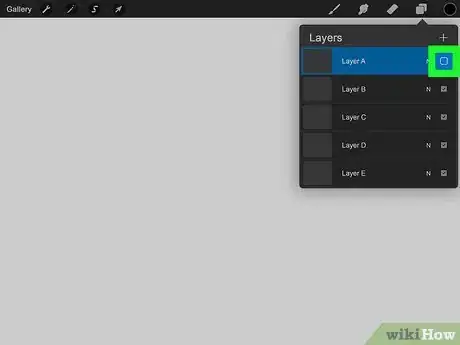
4Hide a layer by unchecking its box in the layers list. If you only want to see the layer you are currently editing or a select number of layers at a time, you can hide layers by unchecking their boxes in the layers menu.
- Though you cannot delete the background color layer, you can hide the background color as you can any other layer.
-
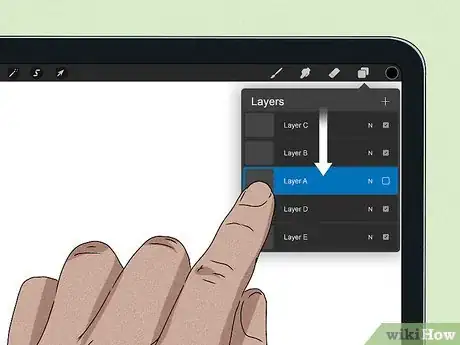
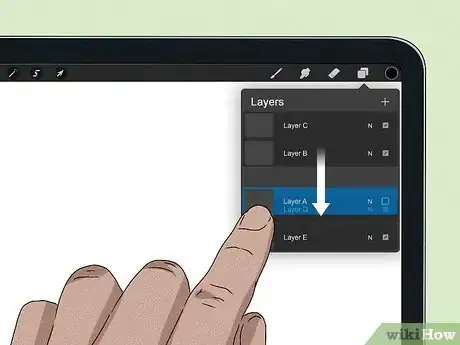
5Drag a layer up and down the list to rearrange its order. The layer closest to the top of the menu will be positioned visually on top of all other layers that it overlaps with. Therefore, you can edit the order of your layers by dragging those that you want to be in the foreground to the top of the list and those that you want to be in the background to the bottom of the list.
- The title of layers in the menu (i.e. Layer 1) refers to the order in which the layer was created, not the overlap order of the layer. To avoid any confusion, you can change the names of layers.
-
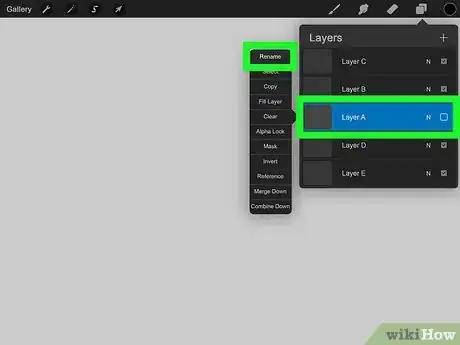
6Rename layers by tapping on them in the layers menu. Tapping on a layer will pull up a window of options relating to that layer. At the top of this window, you will see the option to rename that layer. Choosing this option will allow you to type in a new name for this layer. Once you are done renaming a layer, tap anywhere on the screen and the name will automatically save in the layers menu.
- Consider naming your layer after a the content of that layer to help you remember what exactly each layer is. For example, if you were drawing a sky, you could name the different layers "clouds", "sun", "birds", etc.
Using Advanced Layers Controls
-
1Group layers by dragging one layer on top of another in the menu. Grouping layers allows you to select, hide, show, and delete multiple layers at once. Press down on a layer and hover it over another to create a group of these two layers. Add more layers to a group by repeating this process.
- Layers in a group will still have to be worked on separately. You cannot draw on two layers at once.
- You can ungroup a layer out of a group by dragging it out of the group in the list.
- Groups can be renamed in the same way that layers can be renamed.
-
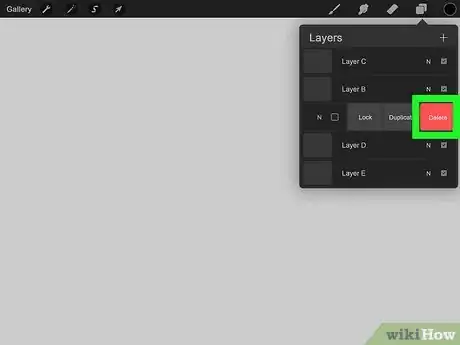
2Delete a layer by sliding it left in the layers menu. Swiping your finger left on a layer you wish will reveal the options to "Lock", "Duplicate", and "Delete" that layer. Click "Delete" and that layer will disappear from the menu.
- If you accidentally delete the wrong layer, you can always undo your last action in Procreate by tapping the screen with two fingers.[1]
-
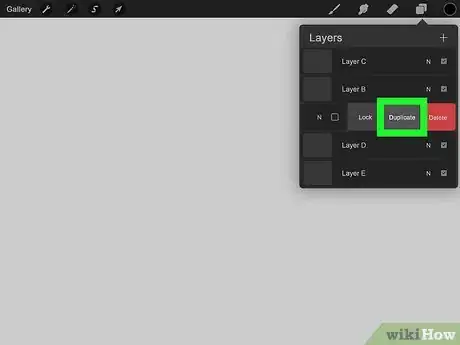
3Copy a layer with the "Duplicate" option. Sliding a layer left also allows you to duplicate it, creating an identical copy of the layer in its current form.[2]
- Duplicating your layers at different stages can come in handy in case you mess up or want to redo a certain aspect of your design.
-
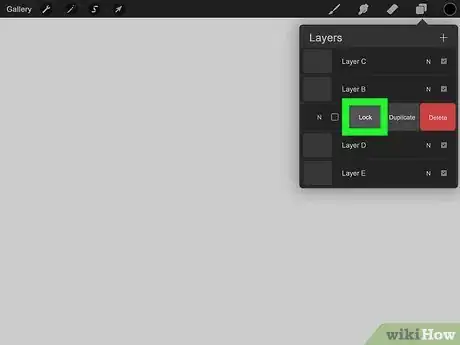
4Lock a layer to keep it exactly the same until you unlock it. The last option in the left-slide menu is to lock a layer.[3] A locked layer cannot be altered until you slide left again and choose "Unlock". Use the locking feature for layers you do not want to accidentally change in any way, or for layers that you are done working on altogether.
- You can lock a group of layers at the same time by sliding the name of the group left and choosing "Lock".
-
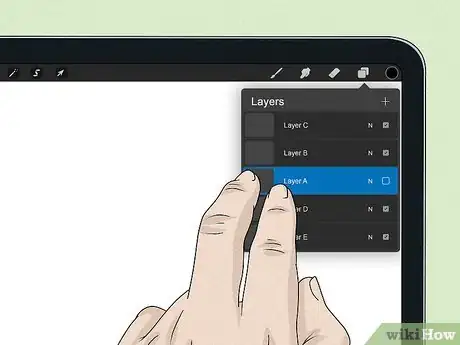
5Tap with two fingers on a layer in the menu to change its opacity. This action will pull up the opacity level of this layer below the top menu. Slide with your finger across the screen to change the opacity of this layer. Swiping to the left will decrease the opacity and swiping to the right will increase the opacity.
- When you are done editing the opacity of the layer, tap anywhere on the screen. A menu will pop up in which you can choose to apply, undo, reset, or cancel the opacity level.
