X
This article was co-authored by wikiHow staff writer, Travis Boylls. Travis Boylls is a Technology Writer and Editor for wikiHow. Travis has experience writing technology-related articles, providing software customer service, and in graphic design. He specializes in Windows, macOS, Android, iOS, and Linux platforms. He studied graphic design at Pikes Peak Community College.
This article has been viewed 35,977 times.
This wikiHow teaches you how to set the clock on iHome alarm clocks. The way you set the clock on your iHome device depends on the iHome model you have. Many iHome models allow you to autosync the date and time with your iPhone, iPad, or iPod.
Steps
Method 1
Method 1 of 5:
On iBT Models
-
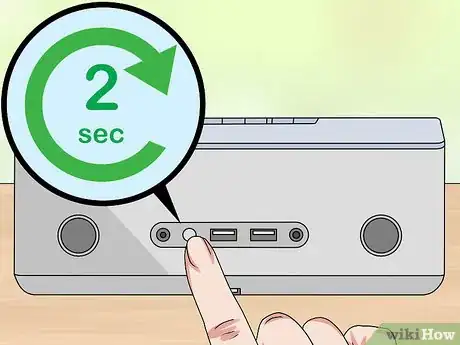
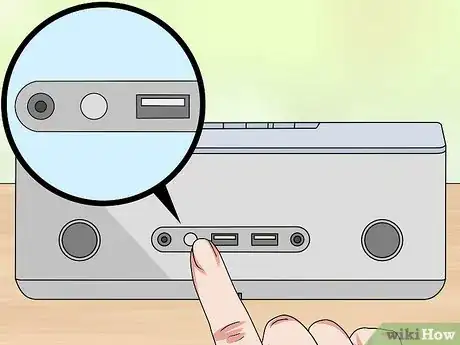
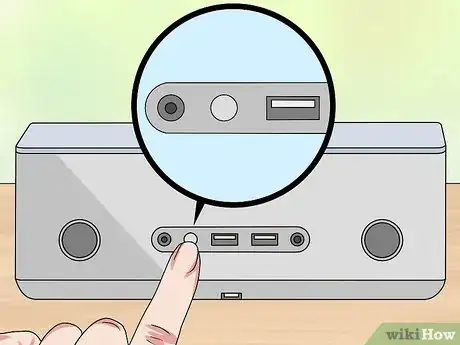
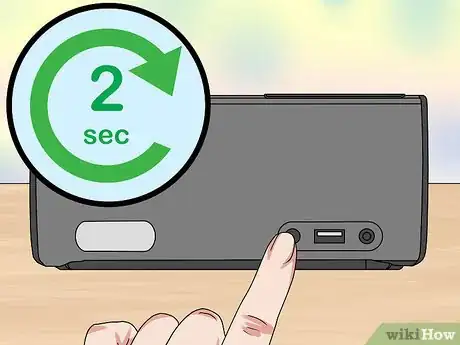
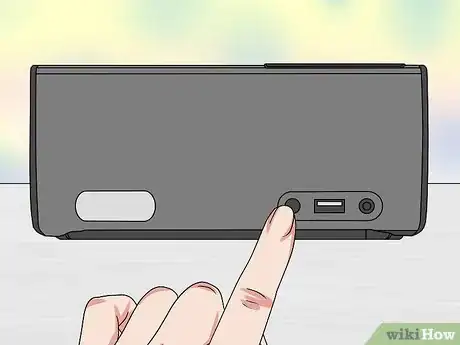
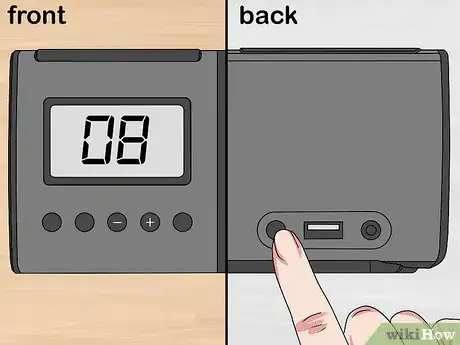
1Press and Hold the Time Set button. It's located on the back of the unit. When you hold the button for about two seconds, the clock will flash and you will hear a beep.
-
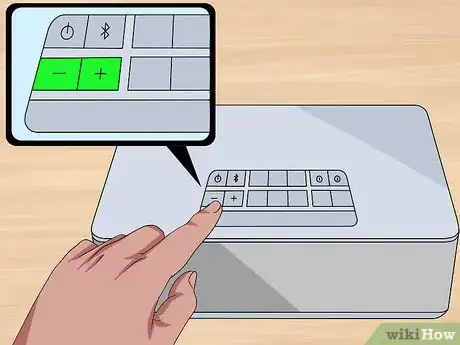
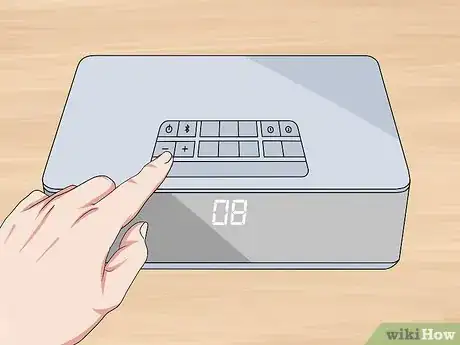
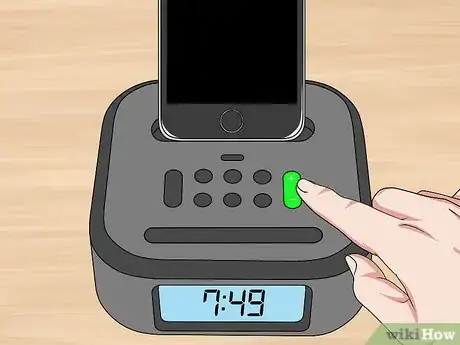
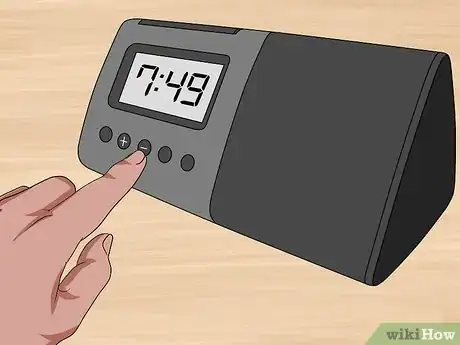
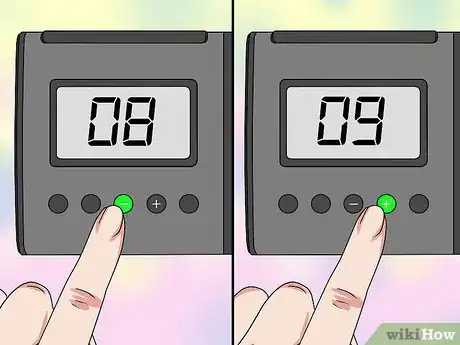
2Press + or - to adjust the time. Hold the "+" or "-" button to rapidly change the time. The PM indicator is to the left of the display.
-
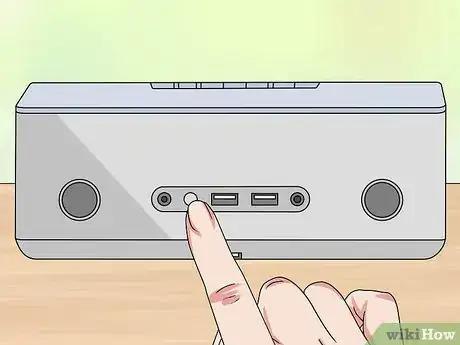
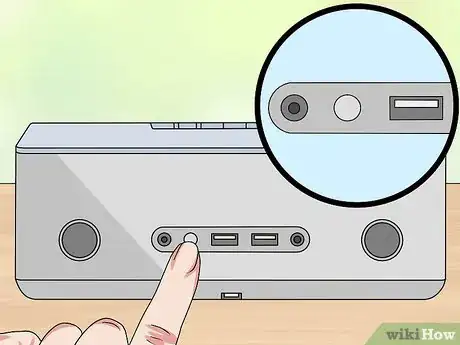
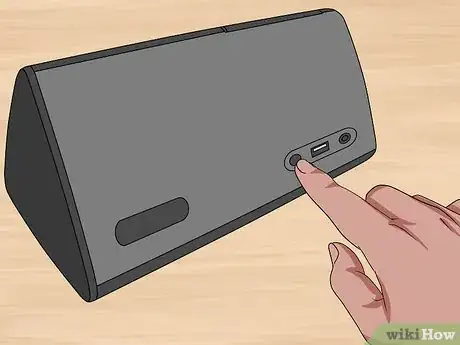
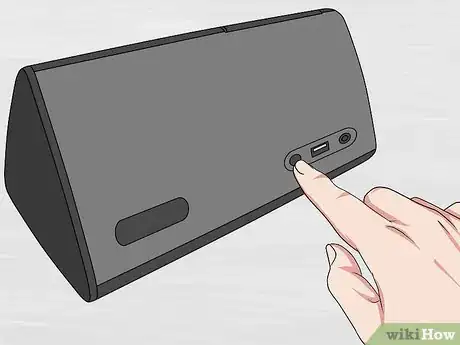
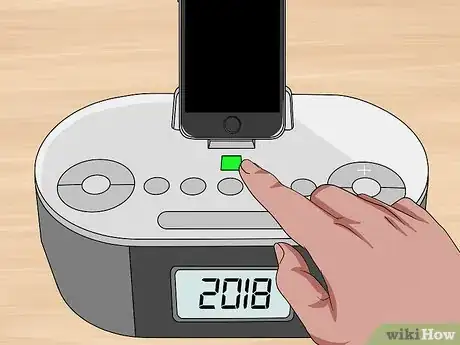
3Press the Time Set button. This will confirm the time. Next you will set the year.
-
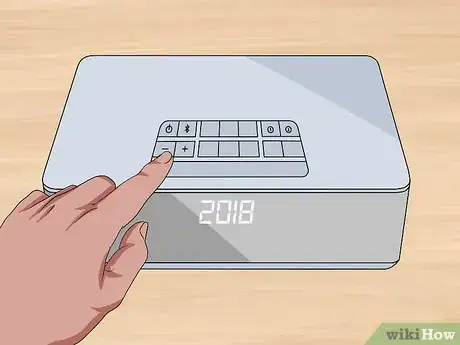
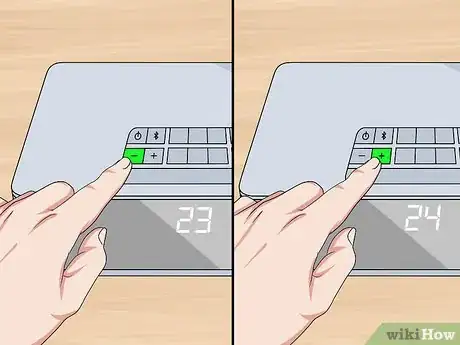
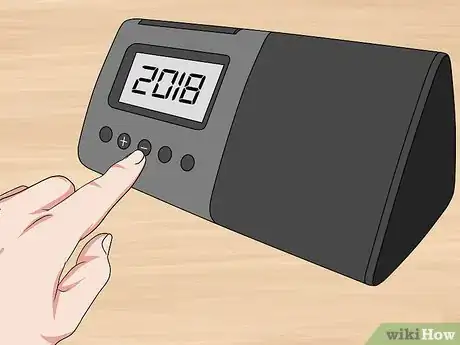
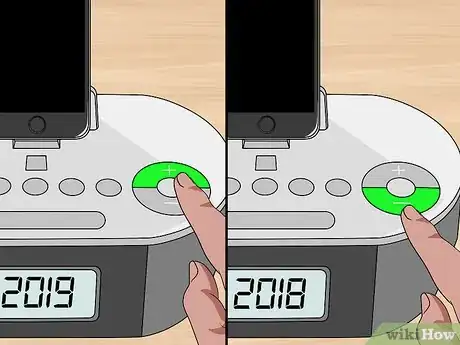
4Press + or - to adjust the year. Hold the "+" or "-" buttons to rapidly change the year.
-
5Press the Time Set button. This will confirm the year. Next you will set the month.
-
6Press + or - to adjust the month. Hold the "+" or "-" buttons to rapidly change the month.
-
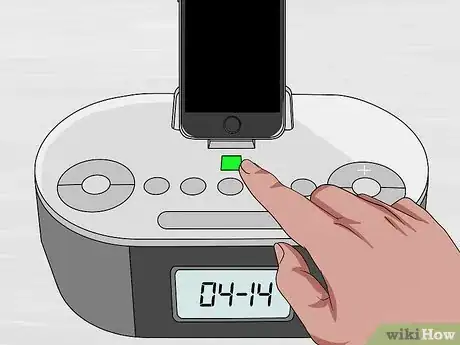
7Press the Time Set button. This will confirm the month. Next you will set the date.
-
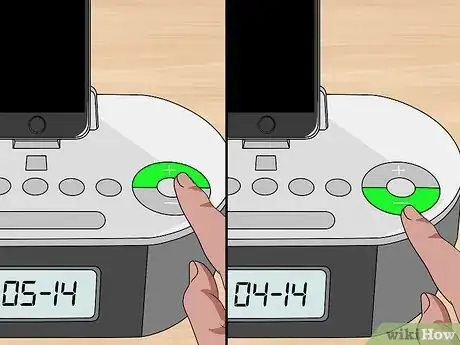
8Press + or - to adjust the date. Press "+" to increase the month. Press "-" to decrease the date. Hold the "+" or "-" buttons to rapidly change the date.
-
9Press the Time Set button. This will confirm the time and date and exit clock setting mode. You will hear two beeps confirming that clock setting is complete.[1]
Method 2
Method 2 of 5:
On iPL23 and iHM Models
-
1Press and hold the Time Set button. After 2 seconds, the display will flash and you will hear a beep. The Time Set button is on the back of the iPL23 model. On the iHM model, the time set/time sync button is located on the top of the device.
-
2Press + or - to set the time. Press "+" to increase the time. Press "-" to decrease the time. Hold the "+" or "-" buttons to rapidly change the time. The AM and PM indicators are to the left of the display.
- Press the Alarm 1 or Alarm 2 buttons to toggle between 12 hour display mode, and 24 hour display mode.
-
3
Method 3
Method 3 of 5:
On iHome Zenergy Models
-
1Press and Hold the Time Set button. It's located on the back of the unit. After two seconds, the time display will flash.
-
2Press + or - to set the time. Hold the "+" or "-" buttons to rapidly change the time. The AM and PM indicators are to the left of the display.
-
3Press the Time Set button. This will confirm the time. Next you will set the year.
-
4Press + or - to adjust the year. Hold the "+" or "-" buttons to rapidly change the year.
-
5Press the Time Set button. This will confirm the year, next you will set the month and date.
-
6Press + or - to adjust the month and date. Press "+" to increase the month. Press "-" to decrease the month. Hold the "+" or "-" buttons to rapidly change the month.
-
7Press the Time Set button. This will confirm the date and time. You will hear two beeps and exit time setting mode.
- Press the Alarm 1 or Alarm 2 buttons to toggle between 12 hour display mode, and 24 hour display mode.
-
8Press the Time Set button. This will confirm the date and time. You will hear two beeps and exit time set mode.
- If you download the iHome Zenergy app to your smartphone or tablet, you can pair your device with your alarm clock and sync the time automatically.[4]
Method 4
Method 4 of 5:
On iP90 Models
-
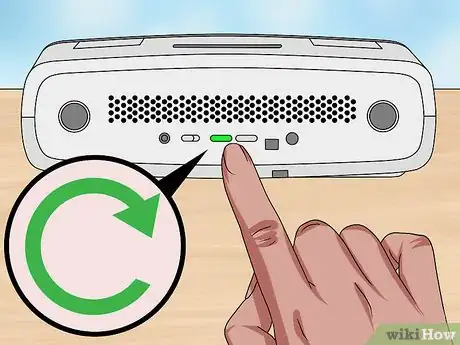
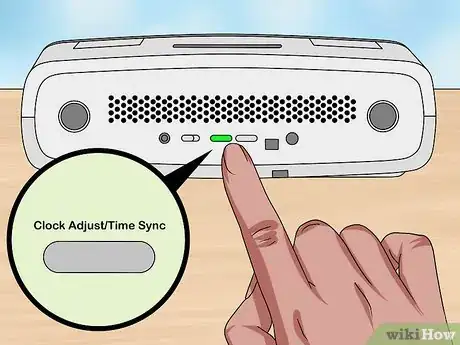
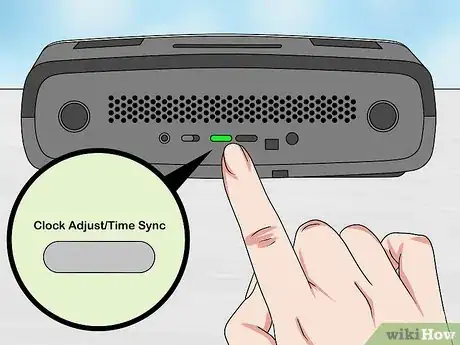
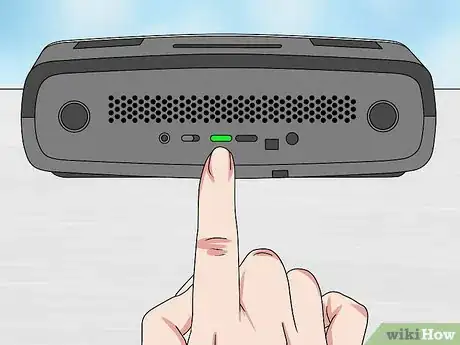
1Press and hold the Press the Clock Adjust/Time Sync button. button. This button is on the back of the unit. You will see the time flash on the display.
-
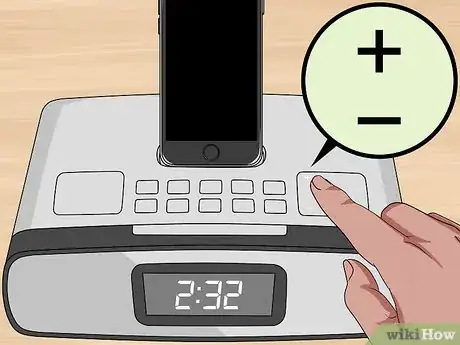
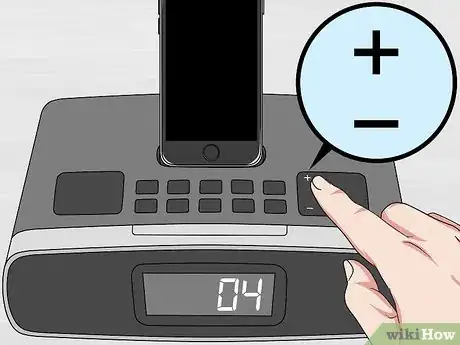
2Press + or - to adjust the time. Hold the "+" or "-" buttons to rapidly change the time. The AM and PM indicators are to the left of the display.
-
3Press the Clock Adjust/Time Sync button. You will see the year flash.
-
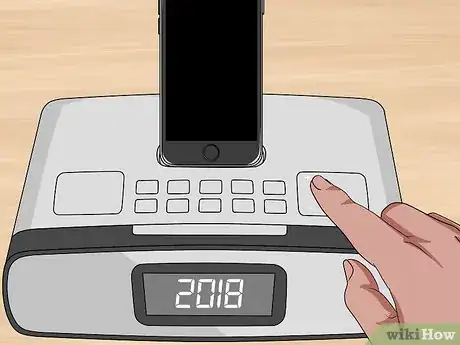
4Press + or - to adjust the year. Hold the "+" or "-" buttons to rapidly change the year.
-
5Press the Clock Adjust/Time Sync button. You will see the month and date flash.
-
6Press + or - to adjust the month and date. Hold "+" or "-" to rapidly adjust the date and time.
- Press the Alarm 1 or Alarm 2 buttons to toggle between 12 hour display mode, and 24 hour display mode.
-
7Press the Clock Adjust/Time Sync button. This will exit time set mode.
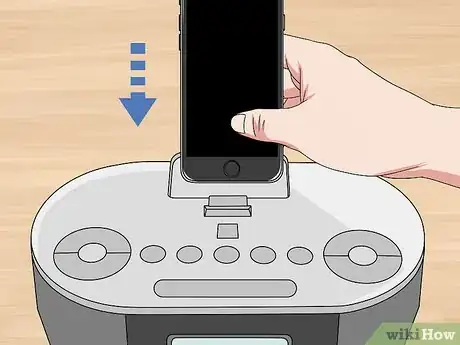
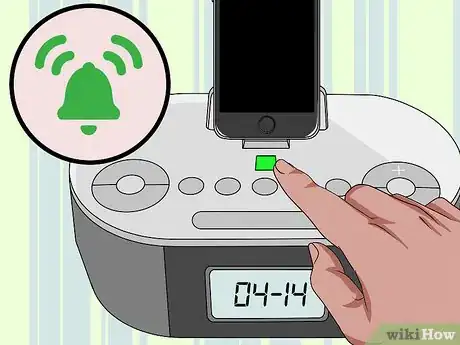
- You can also dock your iPhone or iPod and press the Clock Adjust/Time Sync button to sync the time and date from your iPhone or iPod. [5]
Method 5
Method 5 of 5:
On iD38 Models
-
1Place iPhone, iPod, or iPad in Dock. After about three seconds, the alarm clock will sync to your device.
-
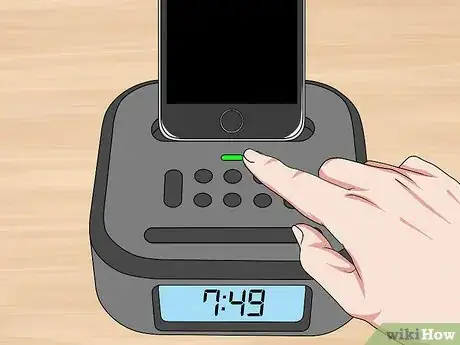
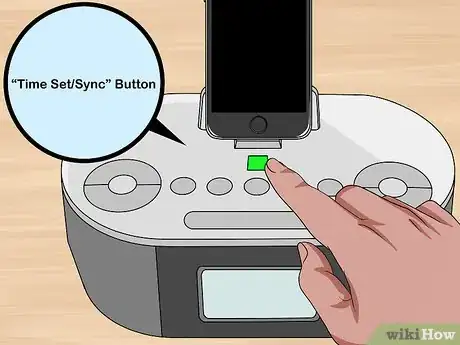
2Press the Time Set/Sync button. This will sync the date and time with your iPhone, iPad, or iPod. If Time Sync fails, continue with the following steps to turn Time Sync off and set the time and date manually.
-
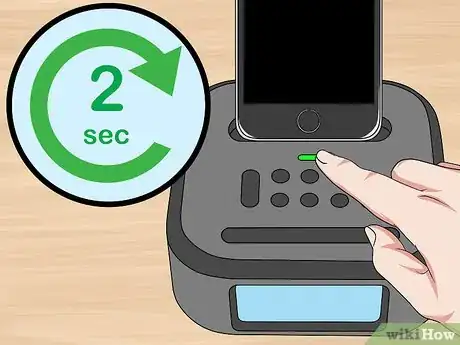
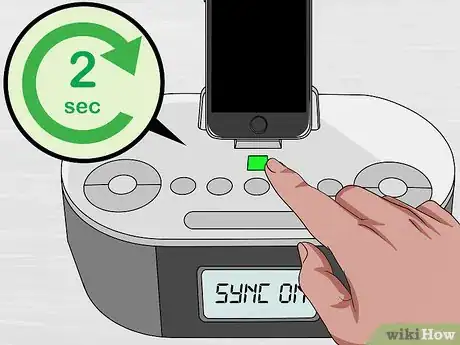
3Press and hold Time Set/Sync. After about two seconds, you will see "Sync On" on the display.
-
4Press + or -. You will see "Sync On" turn to "Off" on the display. Time Sync is now disabled. You can set the time and date manually.
-
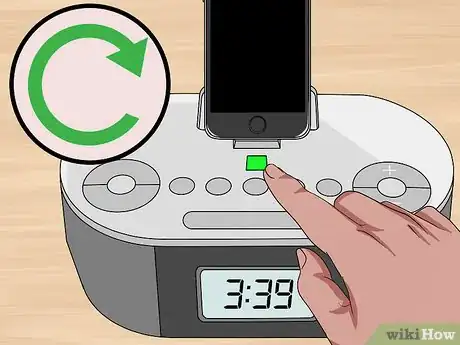
5Press and Hold the Time Set/Sync button. It's located on the back of the unit. After two seconds, the time display will flash.
-
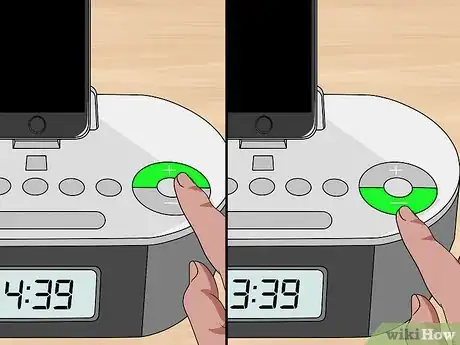
6Press + or - to set the time. Hold the "+" or "-" buttons to rapidly change the time. The AM and PM indicators are to the left of the display.
- Press the Alarm 1 or Alarm 2 buttons to toggle between 12 hour display mode, and 24 hour display mode.
-
7Press the Time Set button. This will confirm the year. Next, you will set the month and date.
-
8Press + or - to adjust the year. Hold the "+" or "-" buttons to rapidly change the year.
-
9Press the Time Set button. This will confirm the year. Next, you will set the month and date.
-
10Press + or - to adjust the month and date. Hold the "+" or "-" buttons to rapidly change the month.
-
11Press the Time Set button. This will confirm the date and time. You will hear two beeps and exit time set mode.
References
- ↑ https://www.ihomeaudio.com/media/uploads/product/files/iBT233_User_Manual.pdf
- ↑ https://www.ihomeaudio.com/media/uploads/product/files/iPL23_User_Manual.pdf
- ↑ https://www.ihomeaudio.com/media/uploads/product/files/iHM46_User_Manual.pdf
- ↑ https://www.ihomeaudio.com/media/uploads/product/files/iZBT10_IB_User_Guide.pdf
- ↑ Press the Clock Adjust/Time Sync button.
