

Word 2013
Arranging Objects
Introduction
Video: Arranging Objects
 Watch the video (3:23).
In Word, a page may have multiple objects, such as pictures, shapes, and text boxes. You can arrange the objects the way you want by aligning, ordering, rotating, and grouping them in various ways.
Optional: Download our Lesson 22 Practice Document.
Modifying text wrapping
When pictures are first inserted, you may notice that it's difficult to move them. This is because by default, pictures are in line with the text. To arrange them, you'll always need to choose a different text wrapping setting. To review how to modify text wrapping, visit our lesson on Pictures and Text Wrapping.
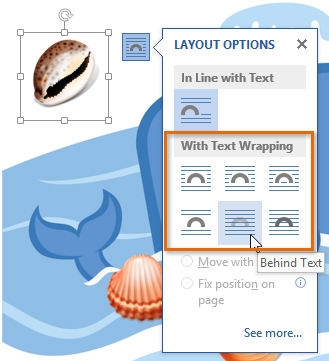 Selecting a text wrap option
To align two or more objects:
- Hold the Shift (or Ctrl) key and click the objects you want to align.
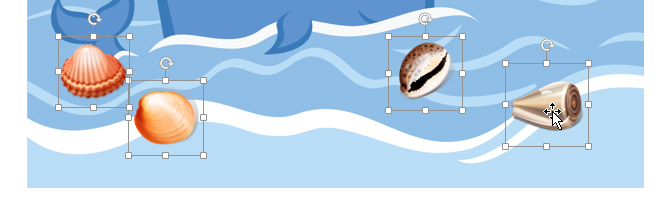 Selecting objects to align
 - From the Format tab, click the Align command and select one of the six alignment options.
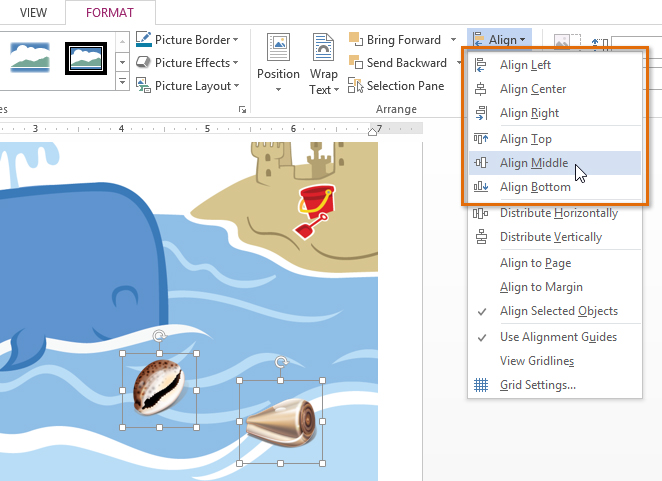 Choosing an alignment option
 - The objects will align based on the option you selected.
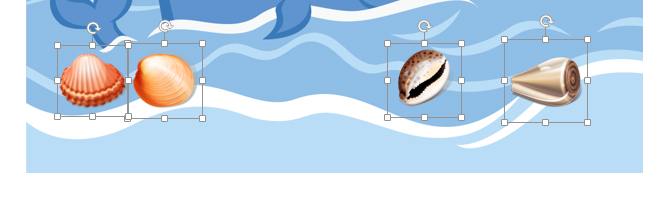 The aligned objects
By default, Align Selected Objects will be selected, which will allow objects to be aligned without moving them to a different part of the page. If you want the objects to move to the top or bottom of the page, select Align to Page or Align to Margin before choosing an alignment option.
 Arranging objects to the page
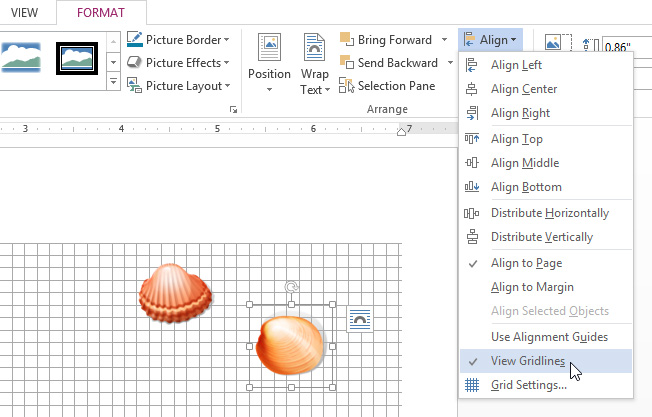
If you prefer to align objects manually, select View Gridlines. This option snaps objects to a grid, making it easier for you to align them with the mouse.
 Turning on gridlines
To distribute objects evenly:
If you have arranged objects in a row or column, you may want them to be an equal distance from one another for a neater appearance. You can do this by distributing the objects horizontally or vertically.
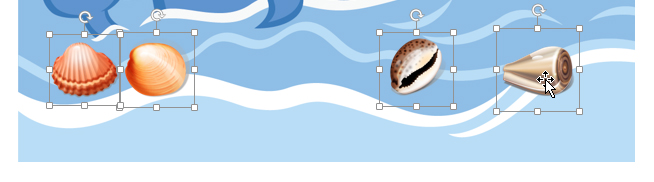
- Hold the Shift (or Ctrl) key and click the objects you want to align. The Format tab will appear.
 Selecting objects to distribute
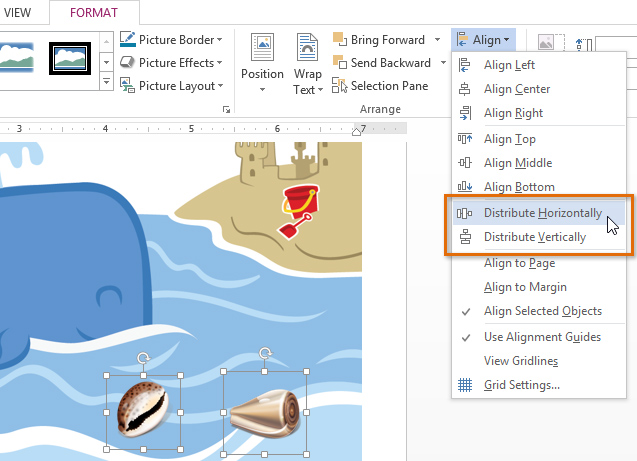
 - On the Format tab, click the Align command and select Distribute Horizontally or Distribute Vertically from the drop-down menu that appears.
 Selecting a distribute option
 - The objects will distribute evenly.
 The distributed objects


