

Word 2013
Creating and Opening Documents
Introduction
Video: Creating and Opening Documents
 Watch the video (2:14).
Word files are called documents. Whenever you start a new project in Word, you'll need to create a new document, which can either be blank or from a template. You'll also need to know how to open an existing document.
To create a new, blank document:
When beginning a new project in Word, you'll often want to start with a new, blank document.
- Select the File tab. Backstage view will appear.
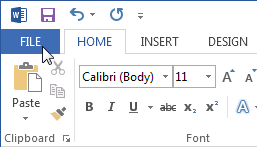 Clicking the File tab
 - Select New, then click Blank document.
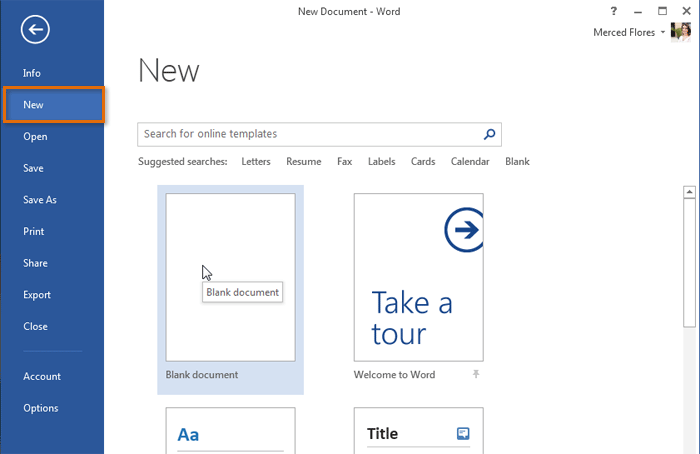 Creating a new document
 - A new, blank document will appear.
To open an existing document:
In addition to creating new documents, you'll often need to open a document that was previously saved. To learn more about saving a document, visit our lesson on Saving and Sharing Documents.
- Navigate to Backstage view, then click Open.
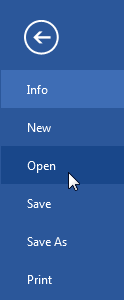 Opening a file
 - Select Computer and then click Browse. Alternatively, you can choose OneDrive (previously known as SkyDrive) to open files stored on your OneDrive.
 Opening a locally saved document
 - The Open dialog box appears. Locate and select your document, then click Open.
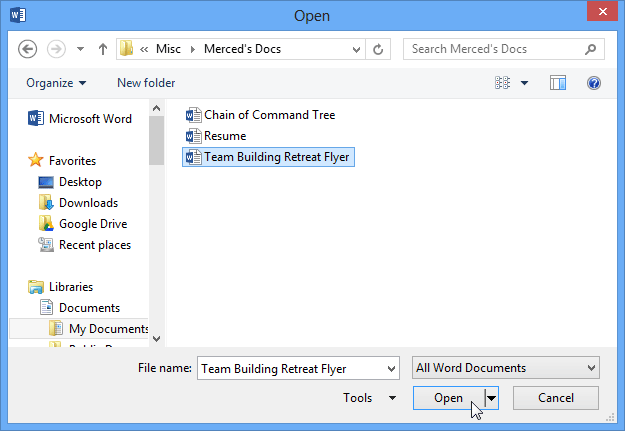 Opening a document
If you've opened the desired presentation recently, you can browse your Recent Documents rather than searching for the file.
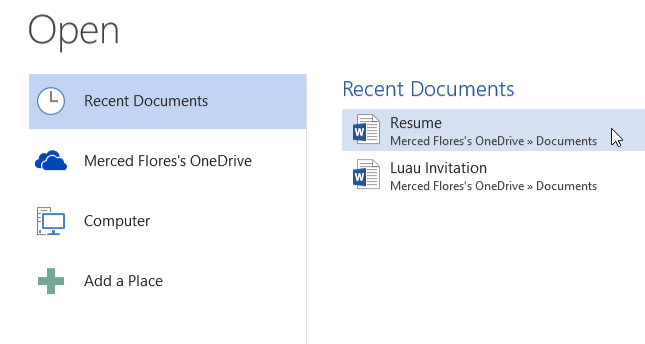 Recently opened documents
Word 2013 also allows you to open existing PDF files as editable documents. This is useful when you want to modify a PDF file. Read our guide on Editing PDF Files for more information.
To pin a document:
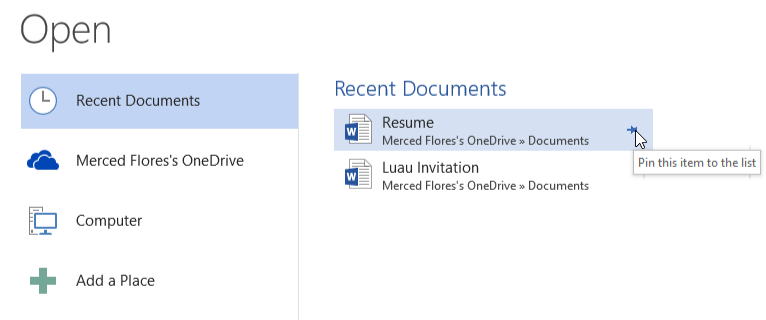
If you frequently work with the same document, you can pin it to Backstage view for quick access.
- Navigate to Backstage view and then click Open. Your recently edited documents will appear.
- Hover the mouse over the document you wish to pin. A pushpin icon
 will appear next to the document. Click the pushpin icon.
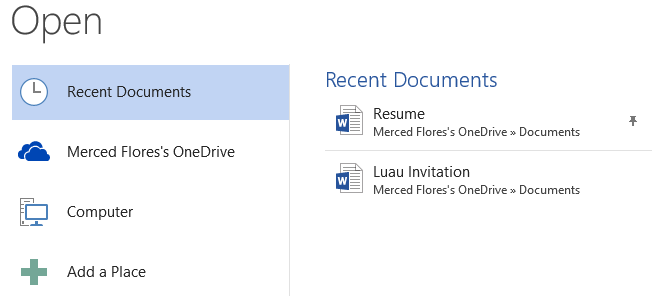
- The document will stay in Recent Documents. To unpin a document, simply click the pushpin icon again.
You can also pin folders to Backstage view for quick access. From Backstage view, click Open and locate the folder you wish to pin, then click the pushpin icon.
 Pinning a folder to Backstage view


