

Word 2013
Indents and Tabs
Tabs
Using Tabs gives you more control over the placement of text. By default, every time you press the Tab key, the insertion point will move 1/2 inch to the right. Adding tab stops to the ruler allows you to change the size of the tabs, and Word even allows you to apply more than one tab stop to a single line. For example, on a resume you could Left Align the beginning of a line and Right Align the end of the line by adding a Right Tab.
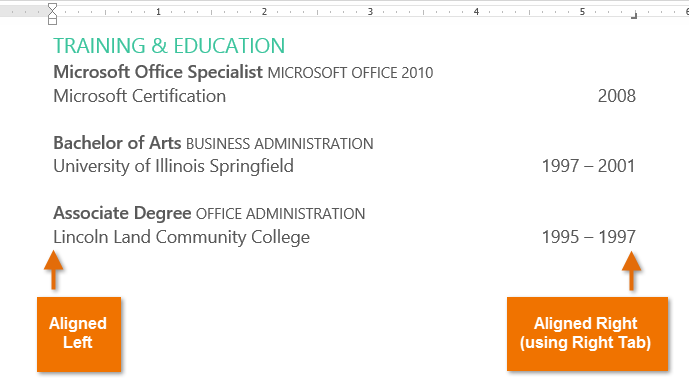 Using two types of alignment on the same line
Pressing the tab key can either add a tab or create a first-line indent, depending on where the insertion point is. Generally, if the insertion point is at the beginning of an existing paragraph, it will create a first-line indent; otherwise, it will create a tab.
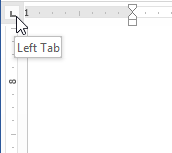
The tab selector
The tab selector is located above the vertical ruler on the left. Hover the mouse over the tab selector to see the name of the active tab stop.
 The tab selector
Types of tab stops include:
- Left Tab
 : Left-aligns the text at the tab stop
 - Center Tab
 : Centers the text around the tab stop
 - Right Tab
 : Right-aligns the text at the tab stop
 - Decimal Tab
 : Aligns decimal numbers using the decimal point
 - Bar Tab
 : Draws a vertical line on the document
 - First Line Indent
 : Inserts the indent marker on the ruler, and indents the first line of text in a paragraph
 - Hanging Indent
 : Inserts the hanging indent marker, and indents all lines other than the first line
Although Bar Tab, First Line Indent, and Hanging Indent appear on the tab selector, they're not technically tabs.
To add tab stops:
- Select the paragraph or paragraphs you want to add tab stops to. If you don't select any paragraphs, the tab stops will apply to the current paragraph and any new paragraphs you type below it.
 Selecting text to tab
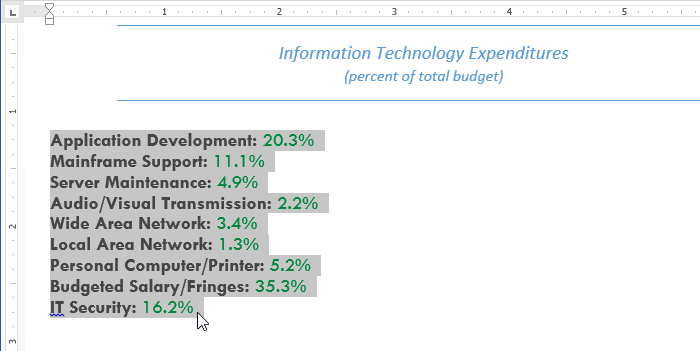
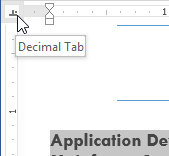
 - Click the tab selector until the tab stop you wish to use appears. In our example, we'll select the Decimal Tab.
 Selecting a tab stop
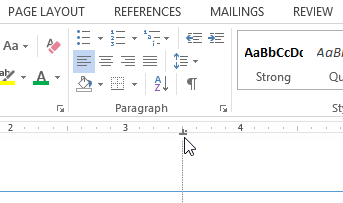
 - Click the location on the horizontal ruler where you want your text to appear (it helps to click on the bottom edge of the ruler). You can add as many tab stops as you want.
 Adding a tab stop to the Ruler
 - Place the insertion point in front of the text you wish to tab, then press the Tab key. The text will jump to the next tab stop.
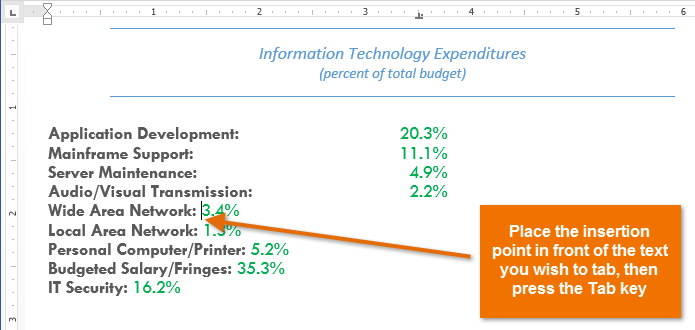 Moving text to the Tab stop
To remove a tab stop, click, hold, and drag it off of the ruler.
 Removing a tab stop
Word can display hidden formatting symbols such as the space bar ( ), paragraph (
 ), and Tab key (
 ) markings to help you see the formatting in your document. To show hidden formatting symbols, select the Home tab, then click the Show/Hide command.
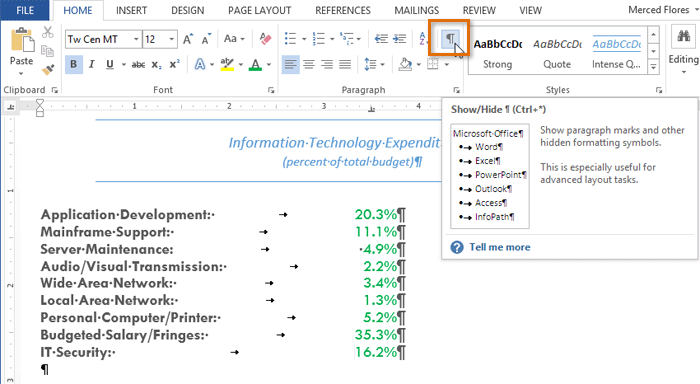 Displaying hidden formatting symbols


