PowerPoint 2013
Hyperlinks and Action Buttons
Introduction
Whenever you use the Internet, you use hyperlinks to navigate from one webpage to another. If you want to include a web address or email address in your PowerPoint presentation, you can choose to format it as a hyperlink so a person can easily click on it. It's also possible to link to files and other slides within a presentation. It's easy to do all of this using two tools: hyperlinks and action buttons.
Optional: Download our practice presentation for this lesson.
About hyperlinks
Hyperlinks have two basic parts: the address of the webpage, email address, or other location they are linking to, and the display text (which can also be a picture or shape). For example, the address could be http://blog.gcflearnfree.org, and "our blog" could be the display text. In some cases, the display text might be the same as the address. When you're creating a hyperlink in PowerPoint, you'll be able to choose both the address and the display text or image.
To insert a hyperlink:
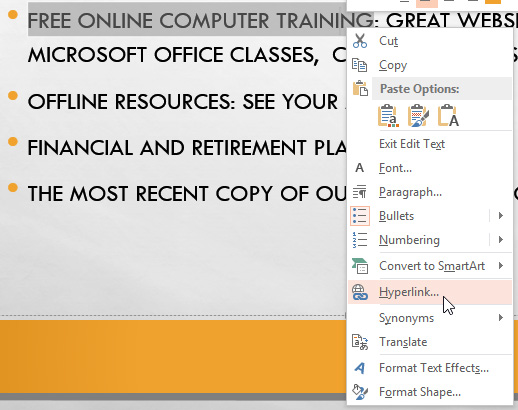
- Select the image or text you would like to make a hyperlink.
- Right-click the selected text or image, then click Hyperlink.
 Creating a hyperlink
 - The Insert Hyperlink dialog box will open. You can also get to this dialog box from the Insert tab by clicking Hyperlink.
 The Insert Hyperlink dialog box
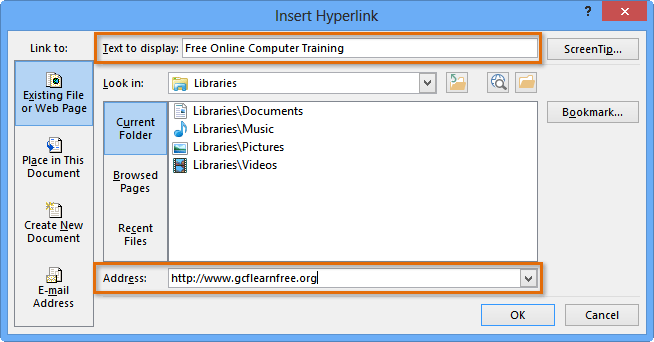
 - If you selected text, the words will appear in the Text to display field at the top. You can change this text if you want.
- Type the address you would like to link to in the Address field.
- Click OK. The text or image you selected will now be a hyperlink to the web address.
 The completed hyperlink
To insert a hyperlink to an email address:
- Right-click the selected text or image, then click Hyperlink.
- The Insert Hyperlink dialog box will open.
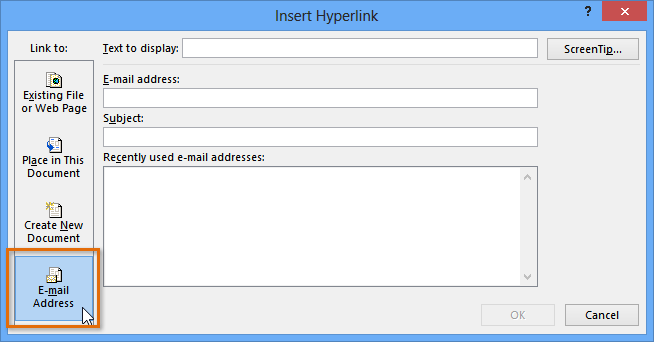
- On the left side of the dialog box, click Email Address.
 Creating an email hyperlink
 - Type the email address you want to connect to in the Email Address box, then click OK.
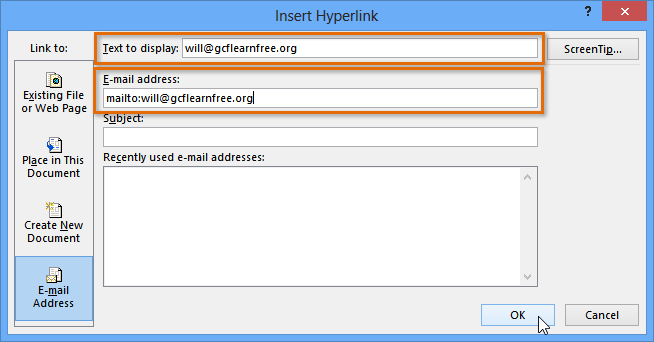 Typing the email address and display text
PowerPoint often recognizes email and web addresses as you type and will format them as hyperlinks automatically after you press the Enter key or Space Bar.
To open and test a hyperlink
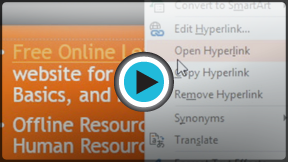
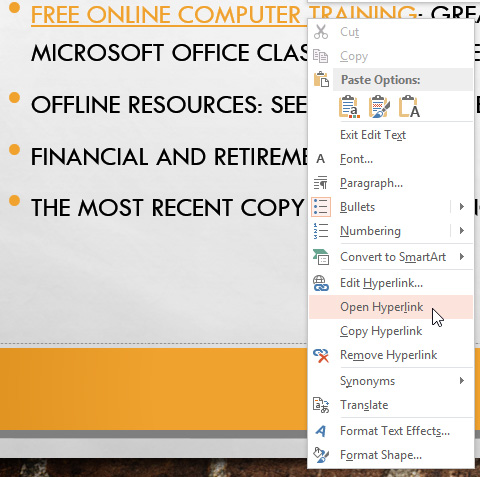
- After you create a hyperlink, you should test it. Right-click the hyperlink, then click Open Hyperlink.
 Opening a hyperlink
 - Your web browser should open and then navigate to the linked page. If it does not work, check the hyperlink address for any misspellings.
To open a hyperlink while viewing your slide show, simply click the hyperlink.
Clicking a hyperlinkTo remove a hyperlink:
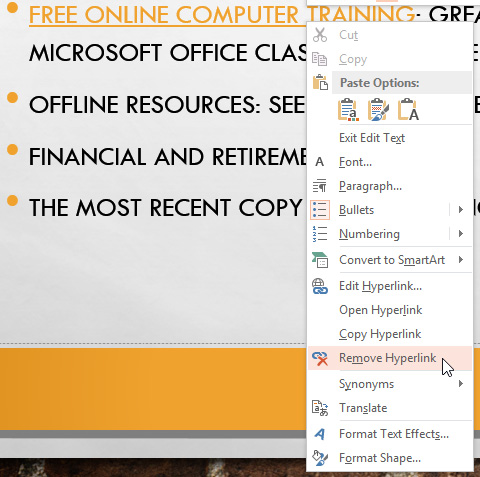
- Right-click the hyperlink.
- Click Remove Hyperlink.
 Removing a hyperlink
More hyperlinks
In PowerPoint, you can use hyperlinks to link to resources that are not online. To create a quick way to refer to another slide in your presentation, you can create a hyperlink to that slide. If you need to access a file stored on your computer, you can create a hyperlink to it. Additionally, PowerPoint allows you to format pictures and shapes as hyperlinks.
To insert a hyperlink to another slide:
- Right-click the selected text or image, then click Hyperlink.
- The Insert Hyperlink dialog box will appear.
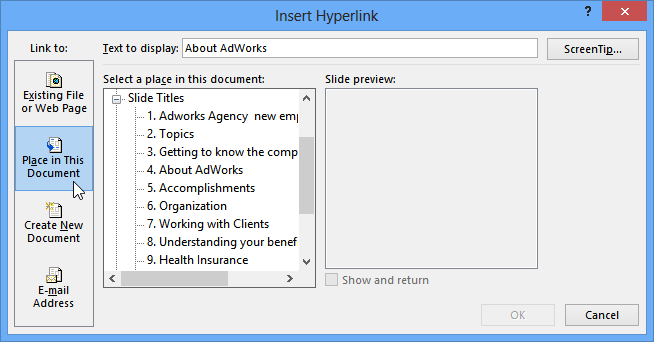
- On the left side of the dialog box, click Place in this Document.
 Creating a hyperlink to another slide
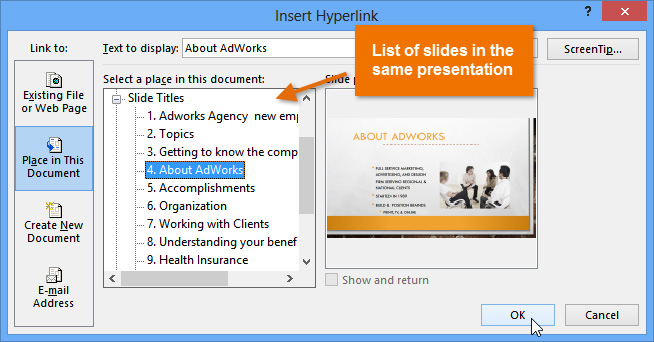
 - A list of the other slides in your presentation will appear. Click the name of the slide you would like to link to.
 Selecting a slide
 - Click OK. The text or image will now be a hyperlink to the slide you selected.
 The completed hyperlink to a slide
To insert a hyperlink to another file:
- Right-click the selected text or image, then click Hyperlink. The Insert Hyperlink dialog box will appear.
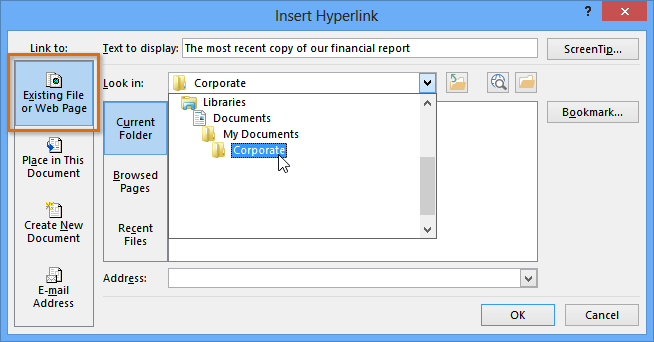
- On the left side of the dialog box, click Existing File or Webpage.
- Click the drop-down arrow to browse for your file.
 Creating a hyperlink to a file
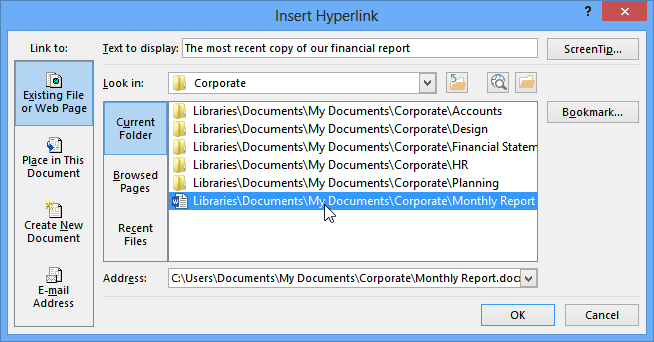
 - Select the desired file.
 Selecting a file
 - Click OK. The text or image will now be a hyperlink to the file you selected.
 The completed hyperlink to a file
If you plan on displaying your presentation on a different computer than you used to create it, your hyperlink to another file may not work. Make sure you have a copy of the linked file on the computer you are using to present, and always test hyperlinks before giving a presentation.
Using shapes and pictures as hyperlinks
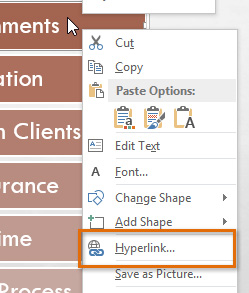
Sometimes you might want to to format objects—including shapes, text boxes, and pictures—as hyperlinks. This is especially helpful if you want the object to act like a button. To do this, simply right-click the desired object and select Hyperlink from the menu that appears. Click the object during the presentation to open the hyperlink.
 Hyperlinking an object
Inserting action buttons
In addition to hyperlinks, another tool you can use to connect to a webpage, file, email address, or slide is called an action button. Action buttons are built-in button shapes you can add to a presentation and set to link to another slide, play a sound, or perform some other action. When someone clicks or moves over the button, the selected action will occur. Action buttons can do many of the same things as hyperlinks. Their easy-to-understand style makes them especially useful for self-running presentations at booths and kiosks.
You can insert action buttons on one slide at a time, or you can insert an action button that will show up on every slide. The second option can be useful if you want every slide to link back to a specific slide, like the title page or table of contents.
To insert an action button on one slide:
- Click the Insert tab.
- Click the Shapes command in the Illustrations group. A drop-down menu will appear with the action buttons located at the very bottom.
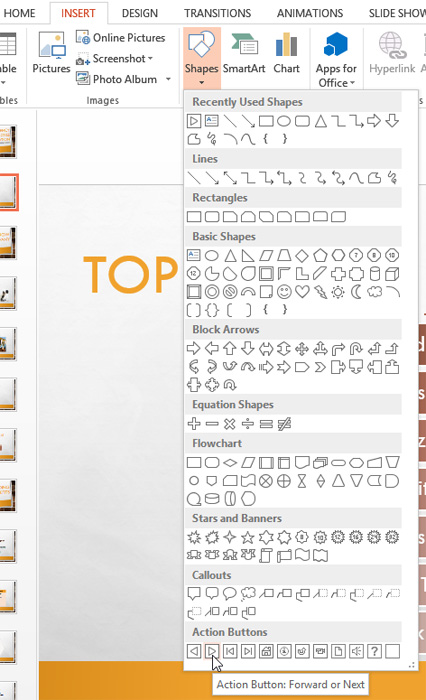 Selecting an action button
 - Select the desired action button.
- Insert the button onto the slide by clicking the desired location. The Action Settings dialog box will appear.
- Select the Mouse Click or Mouse Over tab. Selecting the Mouse Click tab means the action button will perform its action only when clicked. Selecting the Mouse Over tab will make the action button perform its action when you move the mouse over it.
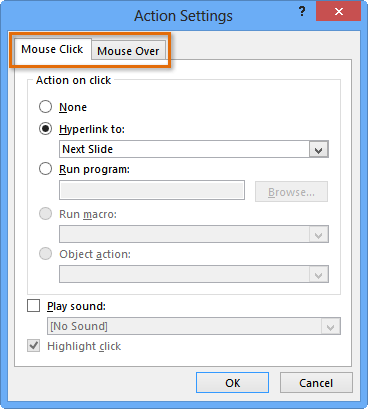 The Action Settings dialog box
 - In the Action on click section, select Hyperlink to: then click the drop-down arrow and choose an option from the menu.
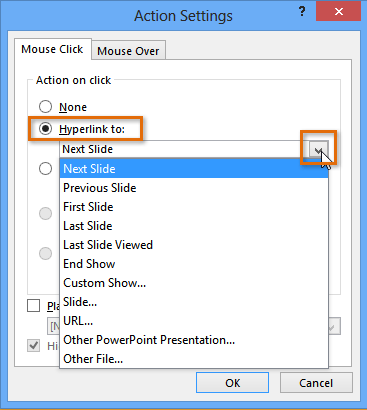 Creating a hyperlink with an action button
 - Check the Play Sound box if you want a sound to play when the action button is clicked. Select a sound from the drop-down menu, or select Other sound to use a sound file on your computer.
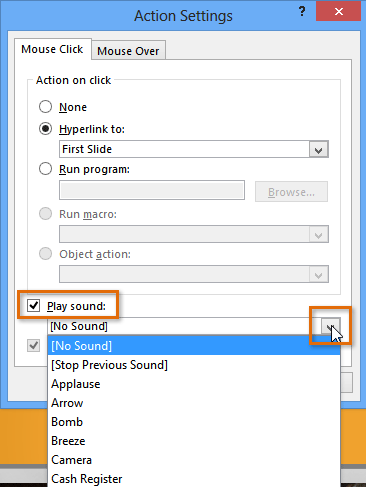 Selecting a sound
 - Click OK.
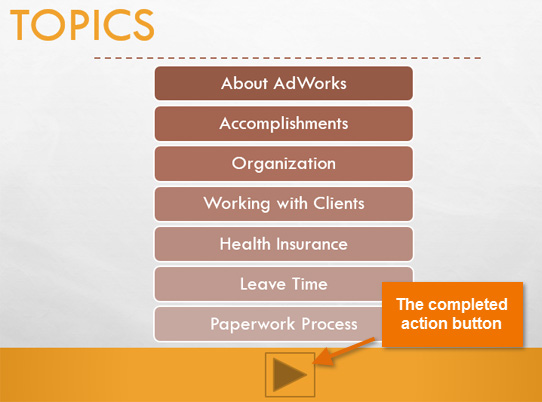 The completed action button
To insert an action button on all slides:
- Click the View tab.
- In the Master Views group, click the Slide Master command. A blank slide in the style of your presentation will appear. Don't worry about changing anything else.
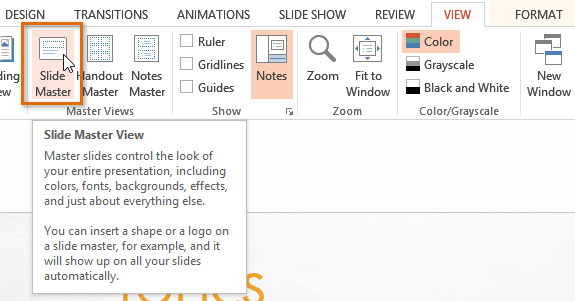 Changing the view to Slide Master
 - Go to the Insert tab, and follow the instructions above to insert an action button.
- Return to the Slide Master tab, and click Close Master View. The new action button will now be on every slide.
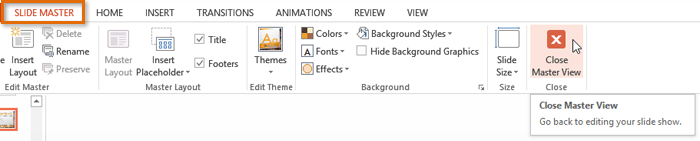 Returning to the normal view
To edit, move, or delete an action button inserted this way, click the View tab, then Slide Master. Click Close Master View after making the desired changes.
To test an action button:
After you create an action button, you should test it.
- Click the Slide Show tab.
- In the Start Slide Show group, click From Current Slide.
 Viewing the slide show
 - Click your action button.
- After you have tested it, right-click anywhere on the screen and select End Show.
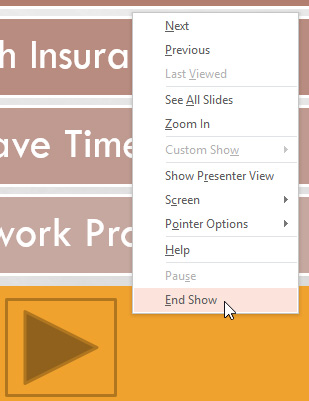 Ending the slide show
 - If your action button did not work as you intended, follow the instructions below to edit it.
To edit an action button:
- Select the action button.
- Click the Insert tab.
- In the Links group, click the Action command. The Actions Settings dialog box will appear.
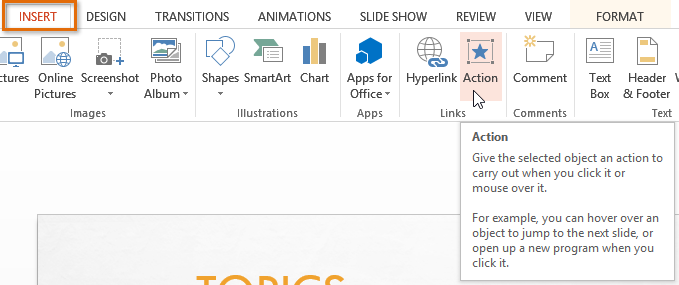 Editing an action button
 - Edit the action or hyperlink.
- Click OK.
To change the appearance of an action button:
- Select the action button.
- Click the Format tab.
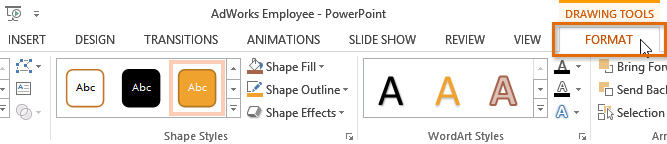 Changing the appearance of an action button
 - To change the button style or color, use the tools in the Shape Styles group.
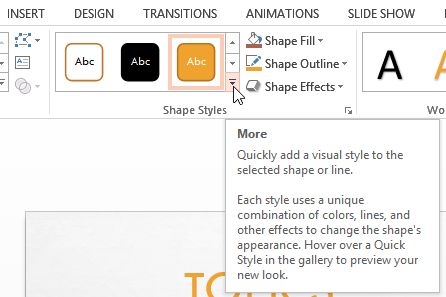 Changing the style of an action button
 - To change the shape of the action button, click Edit Shape in the Insert Shapes group. Select a new shape from the drop-down menu.
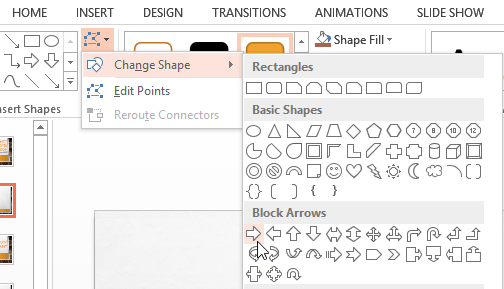 Changing the shape of the action button
Challenge!
- Open an existing PowerPoint presentation. If you want, you can download our practice presentation for this lesson.
- Select text, and insert a hyperlink to a webpage. If you are using the example, go to slide 12. Turn the words "Financial and Retirement Planning" into a hyperlink to http://www.mutualofamerica.com/.
- Select text or an image, and insert a hyperlink to another slide in the presentation. If you are using the example, go to slide 2 and make the words "Paperwork Process" link to slide 11.
- Insert an action button that uses sound. If you are using the example, go to slide 12 and create an action button that links back to slide 1.
- Change the shape and style of an action button. If you are using the example, modify the shape and style of the action button you inserted on slide 12.