PowerPoint 2013
Getting to Know PowerPoint
Introduction
Video: Getting to Know PowerPoint
 Watch the video (4:49).
PowerPoint 2013 is a presentation software that allows you to create dynamic slide presentations. Slideshows can include animation, narration, images, videos, and much more.
Opening PowerPoint 2013
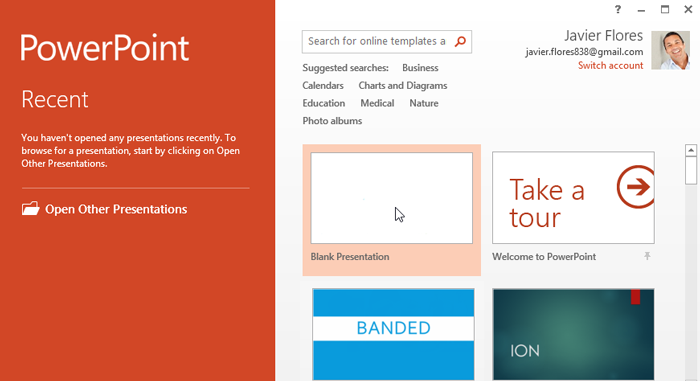
When you open PowerPoint 2013 for the first time, the Start Screen will appear. From here, you'll be able to create a new presentation, choose a template, or access your recently edited presentations.
- From the Start Screen, locate and select Blank Presentation.
 Creating a blank presentation
 - A new presentation will appear.
 A blank presentation
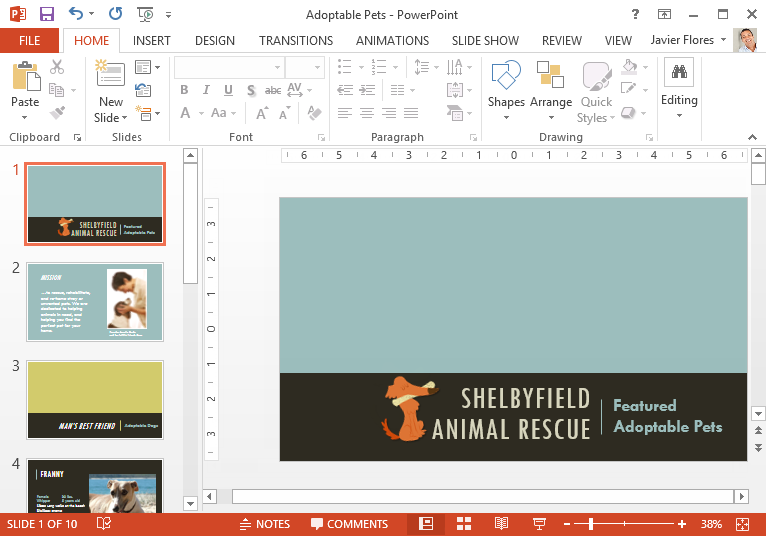
Getting to know PowerPoint 2013
PowerPoint 2013 is similar to PowerPoint 2010. If you've previously used PowerPoint 2010, PowerPoint 2013 should feel familiar. But if you are new to PowerPoint or have more experience with older versions, you should first take some time to become familiar with the PowerPoint 2013 interface.
Click the buttons in the interactive below to become familiar with the PowerPoint 2013 interface.
Slide Pane
Here, you can view and edit the selected slide.
Slide Navigation Pane
The Slide navigation pane allows you to view and work with the slides in your presentation.
The selected slide will appear in the Slide pane to the right. You can add, delete, duplicate, and rearrange slides in the Slides navigation pane. You can also add sections to organize and divide your slides.
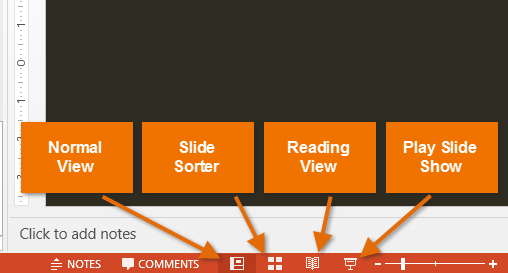
Slide View Options
Adjust your slide view by choosing one of the following:
• Normal View is selected by default. This view shows the Slide navigation pane and the selected slide.
• Slide Sorter displays smaller versions of all of the slides in the presentation.
• Reading View hides all editing tools to make your slides easier to review.
• Play Slide Show will play your slides as an actual presentation.
Zoom Control
Click and drag the slider to use the Zoom control. The number to the right of the slider reflects the zoom percentage.
You can also click the Fit slide to current window button to the right of the Zoom control.

Microsoft Account
From here, you can access your Microsoft account information, view your profile, and switch accounts.
Ruler
The ruler is located at the top and to the left of your current slide. The ruler makes it easy to align text and objects on your slide.
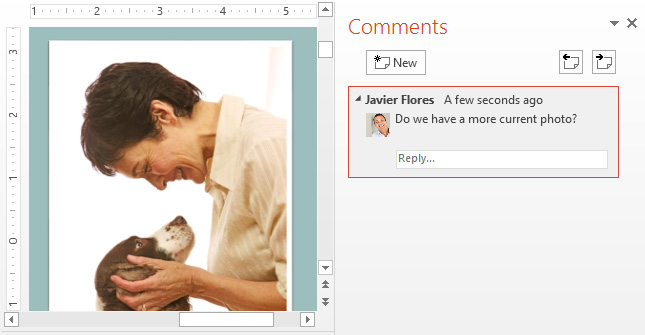
Comments
Reviewers can leave comments on any slide. Click Comments to view comments for the current slide.
Notes
Click Notes to add notes to your current slide. Often called speaker notes, these notes can help you deliver or prepare for your presentation.

Vertical and Horizontal Scroll Bars
Click, hold and drag the vertical or horizontal scroll bar depending on what part of the slide you want to see.

Quick Access Toolbar
The Quick Access Toolbar lets you access common commands no matter which tab is selected on the Ribbon.
The Ribbon
The Ribbon contains all the commands you will need to perform common tasks in PowerPoint. It has multiple tabs, each with several groups of commands.
Working with the PowerPoint environment
If you've previously used PowerPoint 2010 or 2007, PowerPoint 2013 will feel familiar. It continues to use features like the Ribbon and the Quick Access Toolbar, where you will find commands to perform common tasks in PowerPoint, as well as Backstage view.
The Ribbon
PowerPoint 2013 uses a tabbed Ribbon system instead of traditional menus. The Ribbon contains multiple tabs, each with several groups of commands. You will use these tabs to perform the most common tasks in PowerPoint.
 The Ribbon
Exploring the Ribbon
You'll need to move between tabs to perform common tasks in PowerPoint. Knowing where to find the right command will make PowerPoint easier to use.
Click the arrows in the slideshow below to learn more about the different commands available within each tab on the Ribbon.

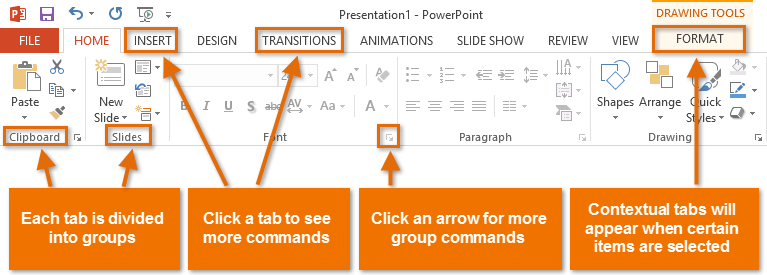
The Home tab gives you access to the most commonly used commands, including copy and paste, formatting, and the New Slide command. The Home tab is selected by default whenever you open PowerPoint.

The Insert tab allows you to insert pictures, charts, tables, shapes, videos, and more, which can help you communicate information visually and add style to your presentation.

You can apply themes from the Design tab. A theme is a predefined combination of colors, fonts, and effects that can quickly change the look and feel of your entire slide show. Different themes also include different slide layouts.

You can apply slide transitions from the Transitions tab. Transitions are the movements you see between slides when presenting your slide show.

The Animations tab allows you to animate text and objects such as clip art, shapes, and pictures. Animations can be used to draw attention to specific content or make the slide easier to read.

When you're ready to present your slide show, the Slide Show tab gives you tools to make your presentation smooth and professional, including the option to rehearse timings and record narration.

You can use the Review tab to access PowerPoint's powerful editing features, including spell check and comments. These features make it easy to review and collaborate on presentations.

The View tab allows you to switch between several different views for your presentation, including Outline View, Slide Sorter, and Slide Master. These views can help you prepare and organize your slide show.

Contextual tabs will appear on the Ribbon when working with certain items like tables, shapes, and pictures. These tabs contain special command groups that can help you format these items as needed.
To minimize and maximize the Ribbon:
The Ribbon is designed to respond to your current task, but you can choose to minimize it if you find that it takes up too much screen space.
- Click the Ribbon Display Options arrow in the upper-right corner of the Ribbon.
 Ribbon display options
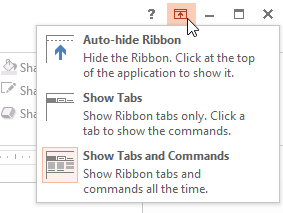
 - Select the desired minimizing option from the drop-down menu:
- Auto-hide Ribbon: Auto-hide displays PowerPoint in full-screen mode and completely hides the Ribbon. To show the Ribbon, click the Expand Ribbon command at the top of screen.
- Show Tabs: This option hides all command groups when not in use, but tabs will remain visible. To show the Ribbon, simply click a tab.
- Show Tabs and Commands: This option maximizes the Ribbon. All of the tabs and commands will be visible. This option is selected by default when you open PowerPoint for the first time.
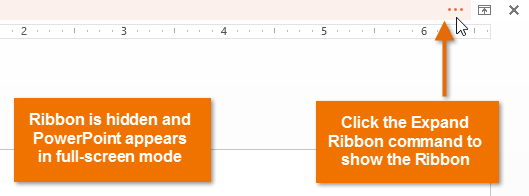 Auto-hiding the Ribbon
The Quick Access Toolbar
Located just above the Ribbon, the Quick Access Toolbar lets you access common commands no matter which tab is selected. By default, it includes the Save, Undo, Repeat, and Start Presentation commands. You can add other commands depending on your preference.
To add commands to the Quick Access Toolbar:
- Click the drop-down arrow to the right of the Quick Access Toolbar.
- Select the command you wish to add from the drop-down menu. To choose from more commands, select More Commands.
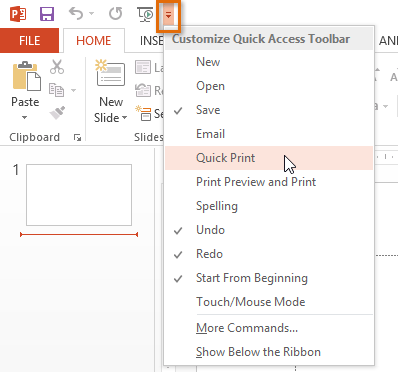 Adding a command to the Quick Access Toolbar
 - The command will be added to the Quick Access Toolbar.
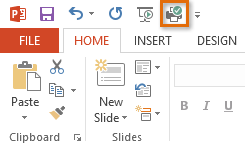 The command added to the Quick Access Toolbar
The ruler, guides, and gridlines
PowerPoint includes several tools to help organize and arrange content on your slides, including the Ruler, Guides, and Gridlines. These tools make it easier to align objects on your slides. Simply click the check boxes in the Show group on the View tab to show and hide these tools.
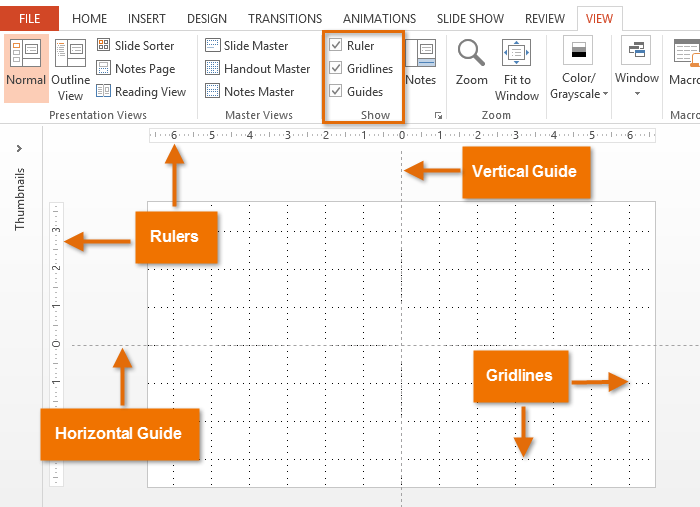 The Ruler, Guidelines, and Grids
Simply click and drag to move the horizontal or vertical guides to a new position.
Backstage view
Backstage view gives you various options for saving, opening, printing, and sharing your presentations.
To access Backstage view:
- Click the File tab on the Ribbon.
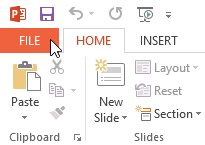 Clicking the File tab
 - Backstage view will appear.
Click the buttons in the interactive below to learn more about using Backstage view.
Back to PowerPoint
You can use the arrow to close Backstage view and return to PowerPoint.
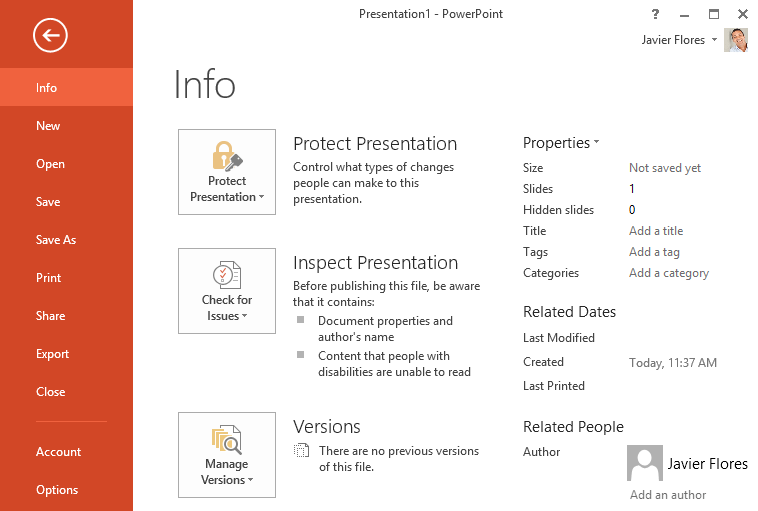
Info
The Info pane will appear whenever you access Backstage view.
It contains information about the current presentation You can also inspect the workbook and set protection controls.
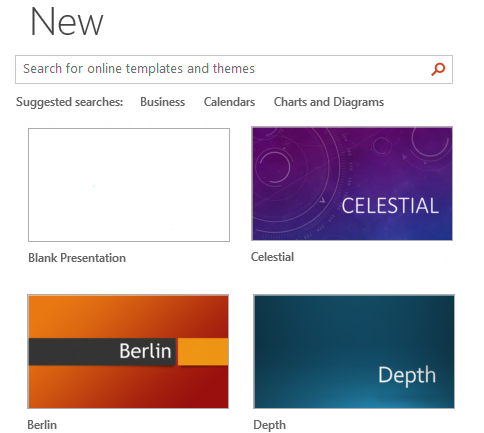
New
From here, you can create a new presentation, or choose from a large selection of templates.
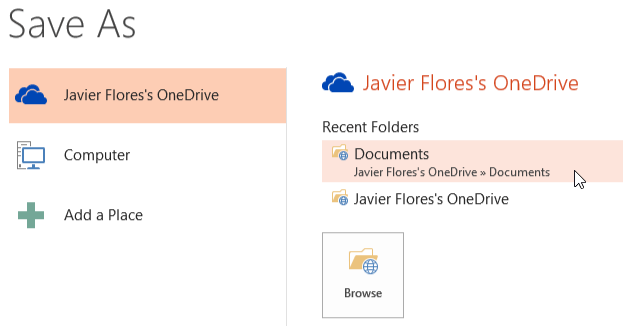
Save and Save As
Use Save and Save As to save your presentation to your computer or to your OneDrive.
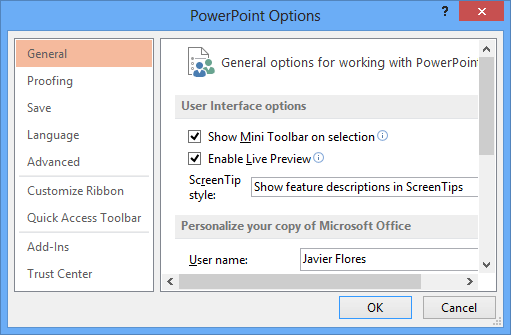
Options
Here you can change various PowerPoint options. For example, you can control the Proofing defaults, AutoRecover settings, or Language preferences.
From the Print pane, you can change the print settings and print your presentation. You can also see a preview of your presentation.

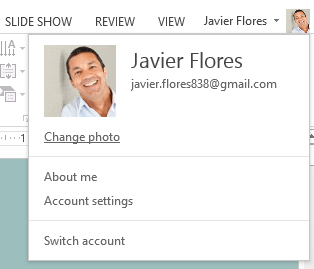
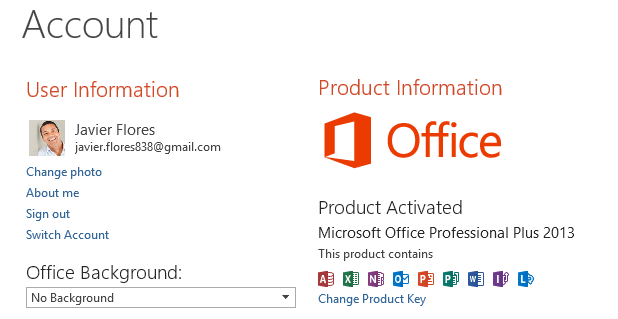
Account
From the Account pane, you can access your Microsoft account information, modify your theme and background, and sign out of your account.
Close
Click here to close to current presentation.
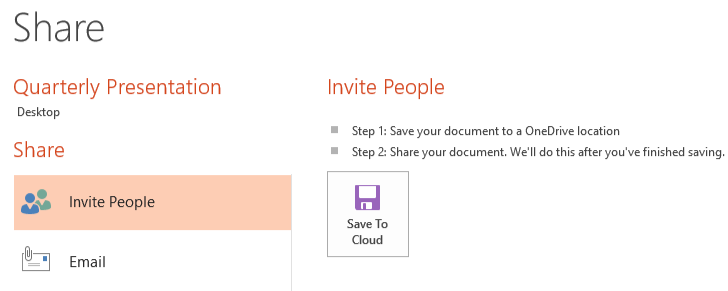
Share
From here, you can invite people to view and collaborate on your presentation. You can also share your presentation by emailing it as an attachment.
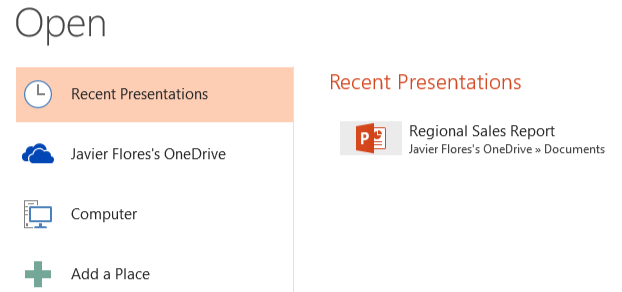
Open
From here, you can open recent presentations, as well as presentations saved to your OneDrive or on your computer.
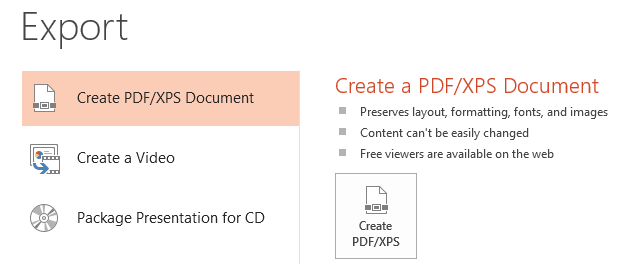
Export
You can choose to export your presentation in another format, such as PDF/XPS, video, or PowerPoint 97-2003 presentation.
You can review our lesson on Working with Your Microsoft Account and OneDrive to learn more about using OneDrive.
Challenge!
- Open PowerPoint 2013 and create a new presentation.
- Click through all of the tabs and review the commands on the Ribbon.
- Try minimizing and maximizing the Ribbon.
- Add a command to the Quick Access Toolbar.
- Navigate to Backstage view and open your Account settings.