PowerPoint 2010
Presenting Slide Show
Introduction
Once your slide show is completed, you will need to learn how to present it to an audience. PowerPoint offers several tools and features that can assist you in making your presentation smooth, engaging, and professional.
In this lesson, you will learn how to play a slide show and advance through the slides. In addition, you will learn about various presentation options like using a highlighter to mark slides and how to set your slide show to play on a continuous loop.
Presenting a slide show
Video: Presenting in PowerPoint 2010
 Watch the video (3:07).
To present your slide show, you'll need to know how to start it. PowerPoint allows you to start your slide show from the first slide or from any slide within the slide show. Once your slide show has started, you'll need to know how to advance through the slides.
To start a slide show:
- Select the Slide Show tab.
- Click the From Beginning command in the Start Slide Show group to start the slide show with the first slide.
 Starting Slide Show
 You can also start the slide show from the slide you prefer by selecting the slide and clicking on From Current Slide from the Start Slide Show group. This option is convenient if you only want to view or present certain slides.
Another option for starting the slide show is to select Slide Show view at the bottom of the window.
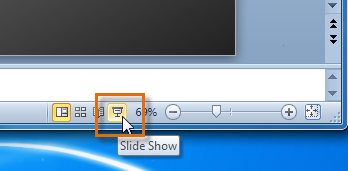 Starting Slide Show view option
To advance and reverse slides:
- Hover your mouse over the bottom-left of the screen. A menu will appear.
- Click on the right arrow to advance slides, or click on the left arrow to reverse slides.
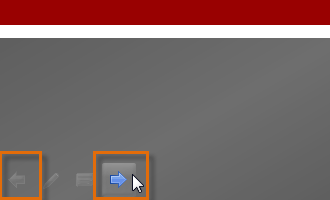 Advance or reverse slides
 You may also use the arrow keys on your keyboard to advance and reverse slides.
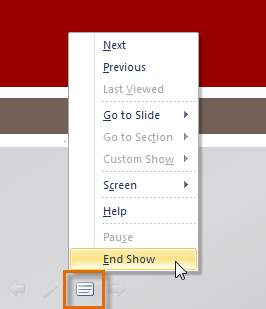
To stop or end a slide show:
To end slide show, hover and select the menu box options command and click End Show. You can also press the "Esc" key at the top left of your keyboard to end the show.
 Ending slide show
Presentation tools and features
PowerPoint provides convenient tools and features you can use while you are presenting your slide show. Features include changing your mouse pointer to a pen or highlighter to draw attention to items in your slides. In addition, you can jump around to slides in your presentation or access items from your computer desktop if needed.
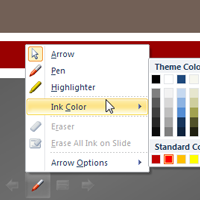
To access the pen or highlighter:
- Hover and click on the pen menu option in the bottom left of your screen.
- Select Pen or Highlighter based on your preference.
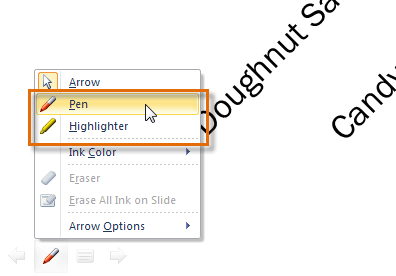
Accessing Pen or Highlighter - Use the pointer to draw on or mark your slides.
 Using the pen and highlighter on a slide
From the same menu, you can also change the color of the pen or highlighter. Keep in mind that light color choices are best for the highlighter.
 Choosing a new ink color
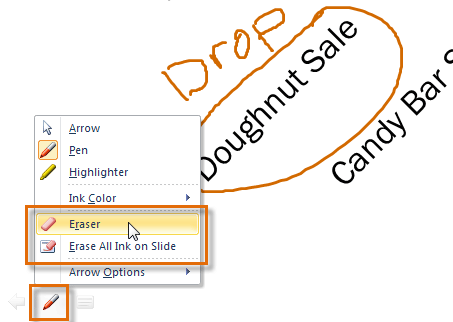
To erase ink markings:
- Hover and click on the pen menu option in the bottom-left of your screen.
- Select Eraser to erase individual ink markings, or select Erase All Ink on Slide to erase all markings.
 Accessing Eraser options
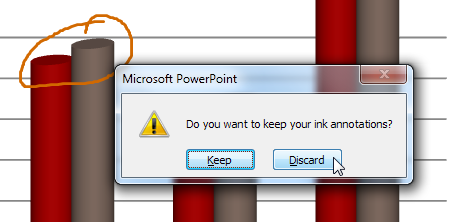
When you end your slide show, you also have the option to Keep or Discard (erase) any ink markings you made during your presentation.
 Choosing to keep or discard ink markings
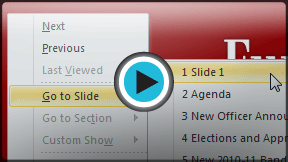
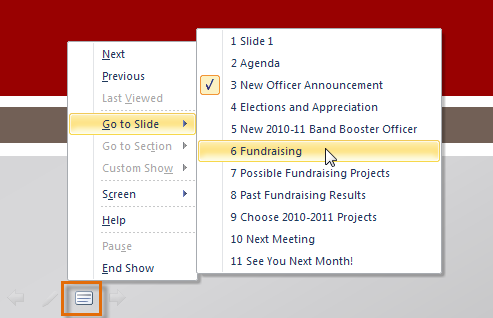
To jump to a nonadjacent slide:
- Hover and click on the menu box option in the bottom-left of your screen.
- Select Go to Slide, and choose the slide you would like to jump to in your presentation.
 Choosing Go To Slide
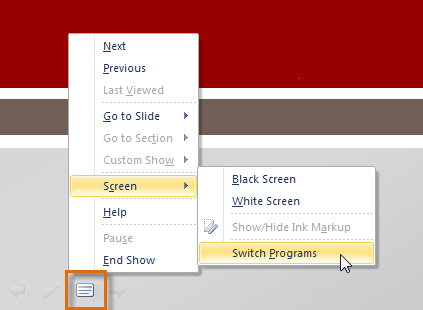
To access the desktop:
Sometimes you may need to access the Internet or other files and programs on your computer during your presentation. PowerPoint allows you to access your desktop task bar without ending your presentation.
- Hover and click on the menu box option in the bottom-left of your screen.
- Select Screen, then click on Switch Programs.
 Switching Programs during slide show
 - Your computer's task bar will appear. Choose a program you would like to switch to.
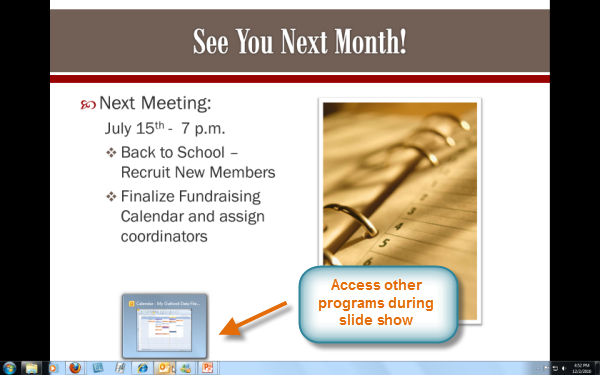 Accessing other programs during your slide show
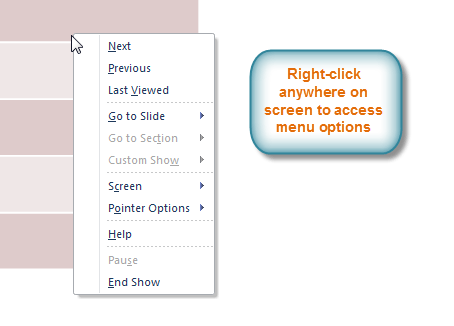
Menu access options:
You can also access any of the above menu items by right-clicking anywhere on the screen during your slide show.
 Right-clicking to access slide show menu options
Keyboard shortcuts
- Switch between the pen pointer and mouse pointer by pressing "Ctrl + P" (pen) or "Ctrl + M" (mouse) on the keyboard.
- Press "E" on the keyboard to erase any ink markings while using the pen or highlighter.
Slide show setup options
PowerPoint has various options for setting up and playing a slide show. For example, you can set up an unattended presentation that can be displayed at a kiosk and make your slide show repeat with continuous looping.
To access slide show setup options:
- Select the Slide Show tab.
- Click the Set Up Show command.
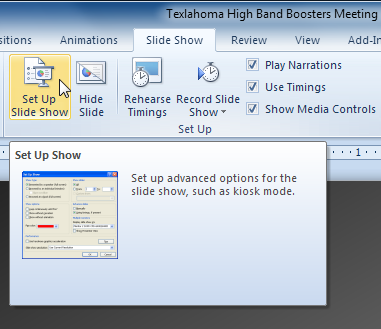 Setting up slide show
 - The Set Up Show dialog box will appear. Click the buttons in the interactive below to learn about the various options available for setting up and playing a slide show.
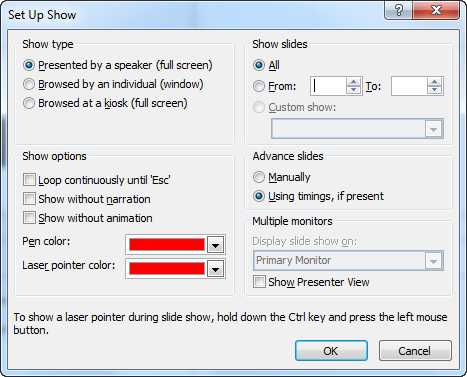
Show Slides
Set which slides you would like to show. "All" is naturally the default, but you can choose to show only certain slides or you can choose to display any Custom shows you have created from your original presentation.
Multiple Monitors
Presenters often use a laptop and projector to display slide shows. If you have more than one monitor, you may choose which one to display the slide show on. If you would like to view the show on both your computer (your view) and the projector (audience view) then you can select Show Presenter View.
Advance Slides
If you have set timings in your slide show they will automatically play. If you want to disable the timings and control the slides yourself, then select Manually.
Show Options
Show options include:
• Looping continuously which will repeat the slide show until you press the "Esc" key
• Disabling narration and animation from playing during your show
• Changing the default pen and laser pointer colors
Show Type
Choose Show type:
• Presented by a speaker - show plays in full screen and is controlled by the speaker
• Browsed by an individual - show is displayed in a window
• Browsed at a kiosk - show plays in full screen, but is self-running offering no control to the individual viewing it
- Click OK to apply the settings to the slide show.
Challenge!
- Open an existing PowerPoint presentation. If you want, you can use this example.
- Practice starting a slide show and using the menu options to advance and reverse through slides.
- Change your mouse pointer to a pen or highlighter, and practice marking a slide. If you are using the example, add markings to the chart on slide 8.
- Erase or discard any markings you have made on slides.
- Practice going to nonadjacent slides in your slide show. If you are using the example, go to slides 3 and 10.
- Change the ink color and add continuous looping to your slide show with the Set Up Slide Show command.