

Photoshop Basics
Doing More with Layers
Layer groups
Once you start working with multiple layers in your document, it can be difficult to keep them organized. Fortunately, Photoshop allows you to group your layers. You can use groups to keep related layers together, move and edit multiple layers at once, and much more.
To create a group:
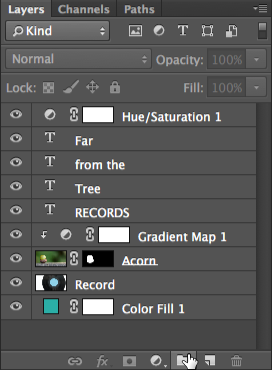
- Locate and select the Group button
 at the bottom of the Layers panel.
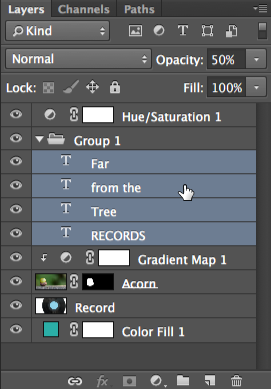
- A new, empty group will appear. If desired, you can click and drag the group to reorder it within the Layers panel.
- Click and drag any layer to the group icon in the Layers panel, then release the mouse. Layers that are in a group will be slightly indented from the other layers in the panel.
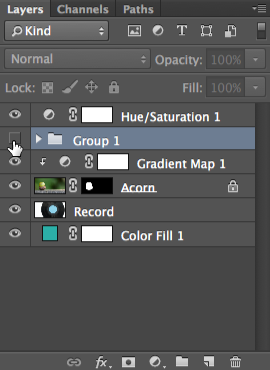
- Click the arrow to collapse or expand the layer.

- You can now manipulate all of the layers in the group at once. In this example, we're clicking the eye icon to hide all layers within the group.
If you're using Photoshop Elements, you won't be able to create new groups. However, you will be able to view existing groups when working with files created in the full version of Photoshop.
Open the example file and create a group. Click and drag all of the Text layers into this new group. Next, select Group 1, then reduce the opacity to 70%. Notice how this changes the opacity for all layers within the group.
If you want to learn more about groups, check out this video tutorial on the Adobe website.


