

Outlook 2010
Sending and Receiving Email
Doing more with mail
Once you're familiar with the basics of Mail view, you can start taking advantage of its most helpful features with these additional tips.
To create an email signature:
A signature is an optional block of text that appears at the end of every email you send. If you send a lot of email messages, signatures can save you a lot of time. They're also a good way to share your title and additional contact information, such as a phone number, with new contacts.
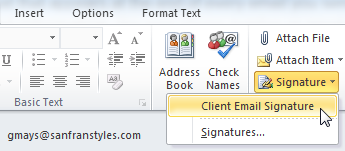
- From the Compose window, locate and the select Signature command on the Ribbon, then select Signatures... from the drop-down menu.
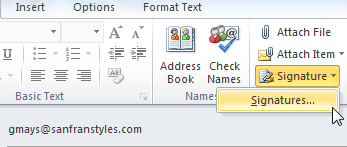 Clicking Signatures...
 - The Signatures and Stationery dialog box will appear. Click New.
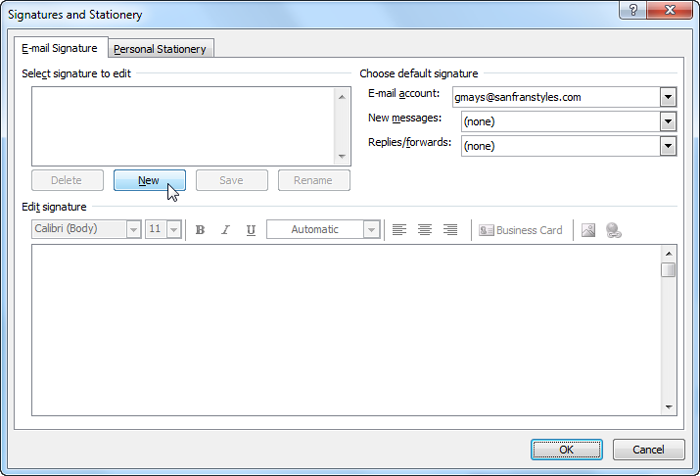 Adding a new signature
 - The New Signature dialog box will appear. Enter a name for the signature, then click OK.
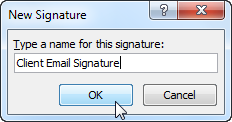 Adding a signature name
 - Enter the desired signature. A signature typically includes your name and some contact information, like your phone number or email address. You can also include basic formatting and hyperlinks.
- When you're satisfied with the signature, click OK.
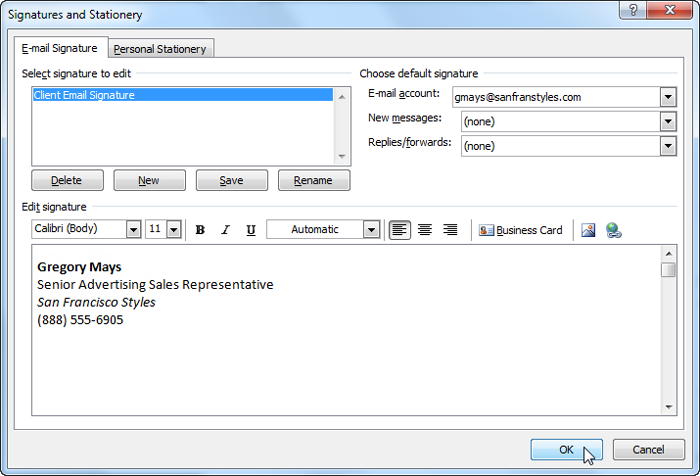 Saving a new signature
 - The Compose window will appear. Locate and select the Signature command, then select the newly created signature from the drop-down menu.
 Adding the custom signature
 - The signature will appear in the body of the compose window.
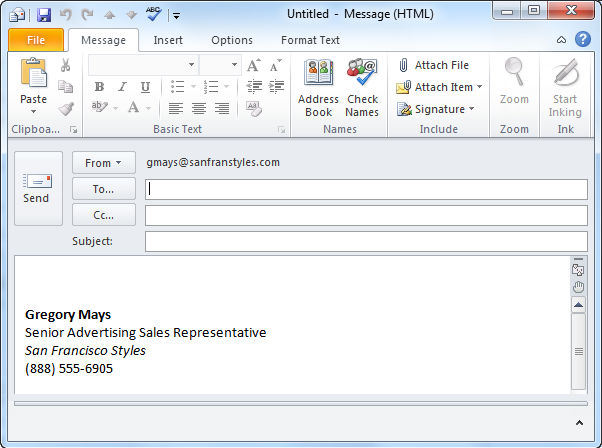 The added signature
To set an automatic reply:
If you won't be able to answer your messages for several days, it's easy to set an automatic reply (also known as a vacation reply), which will automatically reply to any messages you receive. A vacation reply typically includes the date you plan to return and contact information while you're unavailable.
- Click the File tab on the Ribbon.
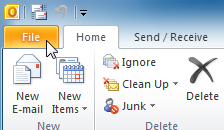 Clicking the File tab
 - Backstage view will appear. Locate and select Automatic Replies.
 Clicking Automatic Replies
 - The Automatic Replies dialog box will appear. From here, you can choose several options for your reply, including a time range and rules.
- Include a message for the reply, then click OK.
 Setting an automatic reply
 - Your reply will be automatically sent to any messages you receive.
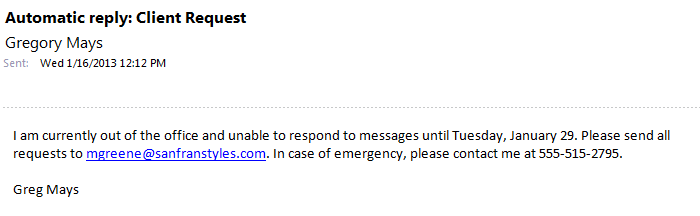 An automatic reply
 - To turn off automatic replies, navigate to Backstage view and select Turn off.
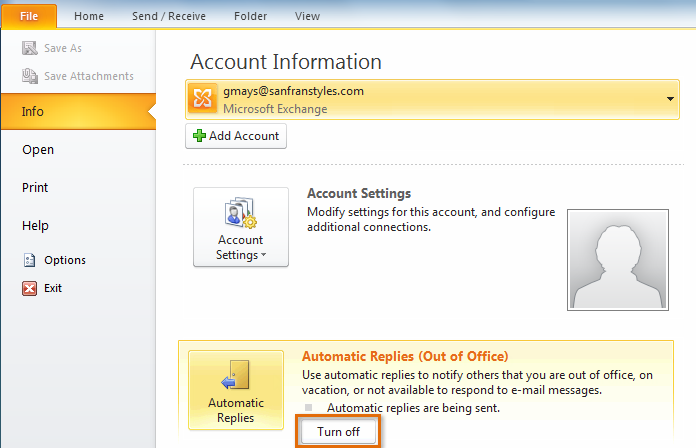 Turning off automatic replies
You will not be able to use this feature without a Microsoft Exchange Account, which is typically only used in the workplace.
To use Spell Check:
- Whenever you're composing an email, it's important to make sure your message is free from spelling and grammatical errors. Some spelling errors will be detected automatically as you write your message, which should feel familiar if you've ever used the Spell Check feature in Microsoft Word. Check out our tutorial on Email Etiquette and Safety to learn more about best practices when using email to communicate in the workplace.
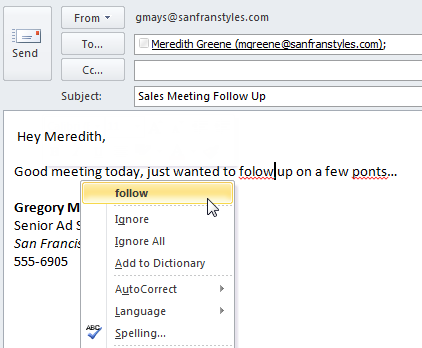 Correcting spelling errors in the Compose window
To print email messages
If you need to reference or document an important message away from your computer, it's easy to print an email message.
- Click the File tab on the Ribbon.
Clicking the File tab - Backstage view will appear. Locate and select Print.
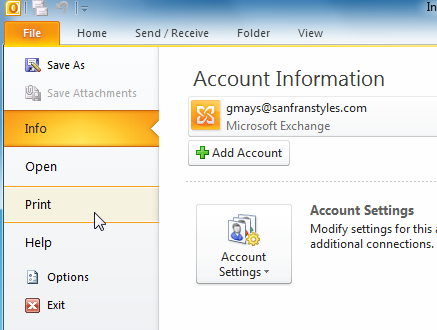 Clicking Print in Backstage view
 - The Print pane will appear. Choose your settings, then click Print .
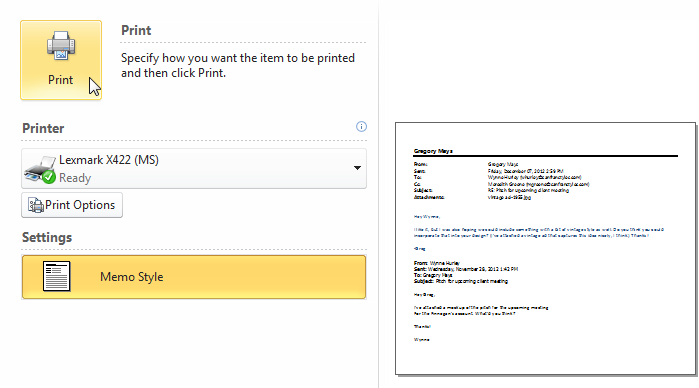 Printing an email message


