Google Sheets
Working with Multiple Sheets
Introduction

A Google spreadsheet can contain one or more sheets. When working with a large amount of information, you can create multiple sheets to help organize your spreadsheet and make it easier to find information.
In this lesson, you'll learn how to create, rename, move, delete, and duplicate sheets.
Using multiple sheets
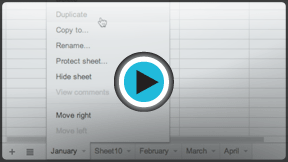 Watch the video (2:15).
When you create a new Google spreadsheet, it has one sheet, which is named Sheet1 by default. In the sheets toolbar located at the bottom of the window, you will see a tab for each sheet you have. To organize your spreadsheet and make it easier to navigate, you can create, rename, delete, move, and duplicate sheets.
Watch the video to learn how to create and manage multiple sheets.
To create a new sheet
In our example, the sheets of our service log are organized by month. We will create a new sheet in the log so data can be entered in the new month.
- Click the Add Sheet command
 in the sheets toolbar.
 Clicking the Add Sheet command
 - A new sheet will appear in the sheets toolbar.
 The new sheet
Alternatively, you can create an additional sheet by clicking Insert and selecting New sheet from the drop-down menu.
 Clicking New sheet
To rename a sheet
- Click the tab of the sheet you wish to rename. Select Rename... from the menu that appears.
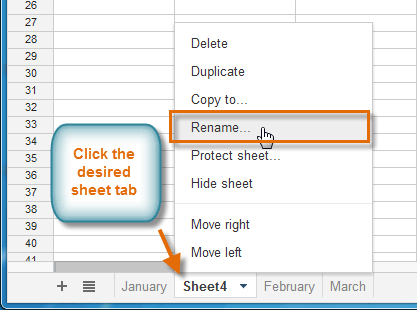 Selecting Rename...
 - In the dialog box that appears, type the desired name for the sheet, then click OK.
 Renaming the sheet
 - The sheet is renamed.
 The renamed sheet
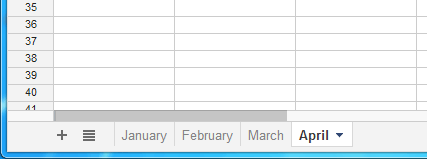
To switch to a different sheet:
- Click the desired sheet tab in the sheets toolbar.
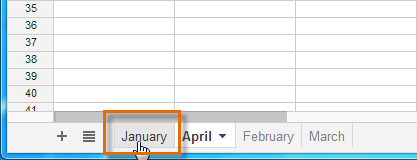 Clicking the desired sheet tab
 - The selected sheet will appear.
 Viewing the selected sheet
If you wish to limit collaborators from editing specific sheets of your spreadsheet, you can protect these sheets by clicking on the desired sheet tab and selecting Protect sheet... from the menu that appears.
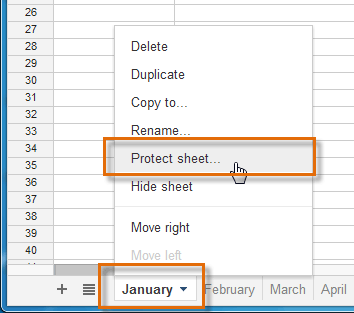 Protecting a sheet from editing
To move a sheet:
- Click, hold, and drag the tab of the sheet you wish to move. As you move the tab, a vertical blue bar
 will appear to indicate where the tab will be placed.
 Moving a sheet tab
 - Release the mouse to place the tab at the desired location.
 After placing the tab
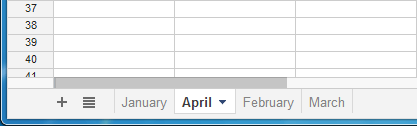
To duplicate a sheet:
- Click the tab of the sheet you wish to duplicate, then select Duplicate from the menu that appears.
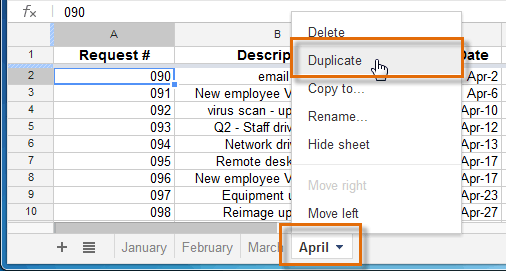 Selecting Duplicate
 - A duplicate of the sheet will appear in the sheets toolbar. It will be named as a copy of the original sheet, such as "Copy of April". If you want, you can rename the sheet.
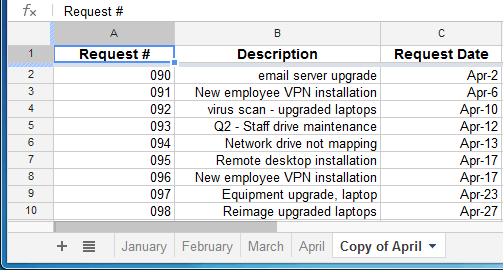 The duplicated sheet
To copy a sheet to another spreadsheet in Google Drive, click the tab of the sheet you want to copy, and select Copy to... from the menu that appears. Select the spreadsheet where you want to place the copy from the list that appears. A duplicate of the sheet will appear in the other spreadsheet.
To delete a sheet:
- Click the tab of the sheet you wish to delete. Select Delete from the menu that appears.
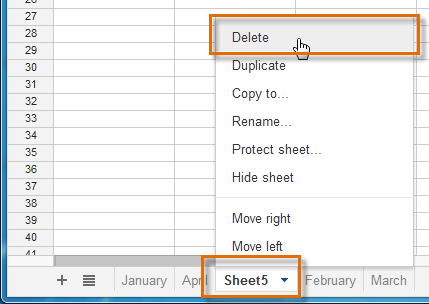 Selecting Delete
 - A warning dialog box appears. Click OK.
 Clicking OK
 - The sheet is deleted.
 The remaining sheet tabs
Challenge!
To work through the challenge, open GCFLearnFree L11: IT Service Log and copy the file to your Google Drive. View the instructions below the challenge if you are not sure how to make a copy of the file.
- Create two new sheets.
- Rename one of the new sheets "May" and the other sheet "June".
- Try moving the new sheets so they are in the correct month order.
- Create a duplicate of the January sheet.
- The June sheet will not be needed yet. Delete the June sheet.
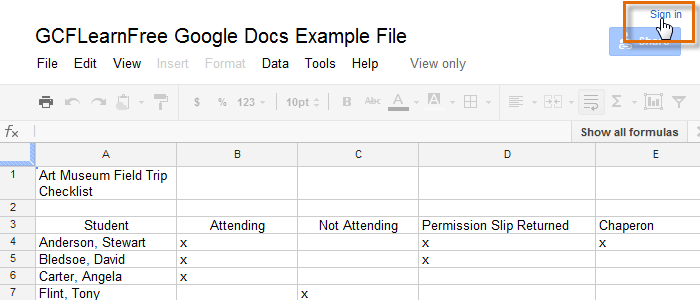
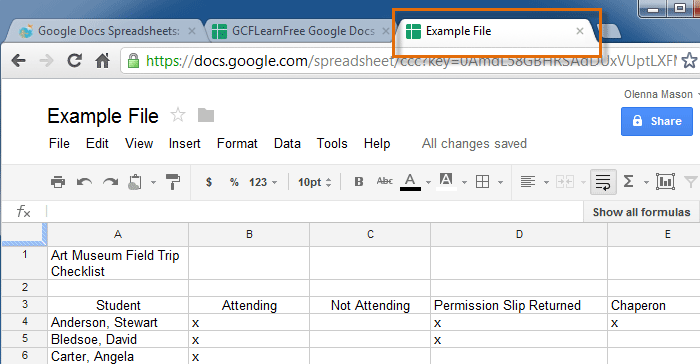
To copy the example file to your Google Drive:
In these tutorials, we will provide example files you can use to practice what you've learned in each lesson. Because these files are Google Docs we have chosen to share, you will need to copy the file to your Google Drive before you can edit the file.
- Click the link at the top of this page to open the example file.
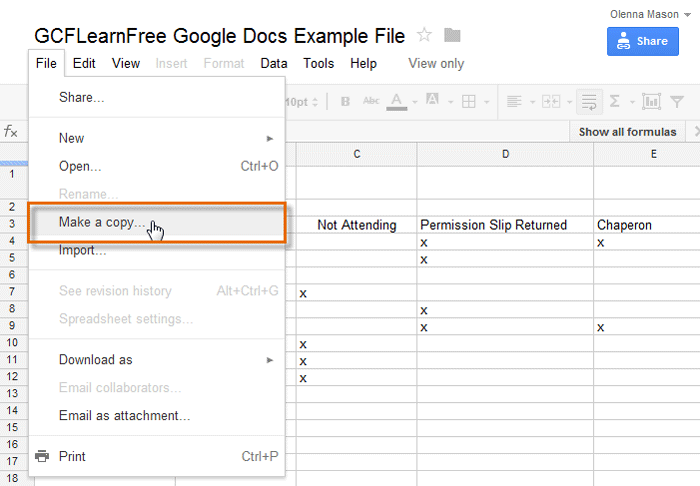
- The example file will appear in a new browser tab or window. If you are not currently signed in to your Google account, locate and click Sign in on the top-right corner of the page.
 Signing in to your Google Account
 - After you have signed in to your Google account, locate and select File in the toolbar menu and select Make a copy... from the drop-down menu.
 Making a copy of the example file
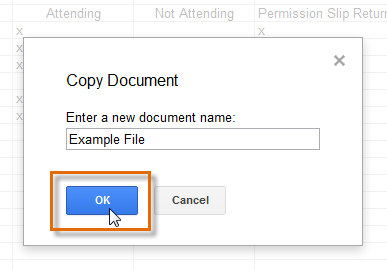
 - The Copy Document dialog box will appear. Enter a new title for the file, then click OK.
 Naming the file and clicking OK
 - The copy of the file will appear in a new browser tab. Now you're ready to start using the example file.
 Viewing the copied example file in a new tab