This article was co-authored by wikiHow Staff. Our trained team of editors and researchers validate articles for accuracy and comprehensiveness. wikiHow's Content Management Team carefully monitors the work from our editorial staff to ensure that each article is backed by trusted research and meets our high quality standards.
This article has been viewed 33,590 times.
A showstopper of a dessert if there ever was one, a Baked Alaska is a towering ice cream cake smothered in a protective layer of sweet meringue. The good news is that the cake looks far more challenging than it is, allowing bakers of all skill levels to pull off this fancy dessert in a brief afternoon.
Ingredients
- 1 1/2 thick sheet cake or brownie
- 1/4 tsp. cream of tartar
- 4 egg whites (about 1/2 cup) at room temperature
- 1 1/2 pints or 1⁄2 gallon (1.9 L) ice cream, any flavor(s)
- 1/2 c. superfine sugar or regular sugar
- 1/2 tsp. vanilla extract or the seeds from a vanilla pod
Steps
Preparing the Ice Cream
-
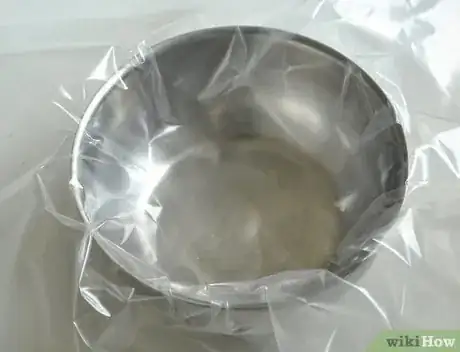
1Line a 3-quart bowl with plastic wrap, letting excess hang over the sides. This bowl will form you "dome" of ice cream, so use whatever bowl type you'd like. Some chefs find it easier to make a rectangular cake, and often decide to use bread pan instead of a typical round bowl.[1] It's up to you:
- If you're going to make a fresh cake base, make sure the bowl is roughly 1" smaller in diameter than your cake pan. This ensures the ice cream fits on top of the cake with room for the meringue.
- Using a bread pan or other rectangular can make it easier to cut the cake to fit if you're using pre-baked cakes or brownies for the base.
-
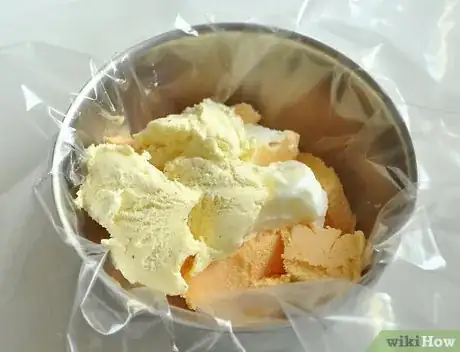
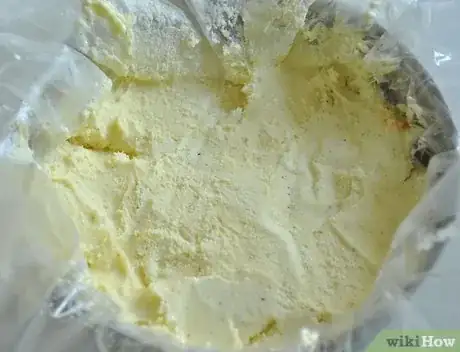
2Pack your favorite ice creams into the bowl in layers. Simply scoop your desired ice cream flavors into the plastic-lined bowl. You can either spread the ice cream out in layers or simply leave it as scoops, what is most important is that you densely pack it as tightly into the bowl as you can.[2]
- The flavors you use are totally up to you, and there are no wrong choices. Consider what type of cake you're using for the bottom to make a flavor combination that you love. Good old vanilla icecream is a great option.
-
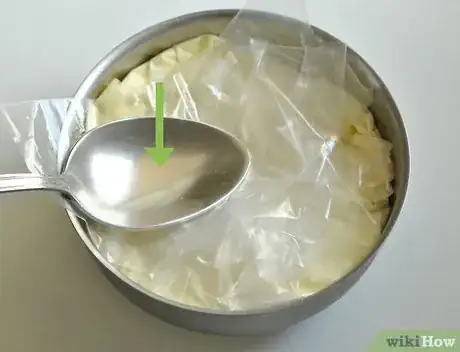
3Cover the top of the bowl with plastic wrap and press down. Remember to pack the ice cream densely so that there are no air pockets in the final cake. That said, you don't have to throw your entire body weight into it. Simply use plastic wrap to keep your hands clean and press lightly around the sides and edges.
-
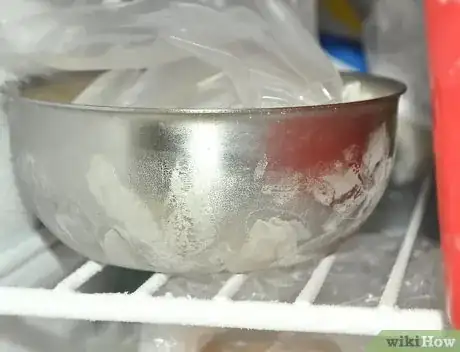
4Freeze the ice cream bowl until frozen solid -- at least 3 hours. Many chefs will even do this overnight, making sure they'll have the ice cream solid enough and taking one thing off their list on baking day. Don't skimp on this time -- the ice cream has to be rock solid.[3]
Making a Meringue
-
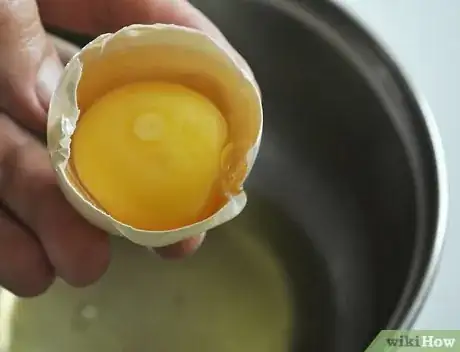
1Separate four eggs and discard the yolks. Meringue is made out of egg whites and sugars, and the yolk will prevent the sort of stiff binding you need for a solid meringue. Even if you don't have an egg separator, there are a few ways to remove the yolk from the white:
- Crack the egg in half, then transfer the yolk back and forth between the two shell halves. Do this over your mixing bowl, and the white should drip down as you toss the yolk back and forth.
- Crack the egg over a slotted spoon or funnel letting the white drip out.
- Crack the egg into your hands, holding the yolk and letting the white drip through.[4]
-
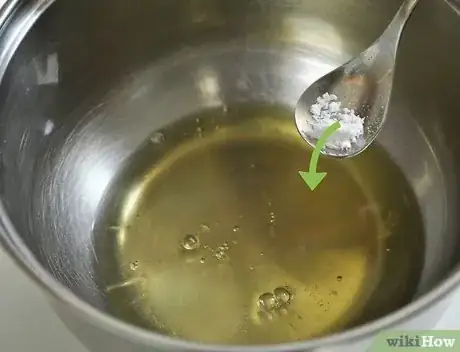
2Add 1/4tsp cream of tartar and the eggs to a large, meticulously clean metal mixing bowl. Cream of tartar helps the meringue keep its shape, allowing the eggs to solidify under the stress of mixing.
-
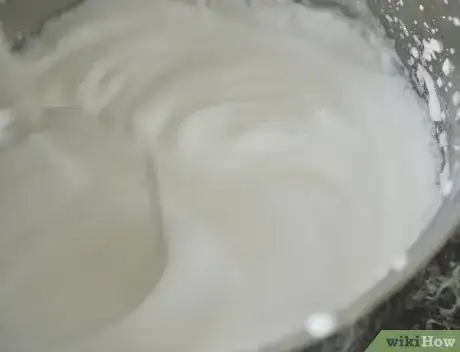
3Beat the egg whites on medium with a hand mixer until peaks form. This should only take a minute. "Peaks" are when you lift the mixer out and the egg mixture comes up with the beaters to form a little sagging point.[5]
-
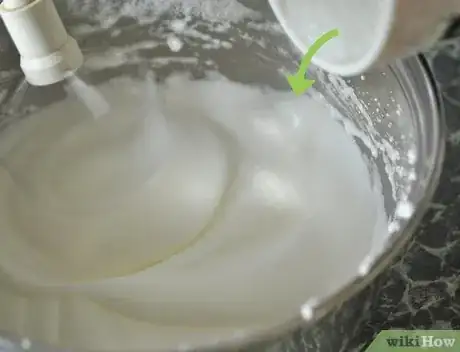
4Keeping the mixer running, slowly add a half cup of sugar and teaspoonful of vanilla extract to the mixture. Beat the sugar in with the egg whites, adding it slowly so that it doesn't splatter out. A simple 1/4 teaspoon of vanilla extract will add a nice, subtle flavor to meringue as well, though it isn't necessary if you don't have it around.[6]
-
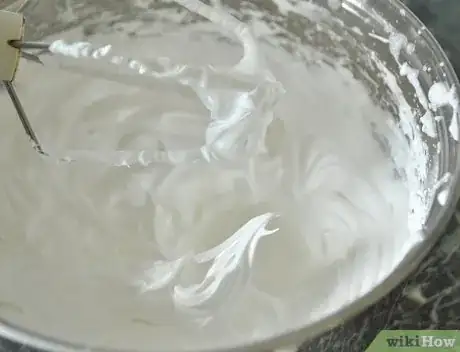
5Mix the sugar and eggs until stiff peaks form, about two more minutes. Stiff peaks mean that the mixture holds its shape well. If you pull up a little point of egg with the beaters, it doesn't immediately begin to wilt. Once you hit this point, stop. Further beating will make the mixture even more dry and stiff, and you need to be able to spread it![7]
Building the Baked Alaska
-
1Preheat the oven to 500°F and line a baking sheet with parchment paper. You want a very high temperature to quickly cook the meringue on the outside without the heat penetrating to the ice cream in the middle. The baking sheet with parchment paper will prevent sticking and messy cleanups later.
-
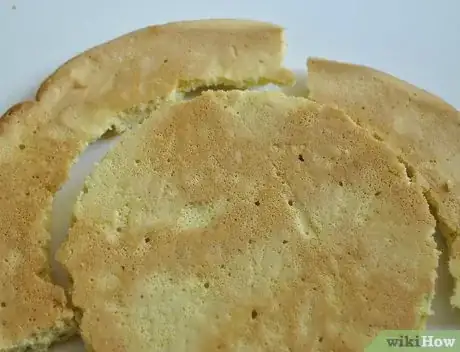
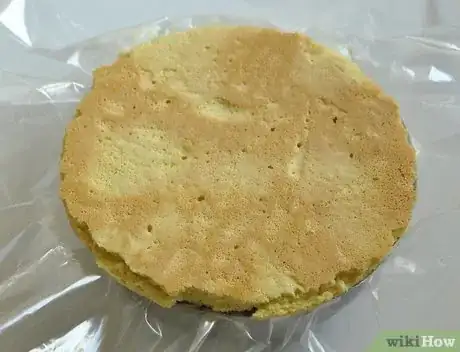
2Cut your cake or brownie to fit the bottom of the bowl. There are endless ways to make the base of your baked Alaska, and you should choose the one that best fits your ice cream choices, cooking time, and preferences. You can:
- Cut strips out of a larger sheet cake, which you then use to "build" your base
- Bake a round layer cake or brownie in an 8" pie pan, let it cool, and use.
- Purchase a sponge cake disc and cut it to fit, then drizzle with orange or chocolate liquor.[8]
-
3Remove the ice cream from the freezer and take off the bottom layer of plastic wrap. The ice cream will likely need to warm up slightly in order to slide out of the bowl, but you want to act fast once the ice cream comes out of the freezer -- it should be as cold as possible when the cake goes in the oven.[9]
-
4Press your cake or brownie into the bottom of the bowl. If you've cut a sheet cake into strips, place them down on the bottom of the ice cream so that there are no spaces. If you have a full round cake, center it on the ice cream, but don't worry about pressing it in just yet, especially if the edges overlap and you're worried the cake will split.
-
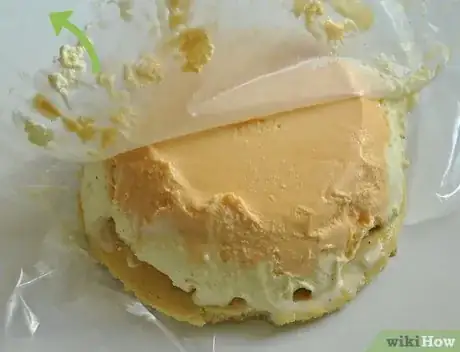
5Turn the bowl upside down on the parchment paper. With the cake on the bottom of the pile, pull up on the plastic wrap. This should detach the bowl from the ice cream, leaving you with a beautiful dome of ice cream on your cake base. If it does not, leave it for 1-2 minutes and try again. Use the excess plastic wrap to pull up on the bowl without yanking on the ice cream.
- You may just have to wait if it is frozen on solid. Keep lifting at the edges, but be careful of the cake underneath -- don't let it rip or tear because you're pulling too hard or being impatient.
-
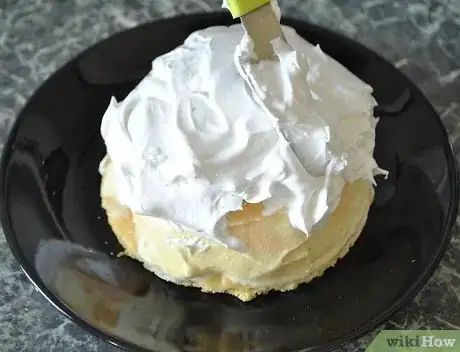
6Using a star-shaped pipette or another decorative icing method, cover the whole thing in meringue. You can use a spoon and make swirls, but the classic Baked Alaska has flowery, starred meringue that browns beautifully on the edge. Add about 1/2 inch of meringue around the entire dish in whatever pattern you want.
- Make sure all of the ice cream is covered -- you need the meringue to absorb the heat so that it doesn't all melt. The meringue acts like insulation for the icecream stopping it from melting.
-
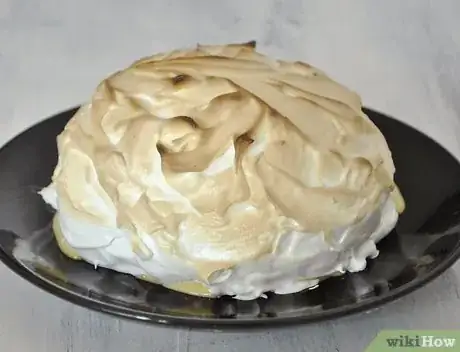
7Bake the entire thing for 3-4 minutes, until the outsides are golden brown. Once the meringue has a nice golden color across the entire cake (some small bits will be brown, but don't let it become black) you can take the dessert out. You're ready to serve and enjoy!
- If you have a kitchen blow torch, you can use this to brown the meringue without putting the dish in the oven at all.[10]
Community Q&A
-
QuestionWill the meringue guarantee the protection of the ice cream so the entire thing won't melt?
 Community AnswerThat's the point, yes, but only for a certain amount of time (so don't put it in the oven for too long).
 -
QuestionDo I have to serve the cake as soon as it comes out of the oven or can I put it in the freezer for a little while?
 Community AnswerI don't know about the freezer, but you can put it in the fridge or keep it out on a counter. You don't have to serve the cake right away.
 -
QuestionCan I prepare it the morning before I'm going to serve it?
 Community AnswerYes, you can if you keep it refrigerated. Don't leave it out, and only make it a day or two in advance.
Warnings
- Separating eggs is a messy process, and you need to keep everything sanitary. Wash you hands before and after, and remove and shells than accidentally get into the whites.⧼thumbs_response⧽
References
- ↑ http://www.saveur.com/article/Recipes/Baked-Alaska
- ↑ http://www.foodnetwork.com/recipes/food-network-kitchens/baked-alaska-recipe.html
- ↑ http://www.marthastewart.com/340209/baked-alaska
- ↑ http://www.thekitchn.com/fearless-baking-3-tips-for-sep-118117
- ↑ http://www.foodandwine.com/recipes/baked-alaska-birthday-cake
- ↑ http://www.marthastewart.com/340209/baked-alaska
- ↑ http://www.saveur.com/article/Recipes/Baked-Alaska
- ↑ http://www.goodtoknow.co.uk/recipes/535922/mary-berry-s-baked-alaska
- ↑ http://www.marthastewart.com/340209/baked-alaska
About this article
To make baked Alaska, start by lining a large bowl with plastic wrap. Then, densely pack the bowl with your favorite ice cream flavors and cover the bowl with plastic wrap before storing it in the fridge for at least 3 hours. While that's in the fridge, beat egg whites, cream of tartar, and sugar until stiff peaks form to make the meringue. Next, cut a circular piece of cake or brownie and place it on top of the packed bowl of ice cream, removing the plastic wrap first. Finally, turn the bowl upside down, cover the ice cream with meringue, and bake it for 3-4 minutes at 500 degrees Fahrenheit. To learn how to spread meringue over the ice cream, scroll down!
